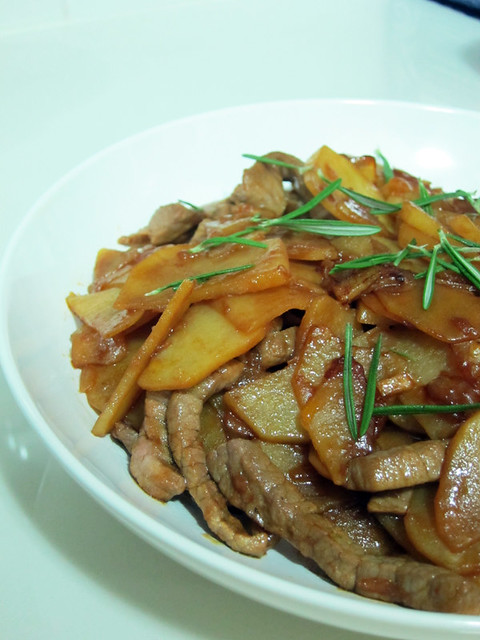
A recipe of caramelised potato and beef with onions.

This dish is another one that I grew up eating. In fact, it was a childhood favourite! My mom used to cook it with either minced pork or pork fillets but this version that I’m blogging about uses beef steak cut into strips. You can even use chicken, or whatever meat you fancy, except perhaps seafood.

The main star of the dish however, is not the meat. It’s the potatoes. They’re soft in the middle and slightly crispy on the outside. And they’ve got a very appetising sort of smokiness to them, derived from the chinese dark caramel sauce.

# – Caramelised potato and beef with onions
Now that I’m older, I realise how fattening it is to eat potatoes with rice but hey, we all need some comfort food now and then ;)

The ingredients:

  • 2-3 potatoes, sliced
  • 1- 2 onions, chopped
  • 1 tablespoon of Shaoxing or chinese rice wine
  • A couple of dashes of Worcestershire sauce
  • 1 tablespoon of chinese dark caramel sauce
  • 1 tablespoon of ordinary chilli sauce or Tabasco sauce (I used Sriracha hot chilli sauce)
  • 150 ml of water
  • 1 tablespoon of salt
  • 200 grams of beef steak, sliced and marinaded with a bit of corn flour and salt (you can use minced meat too. And switch to pork or chicken)

# – Of course, heat up a wok or pan with oil :)

# – When oil is hot, throw in the chopped onions. Ah, the sound of sizzling oil…

# – When the onions have turned a bit translucent, throw in the potatoes. Stir around for a bit till they’re a bit browned.
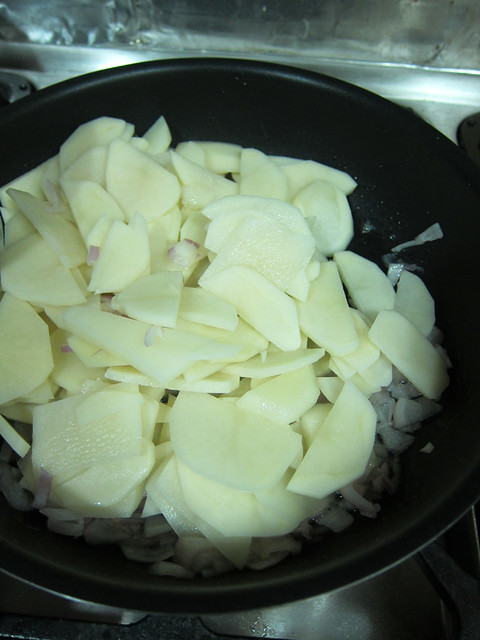
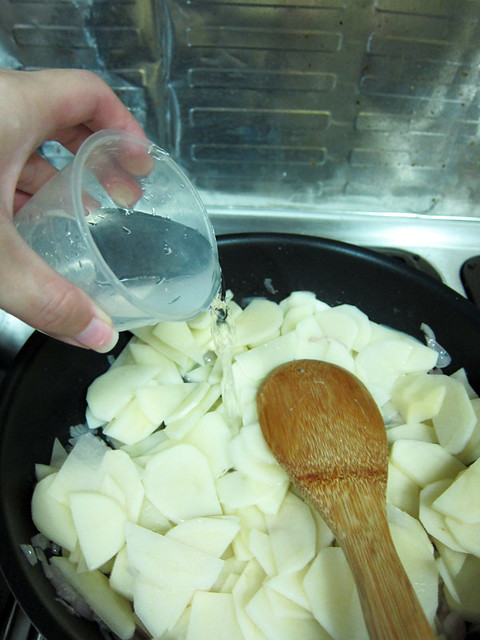
# – Pour in about 150 ml of water…
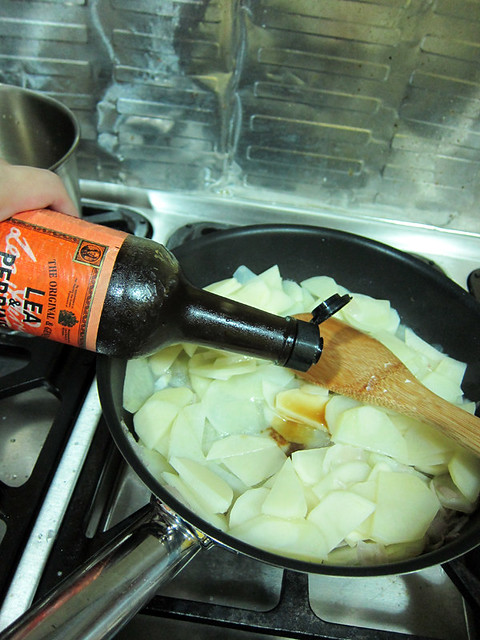
# – A few dashes of Worcestershire sauce.
# – Drizzle over the dark caramel sauce.

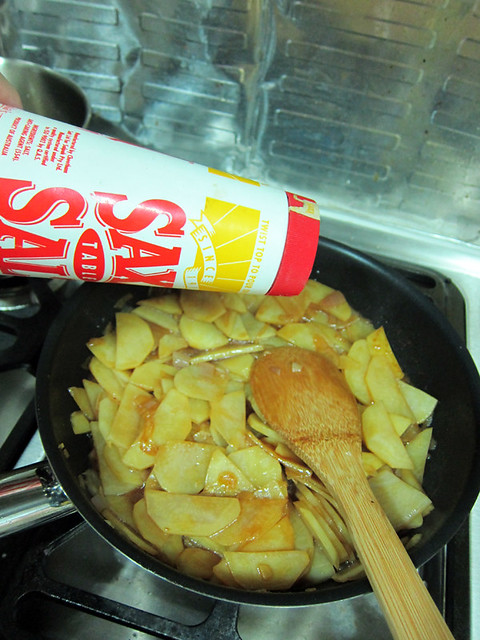
# – A good tablespoon of salt.
# – Followed by a tablespoon of chinese rice wine.

# – And lastly, a tablespoon of chilli sauce. Mix till all are combined.

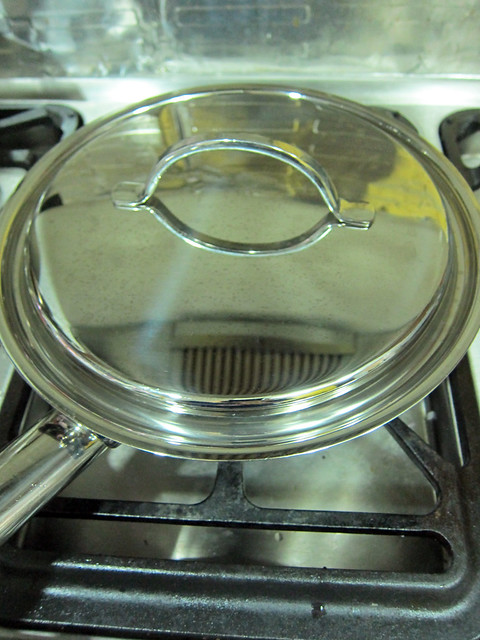
# – Then cover the pan with a lid, turn the heat down to medium and let the spuds cook for about 15 minutes. Stir occasionally to prevent sticking.
# – After that, push the potatoes to one side in the pan, and throw in the beef.

# – Drizzle a wee bit of dark caramel sauce over the beef. Stir to combine. You don’t have to cook beef too long but if you’re using chicken or pork please make sure you cook them through.

# – Mix everything up, and garnish with chopped chives or spring onions. Errr, I used Rosemary because that’s what I had…
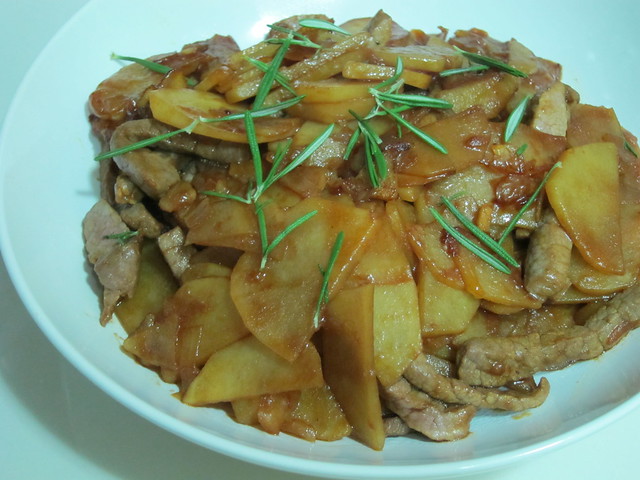
You can add chopped chillies for some kicks or more caramel sauce if you like the dish darker. You can also slice the potatoes thinner or thicker, depending on your preference. Sometimes I pan fry the potatoes first without adding any water for a much more crispier taste.

Eat together with rice or do I what I used to do when I was little….eat everything and save the potatoes for last.

Have fun cooking!

Rosemary and garlic pork chop recipe.

This was thrown together quite last minute and I was so glad it turned out delicious! I used two different cuts of pork; chops & fillets because I had very little of both so decided to use all to make a substantial dinner.

The pork was flavourful and juicy and the caramelised garlic slivers were to die for! I wish I had sliced up more garlic to be honest! Also, it’s important to season the pork properly with salt otherwise the taste of the rosemary and garlic would be too faint.

# – Rosemary and garlic pork chops.

Without further ado, lets get onto making this dish..

The ingredients:

  • Pork chops, enough for two (you can use fillets too for a healthier alternative, but not as tasty as there’s hardly any fat)
  • Few sprigs of fresh rosemary
  • 8-10 cloves of garlic, sliced
  • Salt

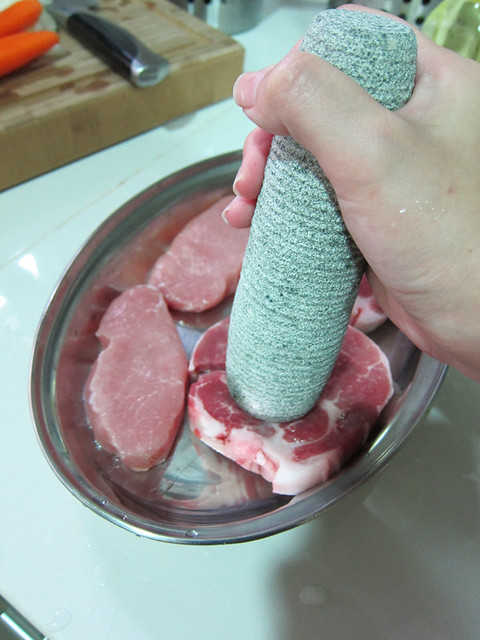
# – First of all, pound the chops till they’re thinner. Not too thin till the meat disintegrate though. This makes the meat more tender!

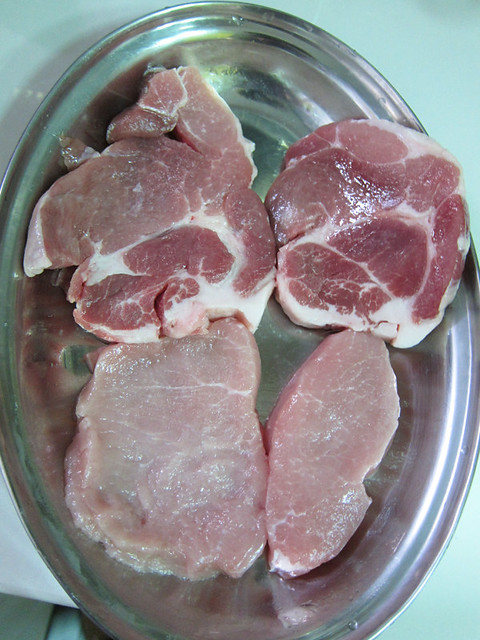
# – Pounded meat vs original state of meat. Season with salt on all surface (Forgot to take picture of this!).

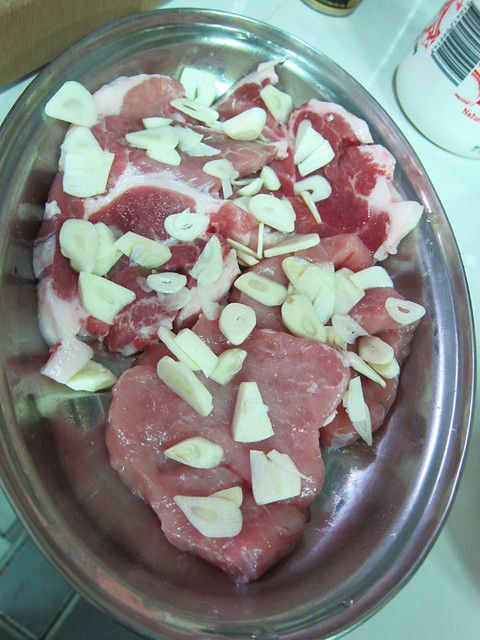
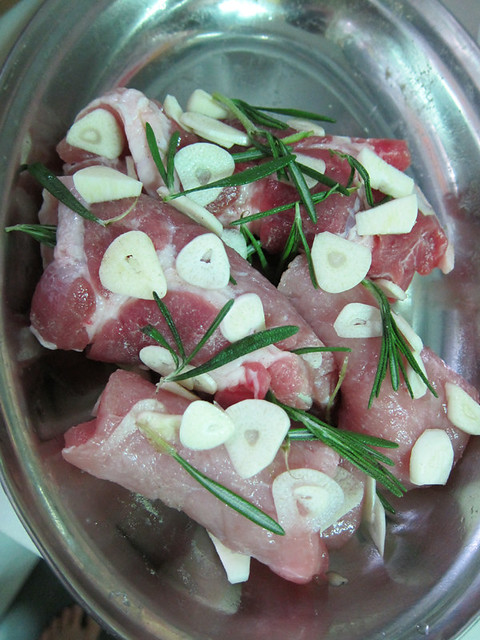
# – Now, slice up the garlic cloves and rub them all over the meat. Make sure all surface are covered.

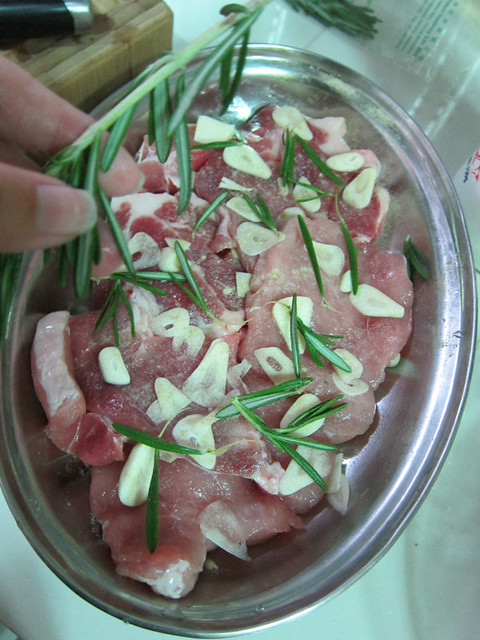
# – Remove rosemary from stalk and throw them in.

# – I rolled up the pork with rosemary and garlic inside cause I felt that they marinate better this way. It is probably psychological. Stick it in the fridge for a minimum of 2 hours.

# – Heat up some oil in a griddle.

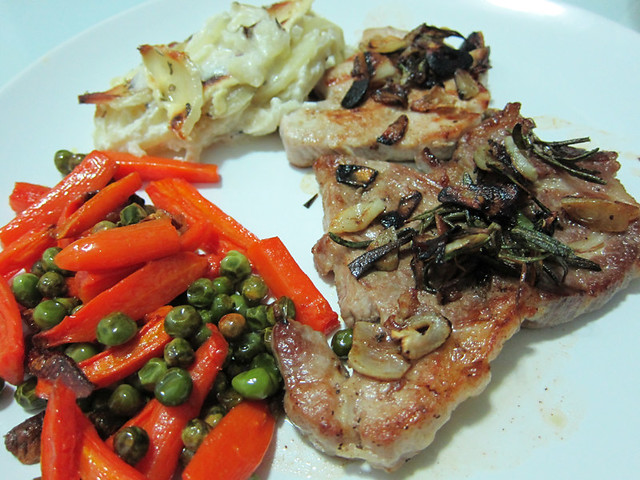
# – Lay the meats onto the griddle for about 4 minutes. Flip to cook the other side for the same time. Don’t discard the garlic, cook everything! You will thank me for this.

# – Serve with roast vegetables and the most awesome layered potatoes.

By the way, I’m so totally into roasted carrots these days. It’s amazing how being in the oven for just 40 minutes at 180 degrees celcius with some garlic cloves and a dash of olive oil could make them so caramelised and so, so, so sweet and delicious!

These carrots are addictive. I recently bought a few more bags of carrots just so I could eat more roasted carrots. I am obsessed. I will turn orange.

Supremely easy no-bake chocolate cornflake cups recipe for Mother’s Day.

This is perfect for Mother’s Day because anyone can make this. I’m serious…..whether you’re a man, woman, young or old, a pro or completely inept in cooking, YOU CAN STILL MAKE THIS.

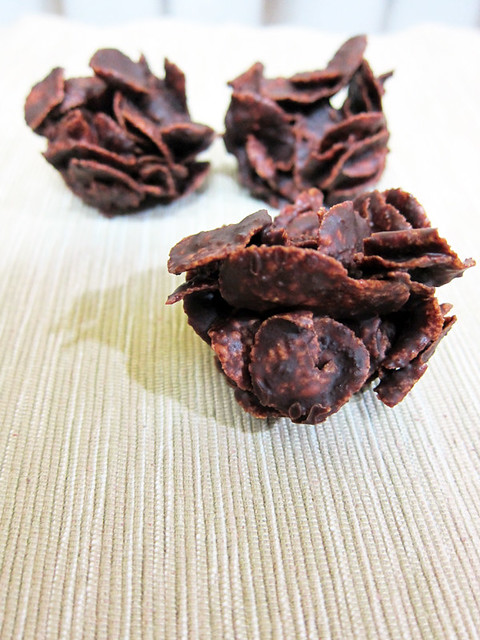
# – No-bake chocolate cornflake cups for Mother’s Day :)

It is delicious, crunchy and superbly chocolatey. And believe it or not, all can be done within 1/2 hour! The recipe serves 18, so there will be plenty to go around but make sure Mom gets the largest share!

The ingredients:

  • 50gm butter
  • 100 gm of dark chocolate (60% cocoa and above)
  • 50 gm caster sugar
  • 1 tablespoon of golden syrup
  • 100 gm cornflakes

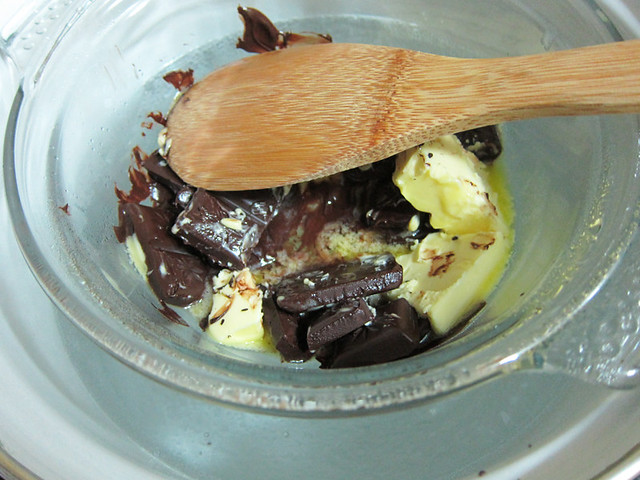
# – First of all, dump dark chocolates, butter and sugar into a bowl suspended over a pot of boiling water. It’s okay if the the bottom of the bowl touches the water. Stir till everything’s melted.

Of course, you can melt them up in a bowl in the microwave at High for 2 minutes ;)

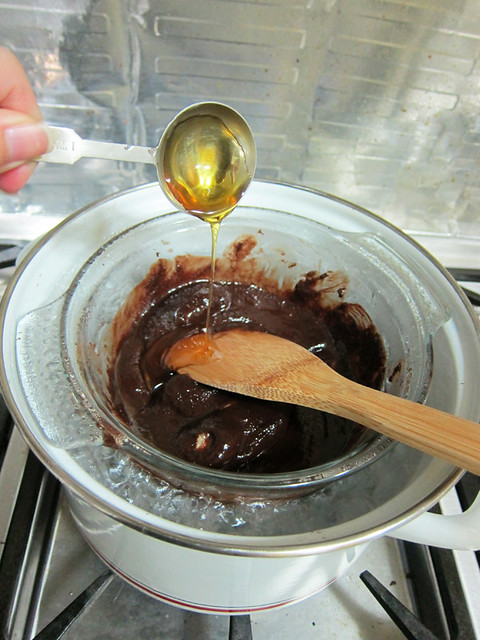
# – Then dump in a tablespoon of golden syrup. Stir till combined…

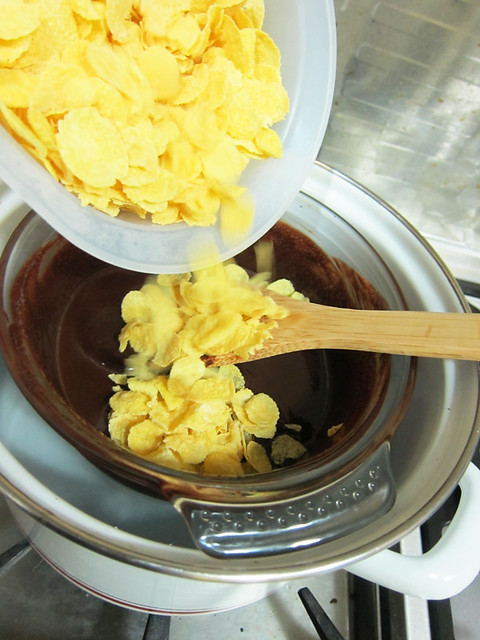
# – Then throw in the cornflakes. Turn off the heat.

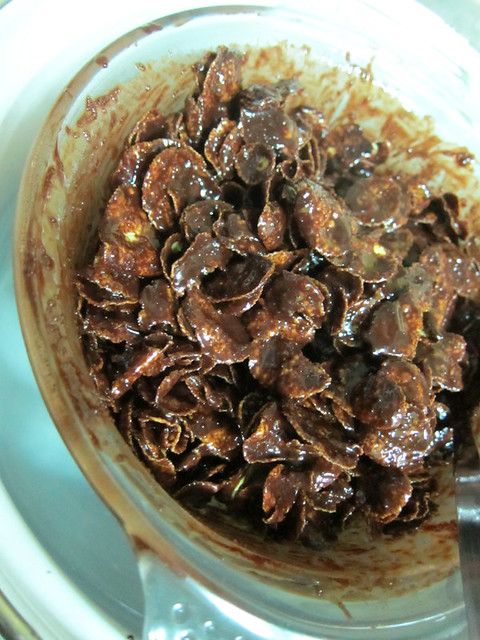
# – With a metal spoon, mix till cornflakes are well coated with chocolate sauce. Do this as fast as you can so the corn flakes won’t be soggy.

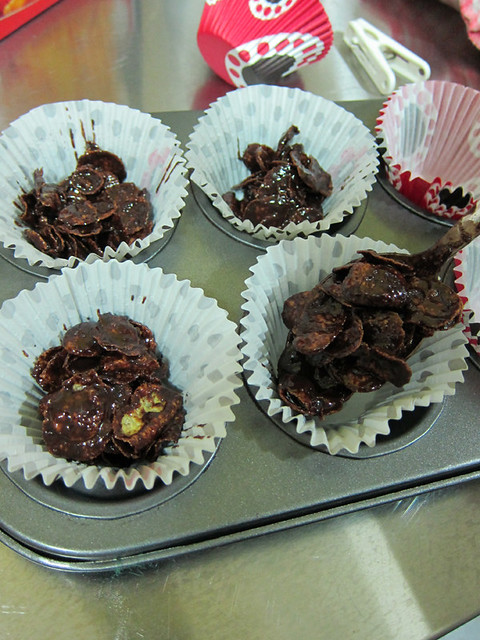
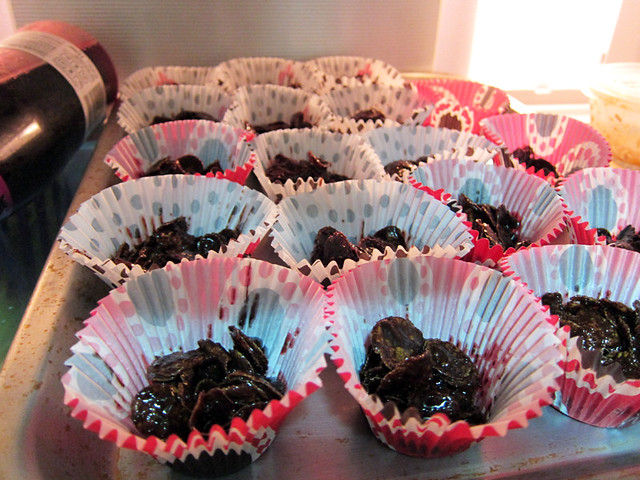
# – Lay out 18 cupcake liners and put a tablespoon of cornflake mixture into each cup.

# – Stick it in the fridge for 1/2 hour.

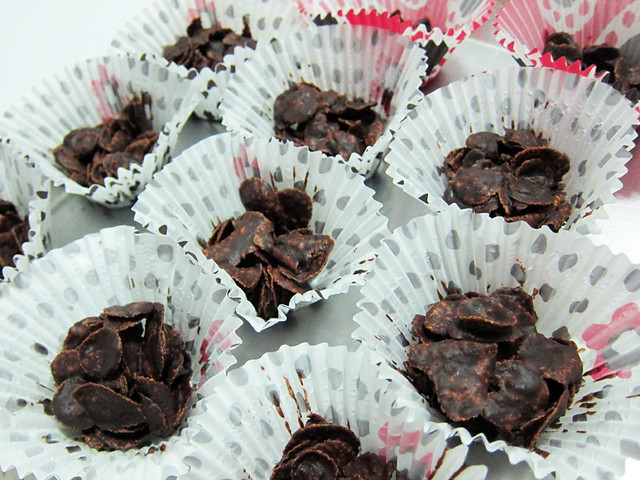
# – 30 minutes later….voila! No-bake chocolate cornflake cups, DONE!

# – They are so, so, so delicious! Crunchy and chocolatey, the perfect combo!

As the recipe uses dark chocolate, it’s not too sweet, so I believe even the most stoic Moms with no sweet tooth will succumb! By the way, store them in the fridge. They won’t melt but they will go soft in high humidity.

So, have you planned anything for your Mom? Besides this chocolatey snack, I’ve got something else up my sleeve too. Will blog about it next week :D

I’m so excited!!!!

Have a Happy Mother’s Day weekend to all Mothers! <3