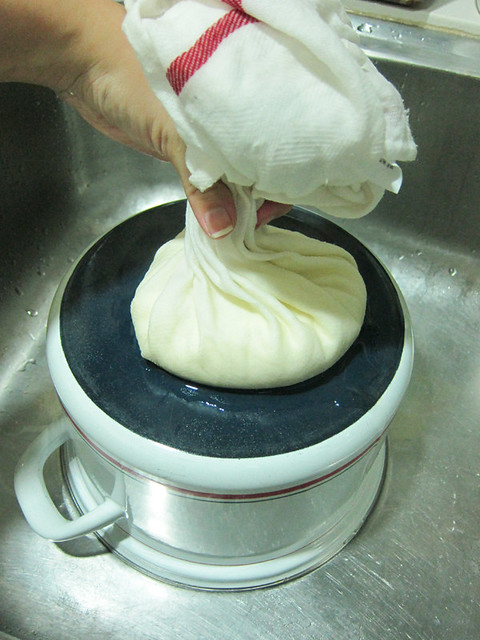
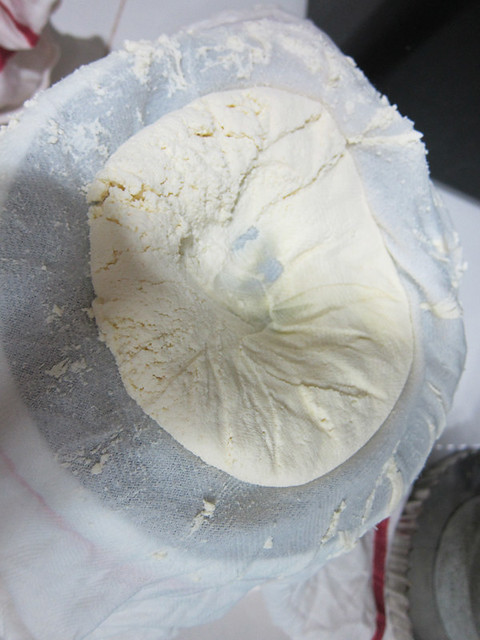
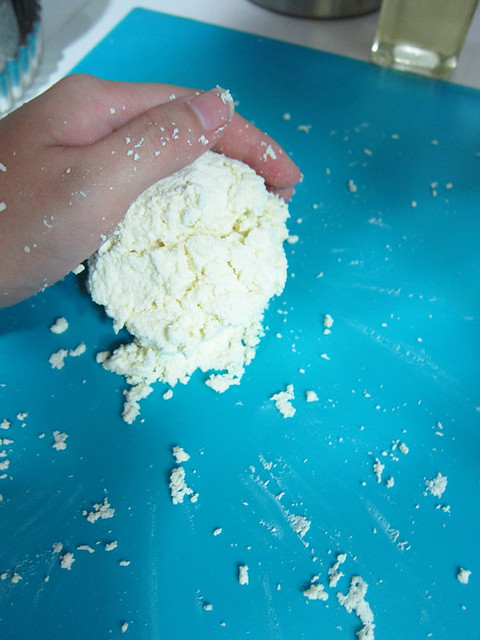
# – Hello, we are macarons. Butt-ugly macarons that ironically, look like nipples.
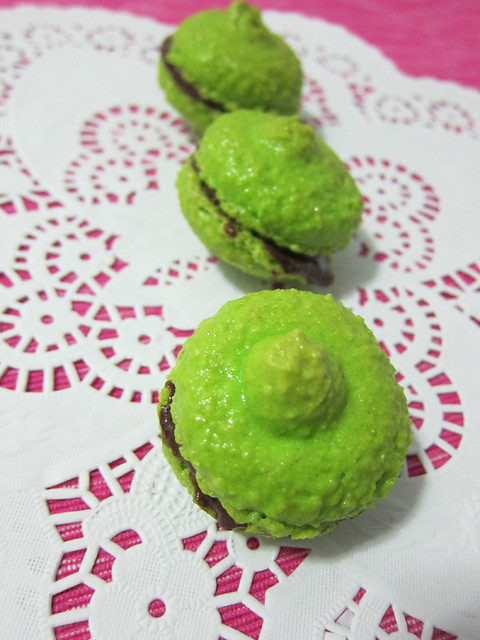
I got rather serious following my first macaron attempt that failed.
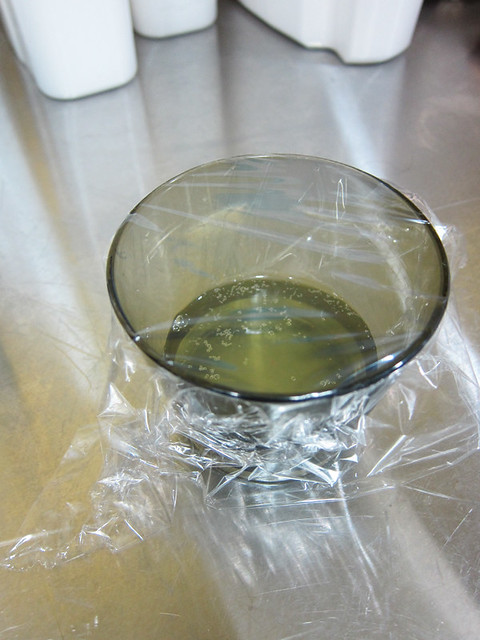
I aged the egg whites, which essentially means I left them in room temperature for a total of 48 hours as I read somewhere that aged egg whites can have more air beaten into them. No, I didn’t get food poisoning and yes, I did read somewhere that egg whites have antiseptic properties (please don’t go and slap it on open wounds now).
# – 2 egg whites, aged for 48 hours.
I also switched on two aircons on full blast (thanks to my gorgeous bb lainey for the advice) to reduce the room’s humidity.
Of course, I used my silicon baking mat this time instead of the damned paper. I was adamant that no macarons would get stuck this time. I did however, have to use the paper later when I had extra macaron mix but I made sure I greased the mofo properly.
/serious face
By the way, I must credit the website that eased me into attempting the scary realms of making macarons, thanks Amanda from Here Comes the Sun.
The ingredients:
- 110 grams of icing sugar
- 150 grams of finely ground almonds
- 2 egg whites
- 50 grams of caster sugar
- 1/4 teaspoon of peppermint essence
- 1 teaspoon of green colouring
For the chocolate filling:
- 100 grams of dark chocolates, melted at Medium Low for 2 minutes and cooled down
- 100 ml of whipping cream, whipped till fluffy
# – First, mix the ground almond and icing sugar together. You should then pulse the mixture till powder fine, and then sieve them. Twice. Set aside.
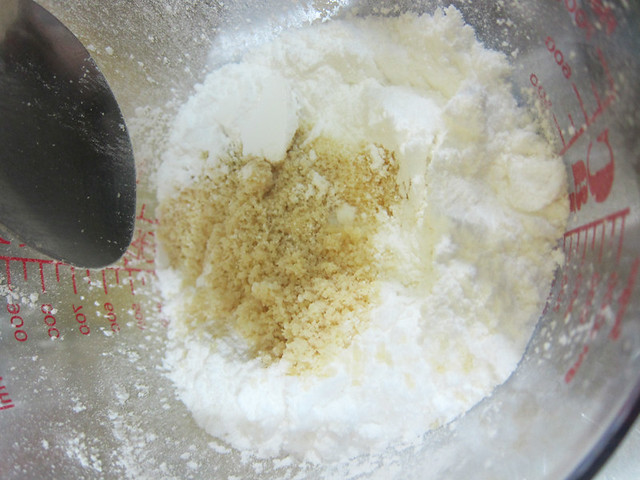
Additional note: However, I did not pulse the mixture because I haven’t gotten a food processor. Sieving them without the prior blitzing was also next to impossible due to the rough texture of store-bought ground almonds. I believe the lack of this step was the main cause of my macaron’s ugliness. So yeah, if you’ve got the privilege of a food processor…use it, gawdamit!
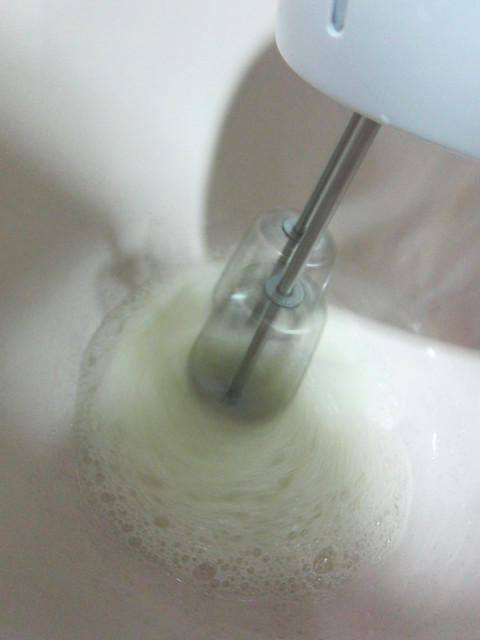
# – Now in a mixing bowl, beat the aged egg whites till fluffy.
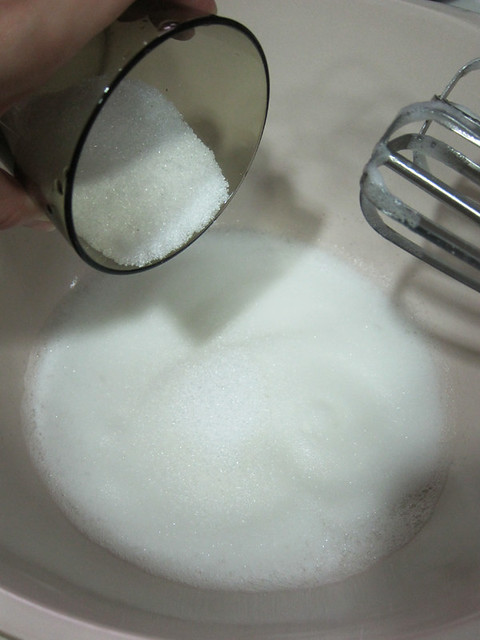
# – Then add in the caster sugar slowly while still beating.
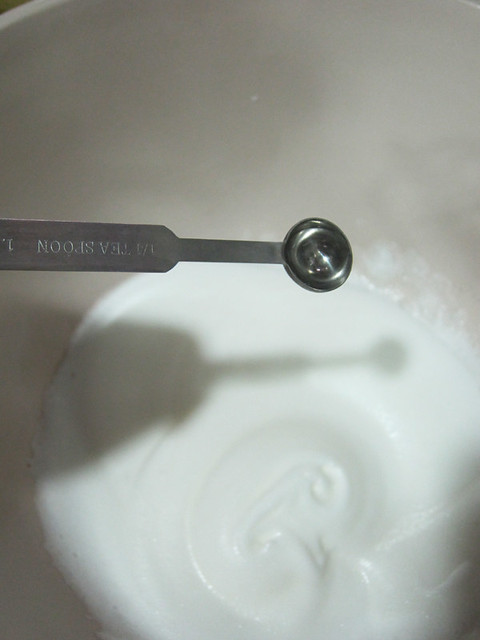
# – When the egg whites have turned glossy, put a 1/4 teaspoon of peppermint essence. I reduced the amount of peppermint essence from 1 teaspoon to 1/4 teaspoon which yielded a nice mild minty taste instead of “Is this super strong breath mints that I’m chewing?”.
# – Followed by a teaspoon of green colouring.

# – Beat the mixture again until colour is even.

# – Now pour in the almond + icing sugar mixture into the green gloop.

# – Fold gently until combined like this.

# – Pipe disc shaped onto the baking mat. Leave to rest for a minimum of 30 minutes for the exterior to harden. To be safe, I left it for one hour.
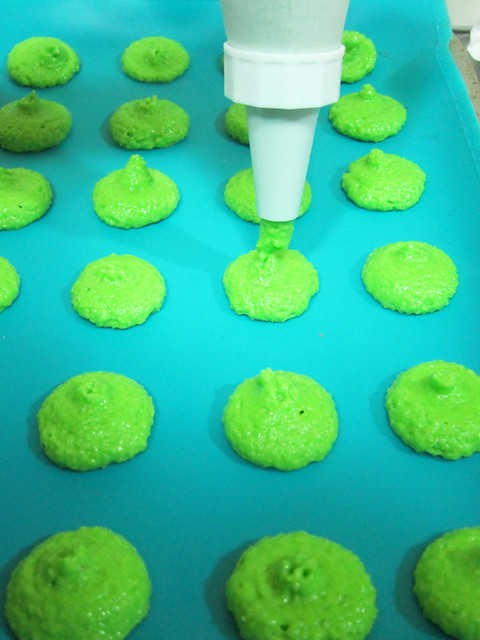
# – After that, stick it in a pre-heated oven at 160 degrees celcius for 20 minutes.

# – Peppermint macarons, DONE!
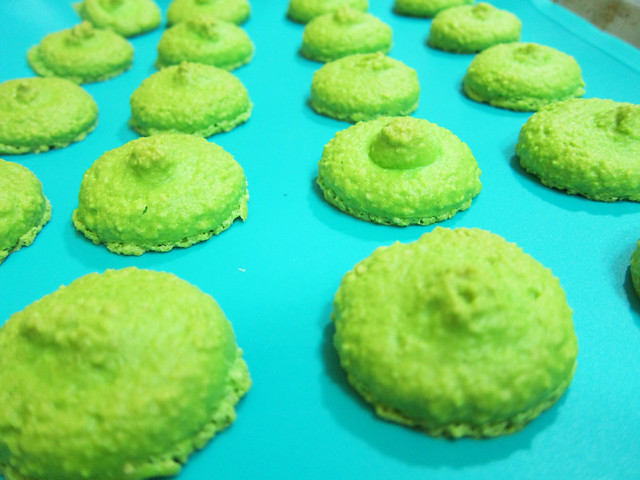
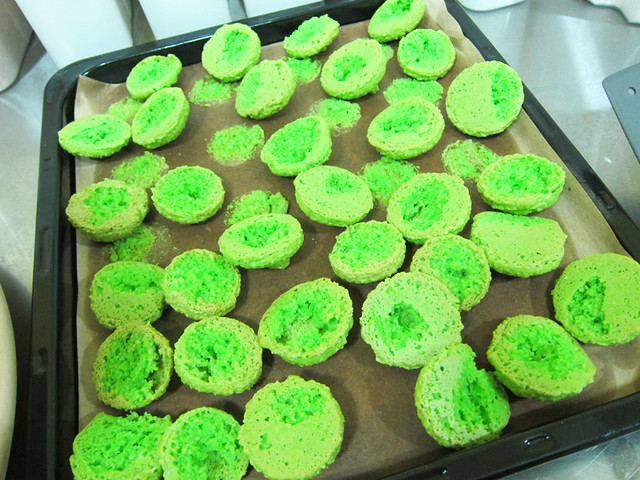
You see, the lack of attractiveness of the macarons was not my only problem. 80% of the macarons stuck to the baking mats. However, unlike the first attempt, it was far more manageable. I didn’t have to throw them away or turn them into something else. In fact, in my head I was secretly pleased because I could pipe more filling in :P
# – Slightly hollowed macarons as bottom bits stuck to the mat. Let the macarons cool down completely.
# – Mix the whipped cream and cooled melted chocolate together till combined. Then pipe it into one macaron and sandwich the filling with another.

# – After Eight inspired macarons, DONE!
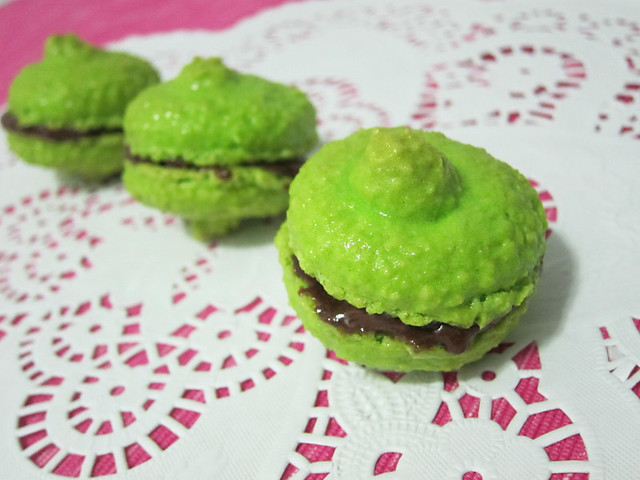
Thankfully, this second attempt was actually decent. The macarons were ugly as [insert expletive] but taste-wise…it was spot-on. The exterior was crispy, the middle was nice and chewy and it so totally reminded me of After Eights :)
# – YUMS!

Next attempt will see me try to make these babies without the bottom sticking and achieving a smooth egg-shell like exterior. Which means…I have to start shopping for a good food processor. Any suggestion please???
