This is one of few desserts that I made which the boyfriend happily said he would pay good money for the same thing outside. I was a little worried at first because the exterior of the pudding looked a bit dry, but thankfully it was far from dry.
It had a crispy exterior with an inside that was a combination of both spongy and sticky, not unlike a very good brownie. Yeap, the individual sticky chocolate puddings were delicious! The boyfriend loved his with vanilla ice cream and a drizzling of blackcurrant coulis while I had mine just with coulis.
# – Individual sticky chocolate pudding.
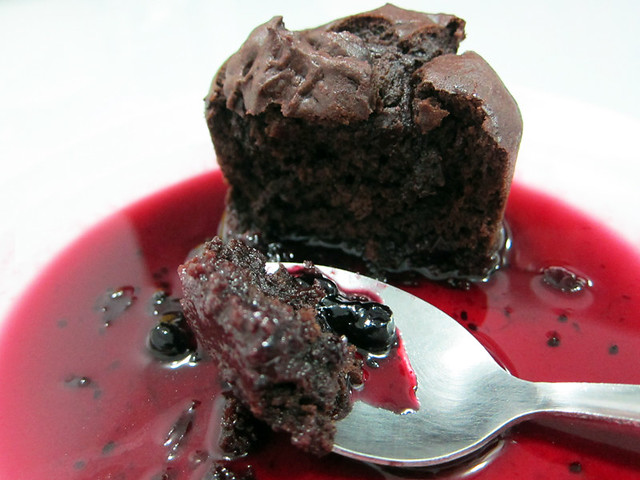
This is a deliciously rich dessert, perfect for chocolate lovers :D
The ingredients:
- 12 tablespoons of flour, sifted
- 1 tablespoon of cocoa powder, sifted
- 1 teaspoon of baking powder, sifted
- 60 grams of butter
- 60 grams of dark chocolate (I used 60% cocoa)
- 4 tablespoons of granulated sugar
- 2 eggs
To serve:
- Any kind of berry coulis (which I cheated by melting blackcurrant jam with some water, hehe)
- Vanilla ice cream
# – First of all, sift the flour, baking powder and cocoa powder into a mixing bowl and set aside.
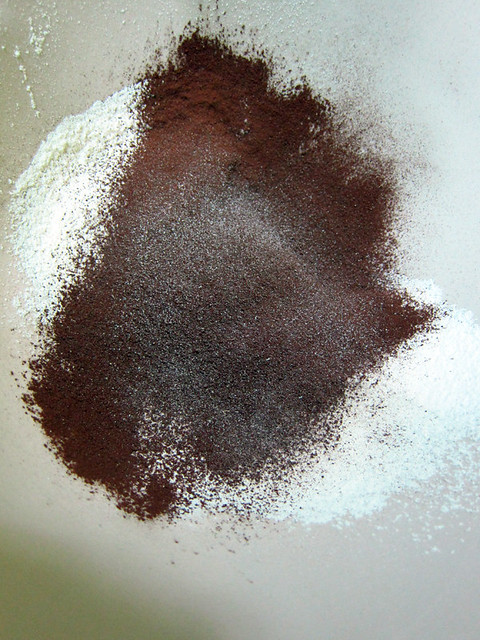
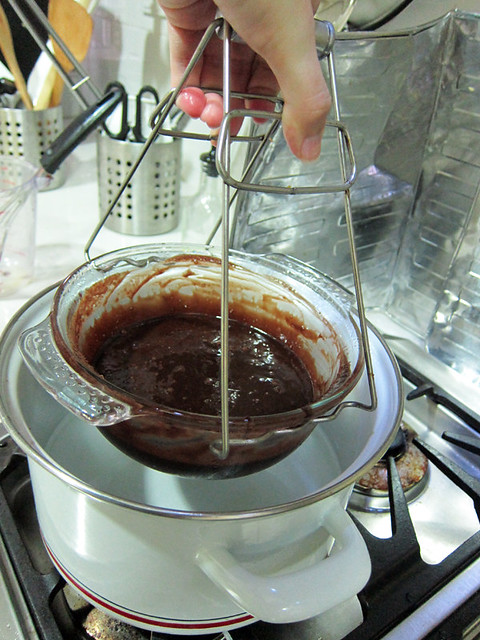
# – Now, set up a double boiler by boiling water in a pot and then suspend a larger bowl over it. Please don’t let the bottom of the bowl touch the water. My setup looks a little different as I happen to have a small bowl with ears that suspend perfectly over the pot.

# – Now dump in the dark chocolates, granulated sugar and butter into the bowl.
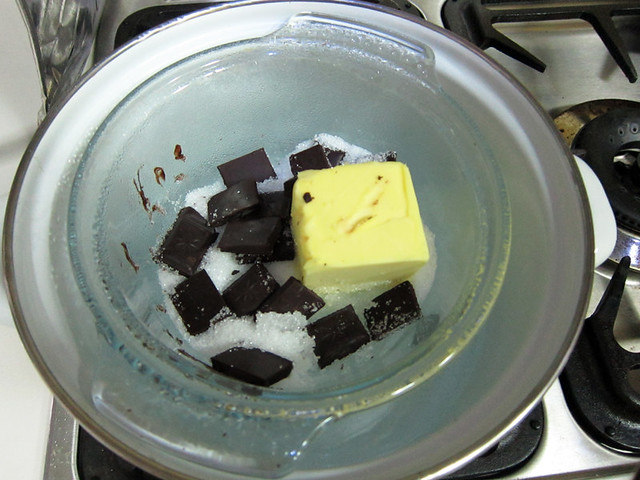
# – Stir till everything’s melted and combined.
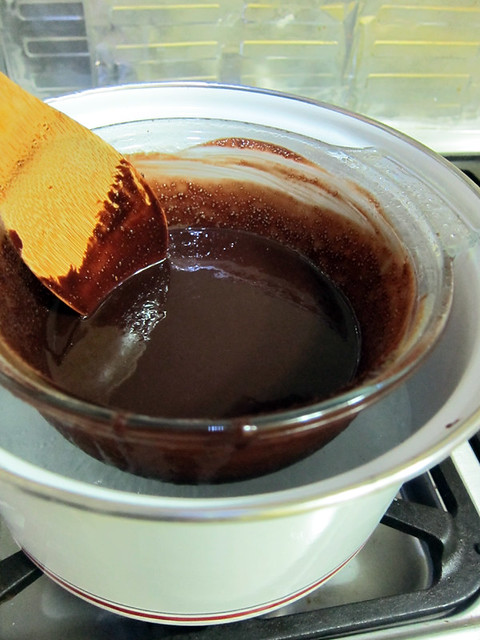
Otherwise, you can pop the bowl of chocolates, sugar and butter into microwave at HIGH for 2 minutes then stir till everything’s combined ;)
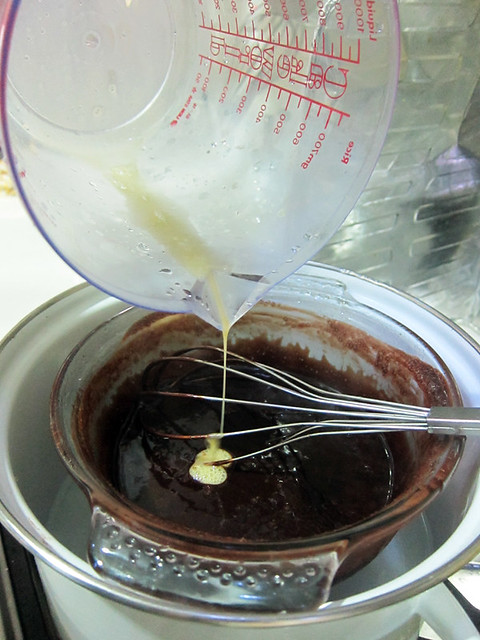
# – Beat one egg well and then pour it into the chocolate mixture while whisking it. You will notice that the mixture will start to thicken almost immediately. Turn off heat but keep whisking till you can no longer see traces of egg.
# – Now remove chocolate mixture from heat.
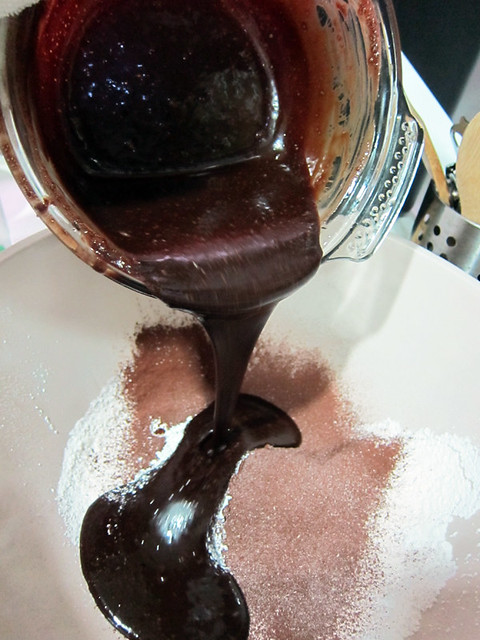
# – Pour it into the flour mixture.
# – Mix with a wooden spoon. I wouldn’t recommend using a whisk like I did here cause it’s sticky!
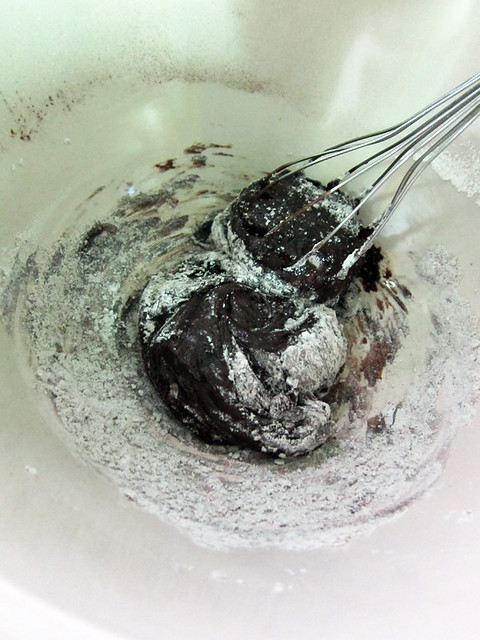
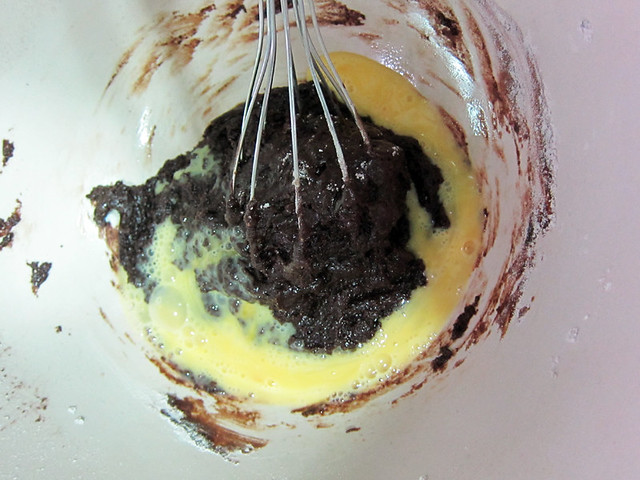
# – Beat the other egg and pour it into the mixture. Continue mixing…
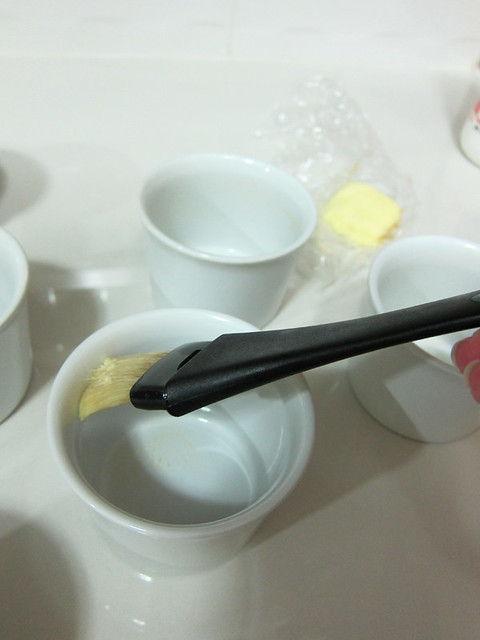
# – Now grease up 3 ramekins with butter. My ramekins can fit up to 200ml in volume each and is 3.5 inches in diameter, pretty standard stuff. You can also use deep muffin tin.
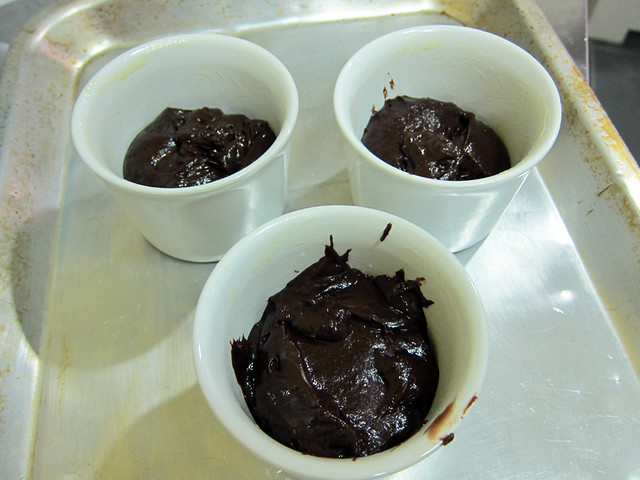
# – Spoon the mixture into all 3 ramekins. Yes, this recipe serves 3.
# – Stick it into a pre-heated oven at 190 degrees celcius for 13 minutes.
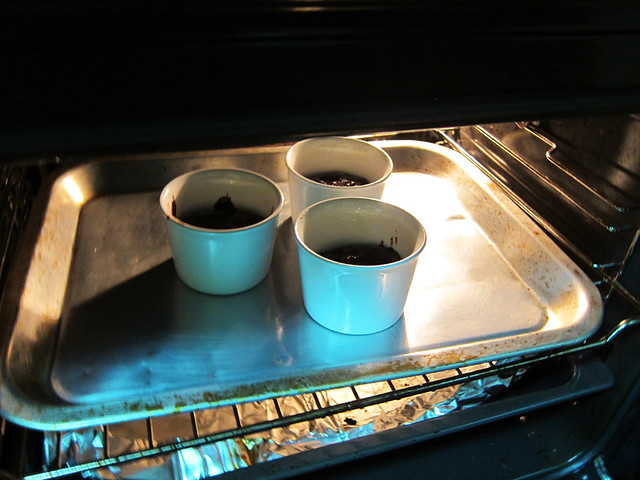
# – They’ve risen!
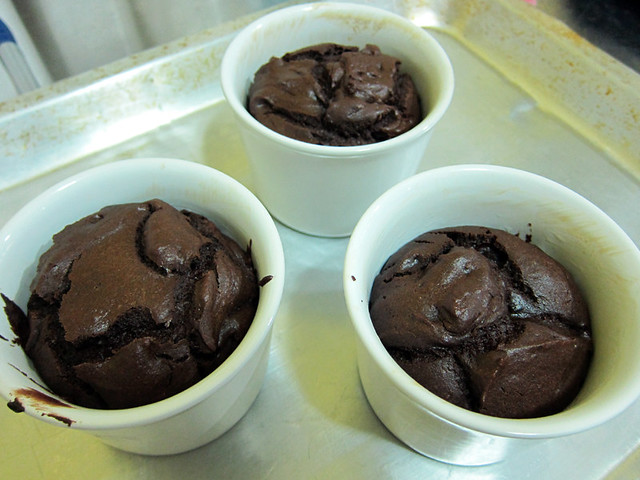
# – Run a knife around the pudding to loosen it from the ramekin. Then leave the puddings to cool.
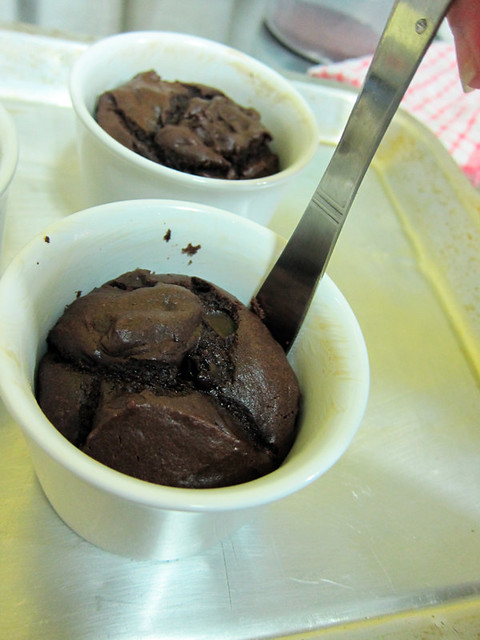
# – After they’re cool enough to handle with your hand, pop them out.
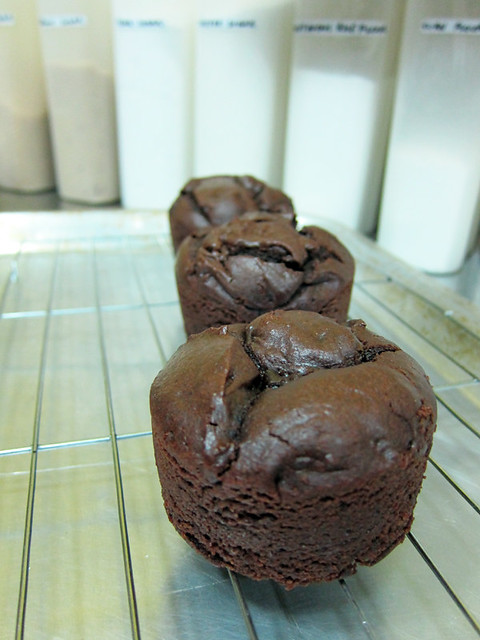
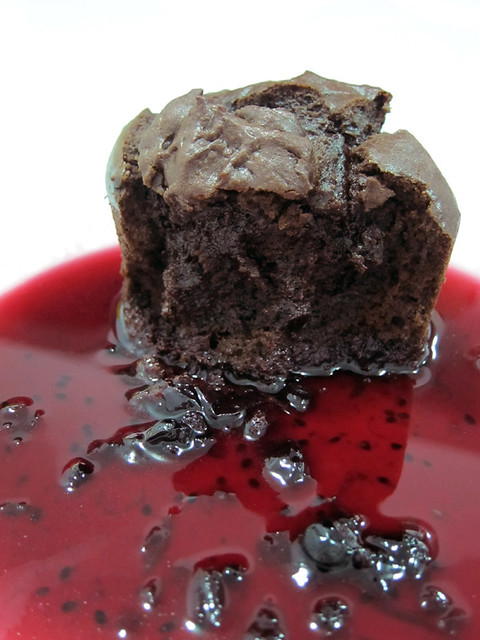
# – Serve with a berry coulis.
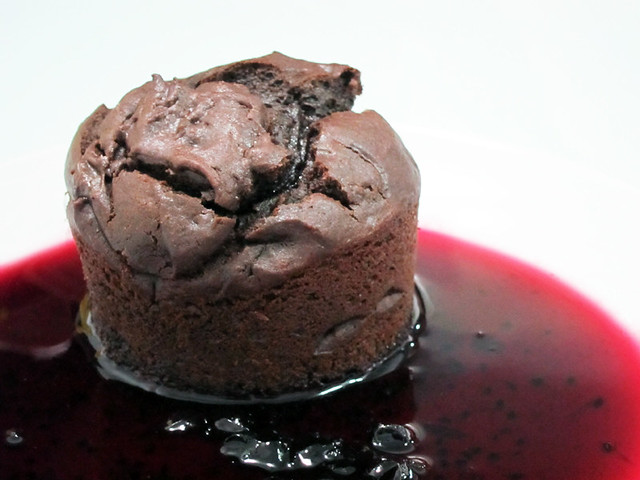
# – The tartness of the coulis goes really well with the rich, sticky chocolate pudding.
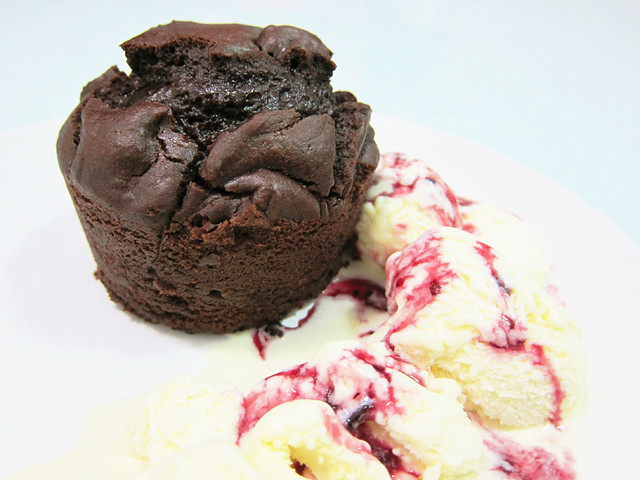
# – Or like my boyfriend, eat it with some good vanilla ice cream and a drizzle of coulis.
You don’t have to serve them immediately but try not to leave them out too long. You could set them aside for a while (but not in the fridge) and them warm it up in the microwave or a pre-heated oven for about a minute before serving.
As for the coulis, I just dissolved 2 tablespoons of blackcurrant jam with a few dashes of hot water. You can make coulis from scratch of course but I was well, lazy…..
Hope you like this recipe! :D
Hmm makes 3…who had the last one? love the cheat for the coulis^^thanks!
I think you can probably guess who had two >_<
certainly not me, hahaha
either one of you is gonna get fat in no time!:p
:(
I banned rif from reading your blog. He’s starting to compare…LOL
hahaha bad Riff!!!
omigod how tempting! *drools*
hahaha i would’ve done the same for coulis..if i were to make these, i think i’ll drown my pudding in chocolate sauce..chocolate on chocolate!
chocolate sauce…hmmm. you! bad!
That was high praise from the boyfriend. It’s always gratifying to think that our cooking/baking is on a par with professional food. Those puddings do look amazing.
thanks kristen, hope he’s honest. hahaha.
Ok this will be our dessert tonight. Thanks for the recipe!
thanks th_c! :D
ur blog is now my 1st source for fail-proof recipes which (almost) always need less than 10 all-there-in-my-cupboard ingredients. thank u for inspiring me to become the kitchen goddess to which my already rotund bf often refers me as now and whom he so appreciates! :D
thanks xiaoxiong for your compliment. really appreciate it :D my bf also getting chubby lor hahaha
I love ur blog. because u provide pictures for the steps of cooking..can u make an entry on how to make a cheesecake..thanks.:)
thanks faraa! i hope to make cheesecake one day very soon!
Cant wait! :))