5 learning points when making Banana and Burnt Butter Pudding.

We’ve got a bunch of bananas that were ripening fast so my boyfriend came up with the grand idea of making a banana pudding. I was very encouraging but of course, made sure he understood very clearly that the kitchen must be spotless after he’s done and that he could only use a maximum of 5 utensils.

# – BF hard at work under the watchful eyes of Charlie.

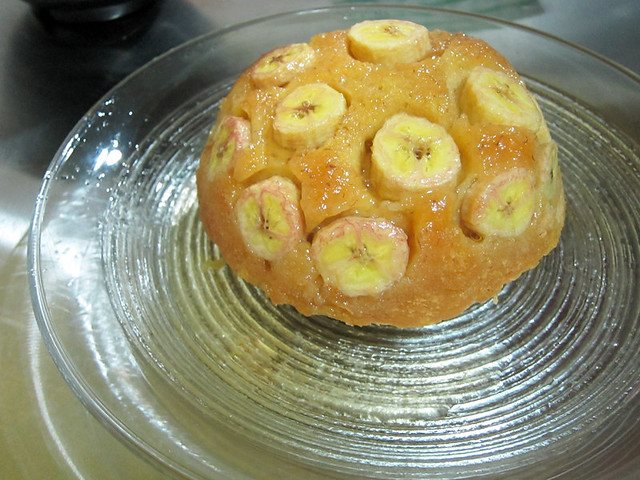
The one my BF made, looked like this….

# – Banana and Burnt Butter Pudding – my BF’s version. Not bad, right?
————————————–

Well, here are 5 things you got to remember when you’re making Banana and Burnt Butter Pudding.

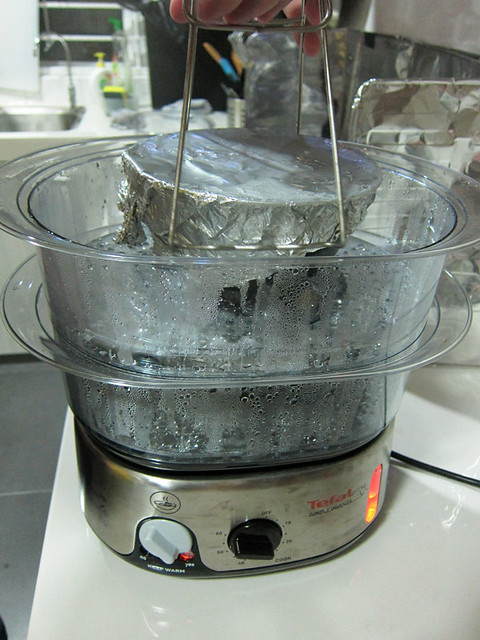
1. Don’t leave it in the steamer to “warm” because your dog needs a walk and you’d like to come back from the walk with a nice steaming hot pudding at your disposal.

# – Hrmmm, where is the temperature control when you need it?

Because instead of just “warming”, it’s just going to continue steaming the heck out of it.

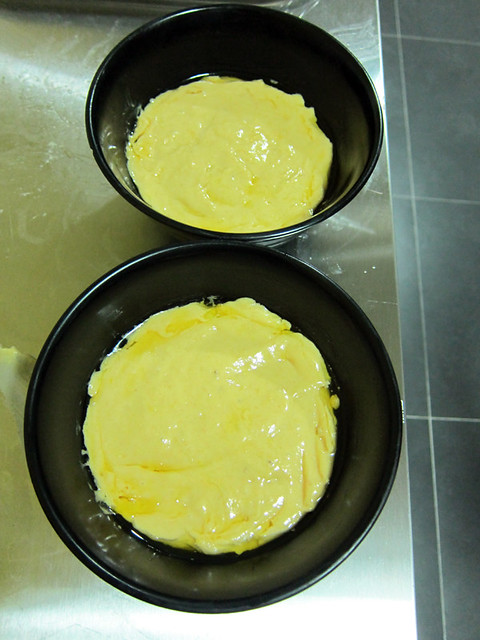
2. When recipe states that it’s a recipe for 6 ramekins, don’t divide batter into two rather large bowls because there were just two people eating.

# – More for one person. Yay! Not really….

Because you would end up with too much vaguely banana tasting cake/dough thing for one person.

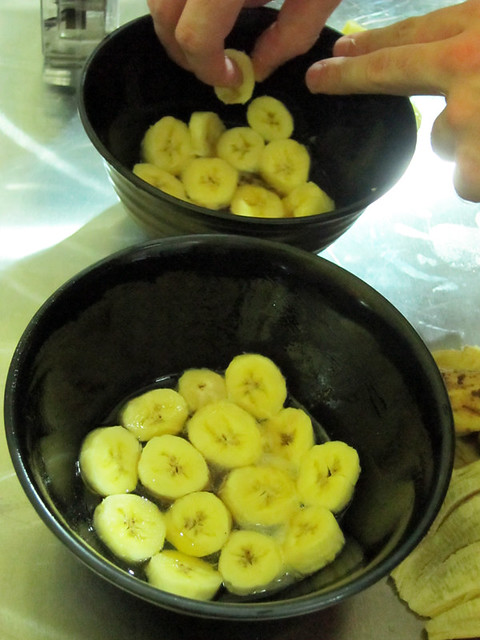
3. When in doubt, add more fruits.

# – The bowl is too large…

Because of reason number 2 above, the banana:cake ratio would be grossly unbalanced.


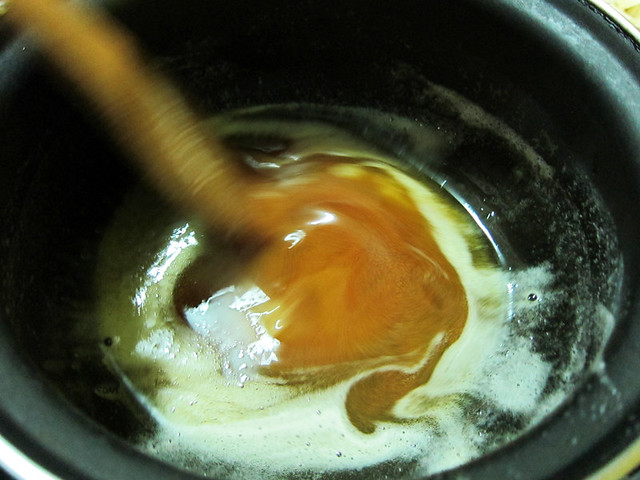
4. Don’t follow random comments to adjust recipes until you’ve tried the original one first.

# – There goes a whole block of butter.

Because you would end up melting too much premium butter that would end up in a bin.

5. Follow the damn recipe to a T.Because it probably has a higher chance of working. Seriously.

————————————–

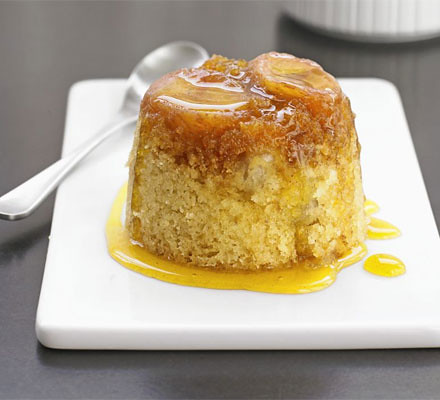
Anyway, if you’re wondering what a Banana & Burnt Butter Pudding looks like, here’s a picture courtesy of BBC.

# – Banana and Burnt Butter Pudding – the accurate representation.
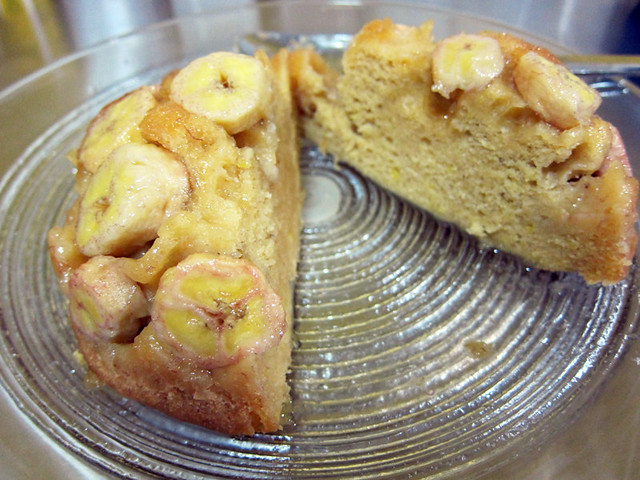
Yeap, ladies and gentlemen, you’ve guessed it right. We’re filing this under “Cooking Failures” :(

# – This is my boyfriend’s Too Little Banana & Too Much Burnt Butter Overcooked Pudding. To his credit, the crust was extremely delicious!
It’s okay baby, I still love you! It’s a constant learning process and we are on this cooking journey together :D

p/s: thanks for the blog material though, hehehe.
The story of profitecakes.

I’m starting a new category under Homemade Recipes and it’s called…..

COOKING FAILURES.

Instead of being ashamed of my kitchen failures, I might as well document these in my blog so that:

1. I can always refer back to these posts to make sure I don’t repeat the same mistakes.
2. I can at least transform my dumbassness into blogging materials.
3. You can laugh at me.

And here, my very first documented cooking failure…

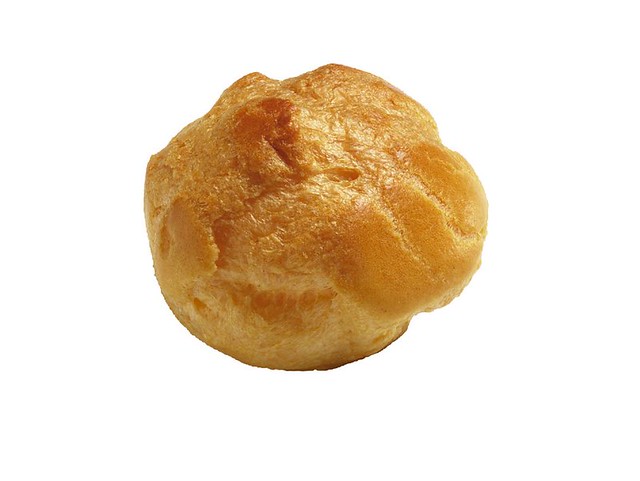
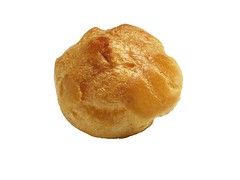
# – Ladies & gentlemen, this is a profiterole.

# – This is my profiterole.

Can you see the difference?? Here’s another look….

# – See the difference??

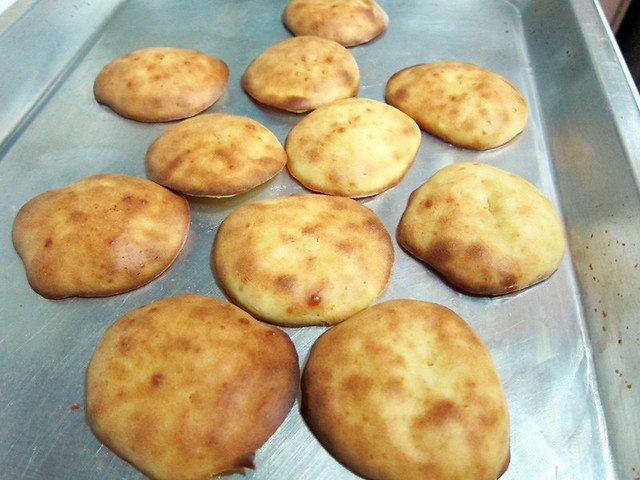
Yeap, beats me. I don’t know why my “profiteroles” were completely flat.

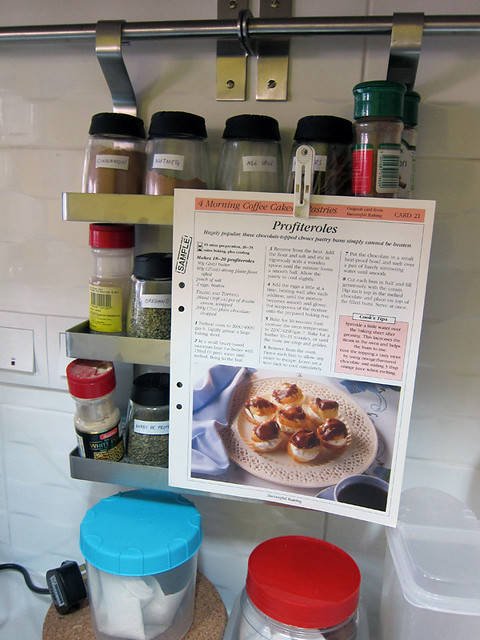
# – Was it me or the recipe? :(

Kim (a different Kim, not this Kim hehe. All Kims are awesome btw), whom by the way is extremely talented in the kitchen and even has her very own cookbook said I might have invented “profitecakes”.

# – How the name profitecake came about :D

Profitecakes…..hmmm, I do like the sound of it!

Despite being a failure, I do think I might make these not-profiteroles again. They are flat and definitely not hollow but guess what…they’re spongy & tasty too! And I found just the perfect way to eat them too!

So yeah, I’m posting a failed attempt that did not fail, hehe.

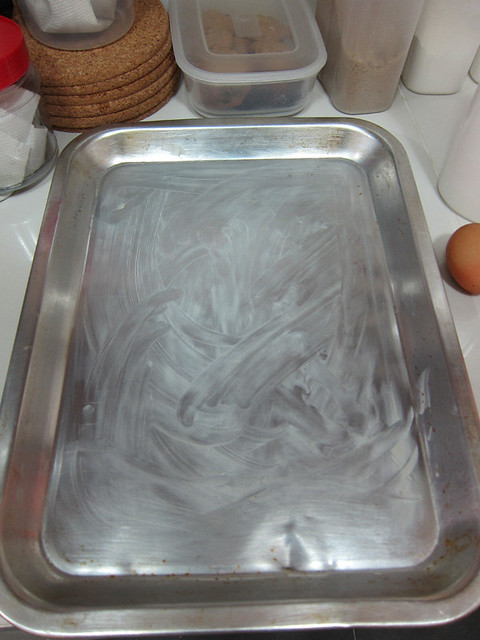
# – First of all, grease your baking tray.

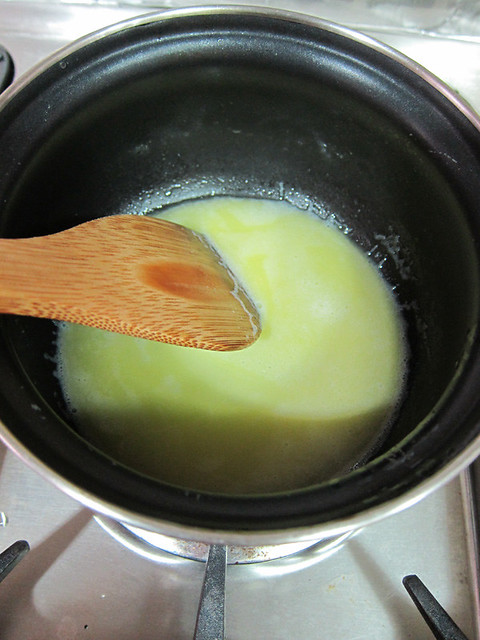
# – Boil 25gm of butter and 75ml of water till well mixed.

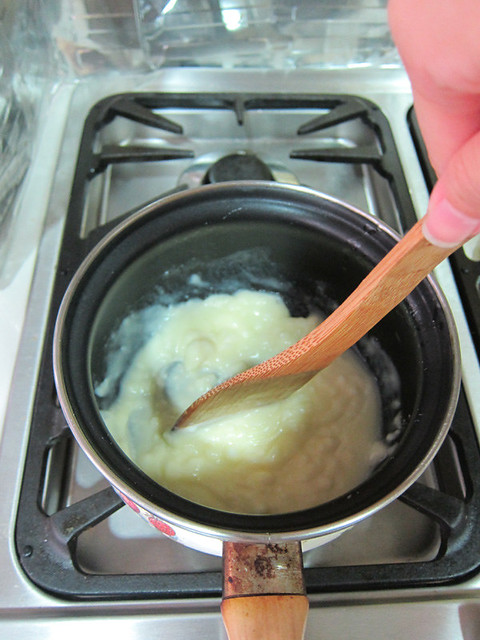
# – Put about 8 full tablespoons of flour into the butter/water mixture….

# – and stir vigourously till…

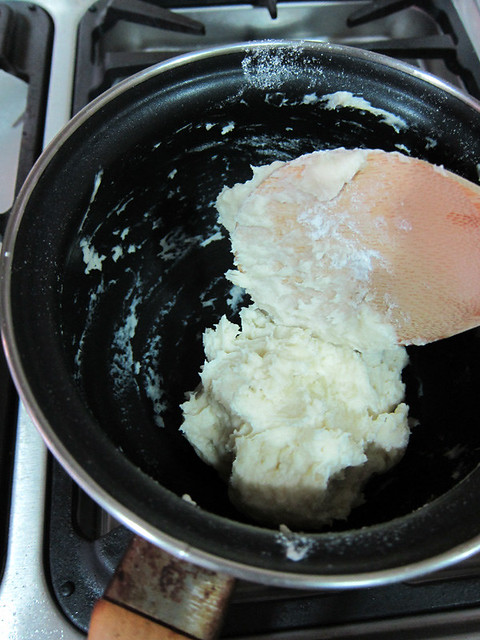
# – it forms a sort of a ball (by the way if it doesn’t form into a ball, gradually add more flour and stir till it forms a ball). Let it cool down a bit.

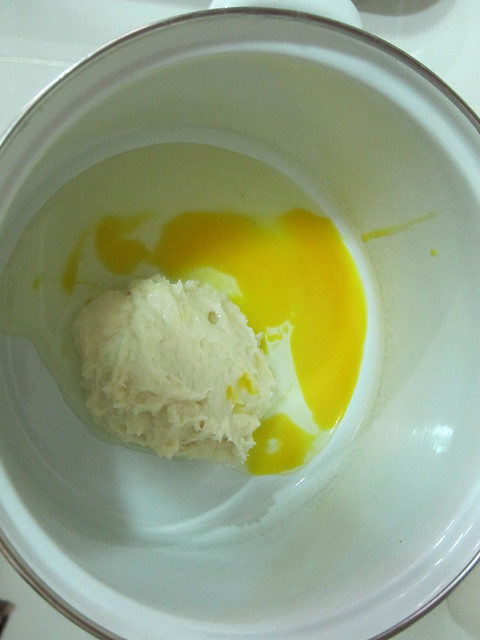
# – After it has cooled down a bit, transfer the ball into a mixing bowl and crack an egg over it.

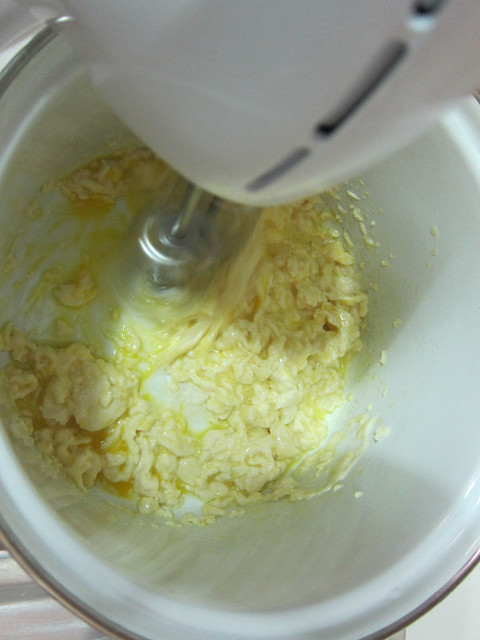
# – Beat it.

# – Till you get this consistency.

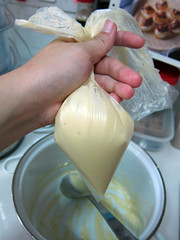
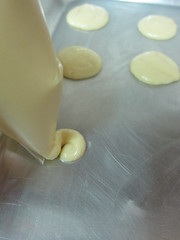
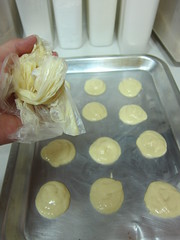
# – Well, you can spoon the mixture onto the baking tray but because I’m preppy like that, I transfered the mixture into a freezer bag (or sandwich bag if you like), nipped off the corner and piped the mixture onto the tray.

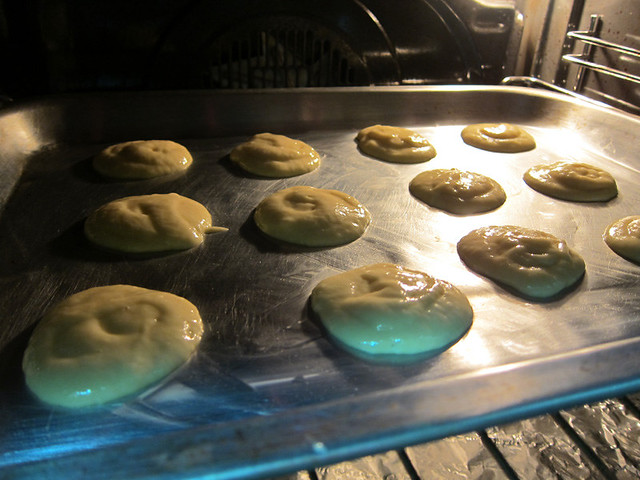
# – Then just stick it in the oven at 220 Celsius degree for 13 minutes.

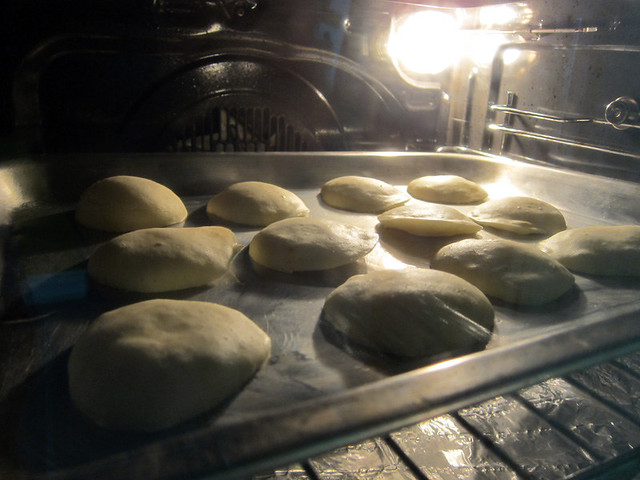
# – Look at them bake!

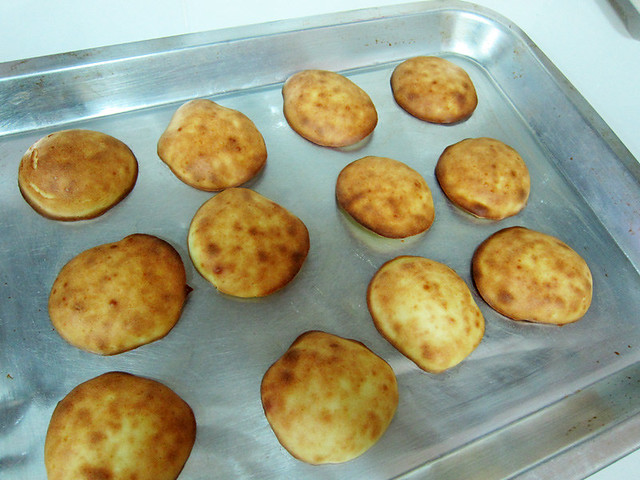
# – When they’re done. Profitecakes! Beautiful! Ya?

So what is the perfect way to eat the profitecakes? How about with cream and honey!

# – Divide the profitecakes into half. Slather whipped cream and drizzle pure honey all over the first half. In fact you could just spread jam and get profitecake jam sandwiches!

# – Then, lay the other halves on top of the cream and honey and there you have it, profitecake cream & honey sandwiches!

Lovely, creamy and fluffy. This is definitely one of those rare times where I love my failure.

+ Update +

Finally! I’ve successfully made profiteroles. Check them out here :D