Easy-to-make decadent mango cream cheese puff recipe.

Thanks to Alice and her adorable daughter, Mimi from Sweet Savoury Life, I was inspired to whip up this dessert.

Instead of strawberries and blueberries which are really expensive here, I used mangoes instead. This was one of the easiest desserts I’ve ever made and it tasted soooo good. As long as you know how to operate a hand mixer, use an oven and spread a bread, you’re pretty much set.

# – Mango cream cheese puff.

Best thing of all, you only need 4 ingredients, and they’re all easily available from the average supermarket in Malaysia!

The ingredients:

  • 4 slices of puff pastry squares
  • 2 mangoes, peeled and sliced
  • 140 grams of cream cheese, leave to soften in room temperature
  • 2 tablespoons of icing sugar

# – First, lay out the puff pastry squares on a baking tray. As you can see, I folded the corners in hoping they would puff up in a nice cradle sort of shape but they didn’t…so don’t bother haha.

# – Stick them in a pre-heated oven at 160 degrees celcius for 25 minutes. Oh lard, I am aware I need to clean my oven :P

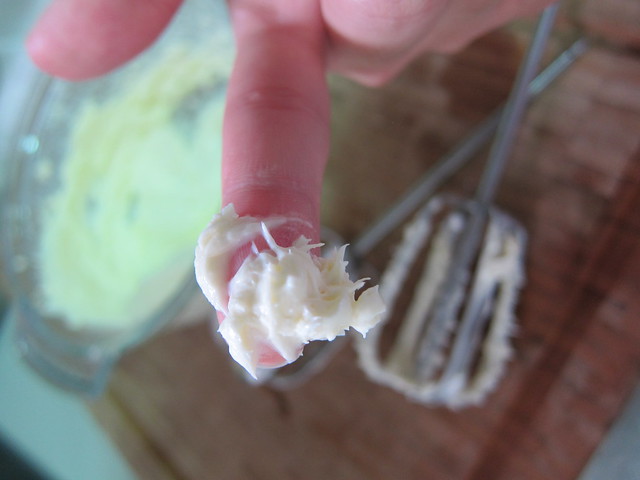
# – In the meantime, add two tablespoons of icing sugar to the cream cheese in a mixing bowl.

# – With a hand mixer, beat till sugar and cheese are completely combined. Set aside.

# – Eject both beaters off from the handle, then bring then to your living room. Sit down, turn on television and lick the beaters clean. Enjoy yourself. Hide the scale.
# – Now slice the mangoes into desired shapes. Leave to chill in the fridge.

# – When the puff pastries are done, leave them out to cool for about 15 minutes.

# – You may use a really girly, lacey food cover to deter the flies.

# – After they’ve cooled down, press the middle of the puff down. Your fingers will be covered in crumbs but that’s okay.

# – Spread the sweetened cream cheese all over the pastry.

# – Then lay sliced mangoes over the top. Mango cream cheese puff, DONE!
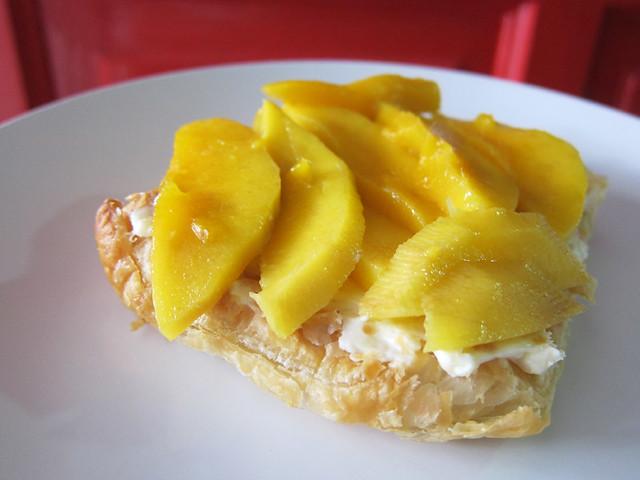
# – Bite into it. Hear the angels sing.

If you’re a fan of cream cheese frosting, you would understand why I love this dish so much. Crispy puff pastry with slightly tart, slightly sweet creaminess and juicy sweet mangoes…..a breathtaking combination.

The BF said it was terrible, so terrible in fact he refused to let me have a tiny bite off his pastry, for “my own good”. Took me for a fool? Men!

Individual steamed chocolate and fruit pudding with vodka infused chocolate sauce recipe.

The original recipe of this dessert came from my new recipe book, “A Year of Desserts – 365 Delicious Step by Step Recipes”. I love that book as each and every recipe in there is very different and the amount of desserts in there is just mind boggling!
# – Individual steamed chocolate and fruit pudding with vodka infused chocolate sauce.

Anyway, I made a lot of changes to the original recipe. I guess sometimes you just got to make do with what you’ve got in your pantry and improvise. I substituted cranberries with dried mixed fruits, butter instead of margarine and demerara sugar instead of muscovado.

# – The original recipe.

Not to mention, I totally changed the chocolate sauce from an original honeyed chocolate syrup to a naughty vodka infused one ;)

For the pudding:

  • 115 grams of demerara sugar (you can use brown sugar too)
  • 75 grams of dried mixed fruits
  • 1 eating apple, peeled and chopped
  • 115 grams of butter
  • 75 grams of flour
  • 2 eggs
  • 1/2 teaspoon of baking powder
  • 3 tablespoons of cocoa powder

For the chocolate sauce:

  • 100 grams of dark chocolates (minimum 60%), broken into squares
  • 2 tablespoons of honey
  • 1 tablespoon of butter
  • 1/2 teaspoon of vanilla essence
  • 3 tablespoons of vodka

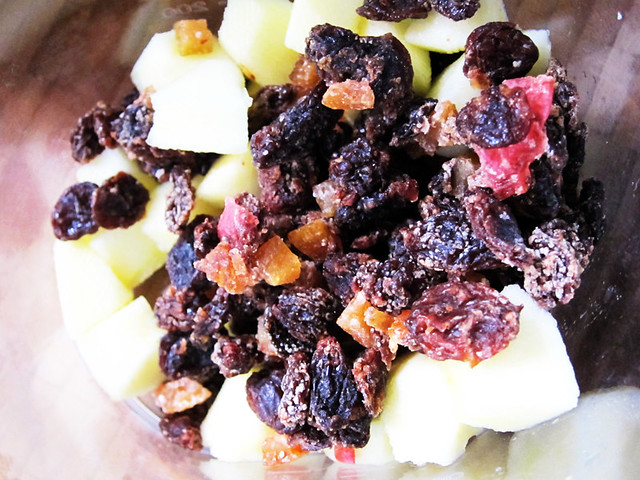
# – First, mix the dried fruits and chopped apples together. Set aside.

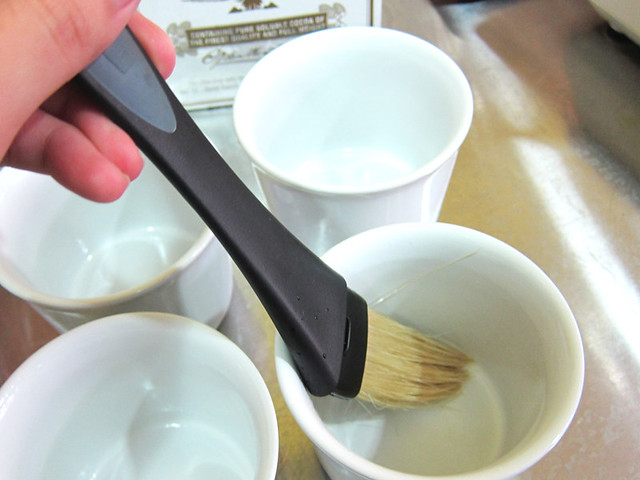
# – Then, grease 4 ramekins or pudding bowls with butter.

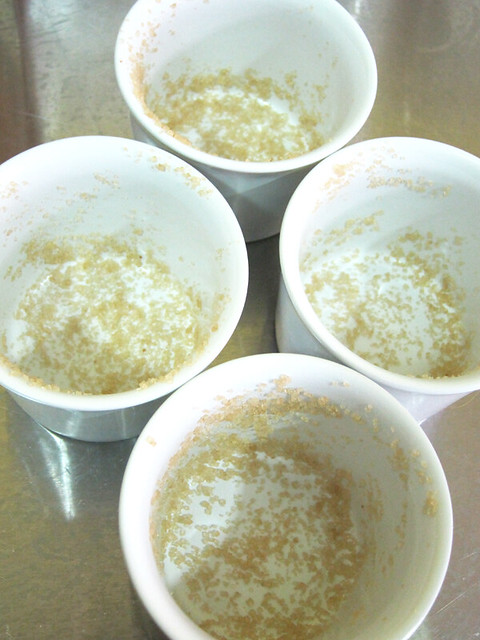
# – Coat the inside of the ramekins with demarara sugar. Keep the rest of the sugar.

# – This is how the ramekins look like.

# – Divide the mixed fruits into each ramekin. Keep chilled in the fridge.

# – In a mixing bowl, throw in the rest of the demerara sugar, flour, butter, cocoa powder, baking powder and eggs.

# – Beat until everything’s combined.

I would like to mention that at this point, if you can help it, don’t taste the cake batter. Because if you did, you would find it extremely difficult to stop.

Don’t say I didn’t warn you!

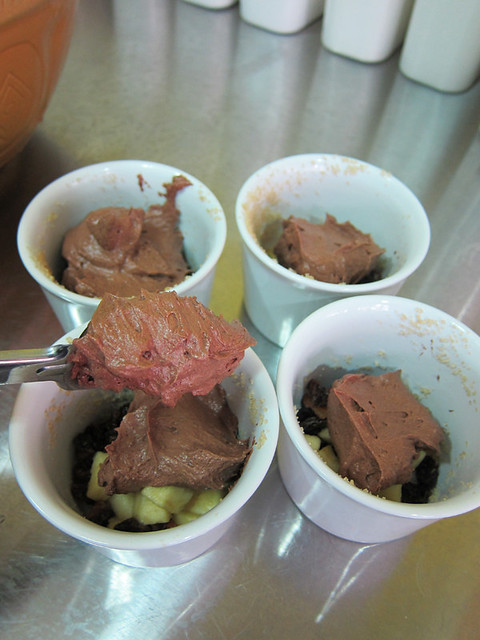
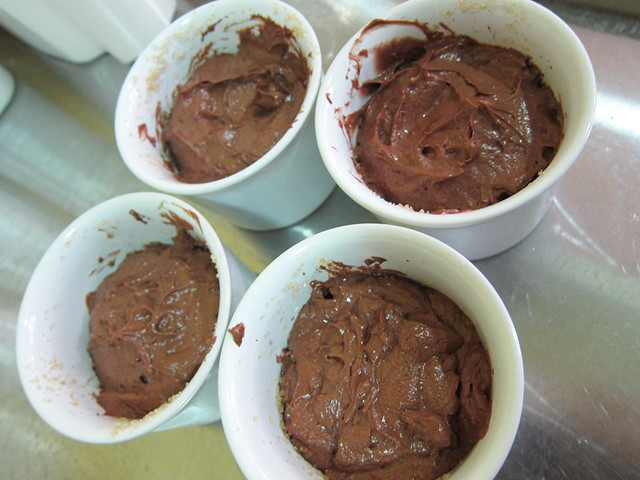
# – Spoon the batter into each ramekin.

# – As the batter is quite thick, tap the ramekins gently to make sure the batter seeps all the way to the bottom of the ramekin.

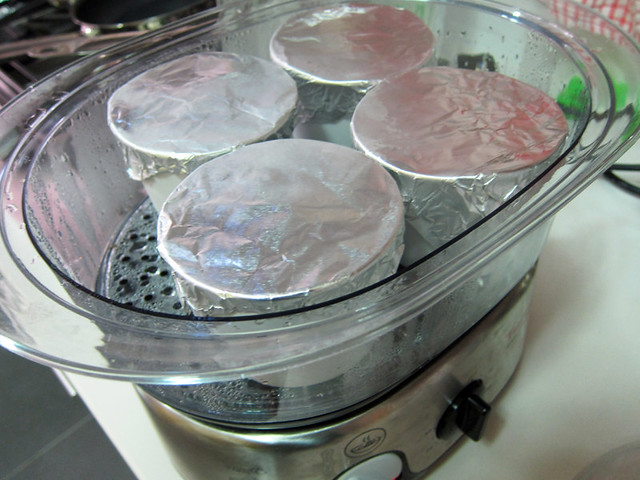
# – Cover each ramekin with 2 layers of foil and stick it in the steamer for 45 minutes.

In the meantime, it’s time to make the chocolate sauce….

# – Put the chocolate, butter, vanilla essence, honey and vodka in a microwave safe bowl and nuke it for 1 minute on medium high.

# – Stir till the sauce is smooth and glossy. If you don’t have a microwave, you can melt the ingedients in a bowl suspended over a pot of boiling water.

# – 45 minutes later, run a knife along the edge of the pudding and turn it out onto a plate.

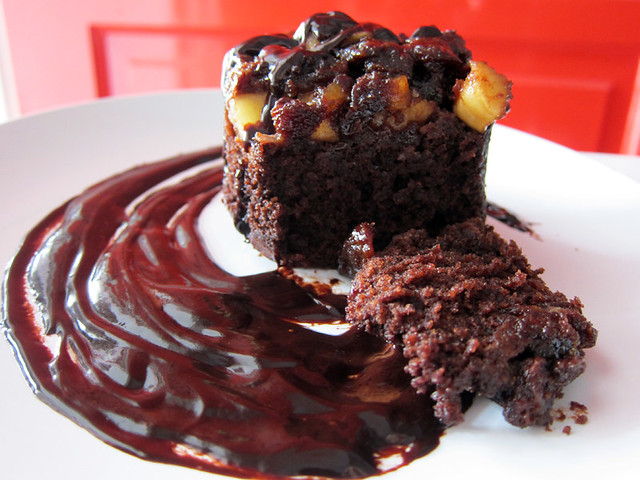
# – Serve with the vodka infused chocolate sauce.

# – Individual steamed chocolate and fruit pudding with vodka infused chocolate sauce, DONE!

The chocolate pudding is moist & fluffy but deliciously balanced by the sharpness of the fruits. Perfect for chocolate lovers, the decadent vodka-infused chocolate sauce makes the pudding even richer.

Hope you like this recipe, happy steaming!

Strawberry chocolate sponge roll recipe.

One of our best friends, M is a frequent traveller, a bonafide jetsetter. We hardly get to see him so when he’s back in town recently and called us up for dinner at his place, I decided to make a jam sponge roll to bring over as dessert.

The recipe has not an ounce of fat in it so it’s perfect for fitness nut M as well as my BF and myself, whose habits of overindulging are starting to take its toll on our physiques…

# – Strawberry chocolate sponge roll.

I couldn’t help but sneak in some dark chocolates though for a bit of a crunch but hey it’s dark chocolates so they’re healthy! ;)

For the sponge:

  • 120 ml of flour
  • 100 ml of granulated sugar, divided into half
  • 5 eggs, whites and yolks separated
  • 1 teaspoon of vanilla essence
  • 2 tablespoons of icing sugar

For the filling:

  • 100grams of good quality strawberry jam
  • 20 grams of dark chocolate, broken into small pieces

Tools required:

  • Baking tray (around the size of 9.5″ x 14″)
  • Clean tea towel (same size with baking tray or more)
  • Waxed/Non stick baking paper

# – First, whip up the egg whites till double in size then gradually add half of the granulated sugar (tablespoon by tablespoon) and continue whipping.

# – Till the egg whites turn fluffy and glossy like this. Set aside.

# – In another bowl, pour the rest of the sugar into egg yolks, then add a teaspoon of vanilla essence.

# – Beat the mixture at high speed.

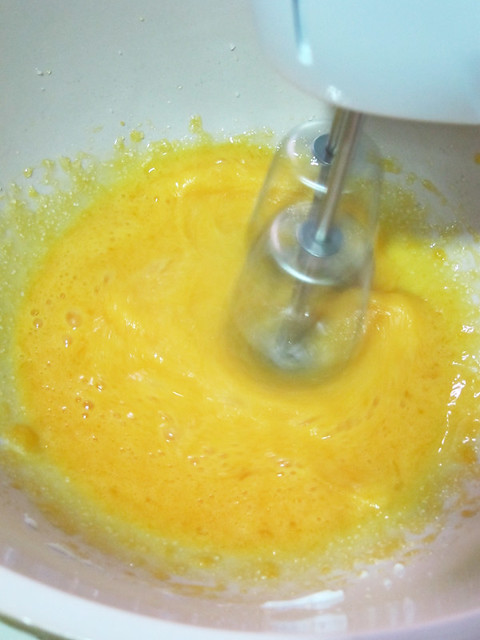
# – After 5-8 minutes, you will notice that the colour has changed from bright orange to a really pale yellow, like this.

# – Now, turn the beater to the slowest and dump in all the flour. The mixture will get instantly thicker. Make sure all flour and egg yolk mixture are thoroughly combined.

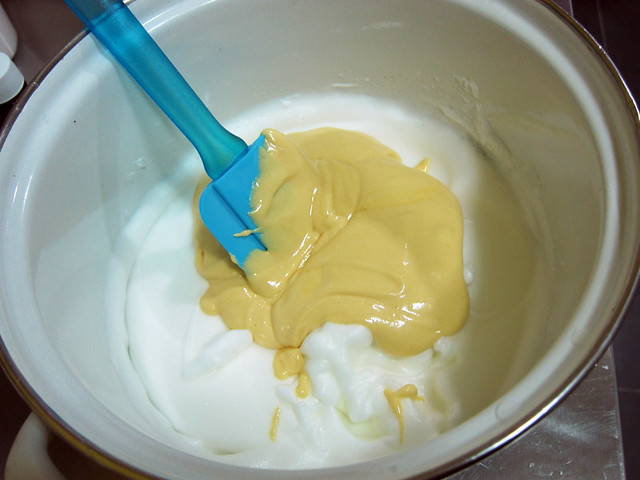
# – Next, pour in the egg yolk + flour mixture into the beaten egg whites prepared earlier.

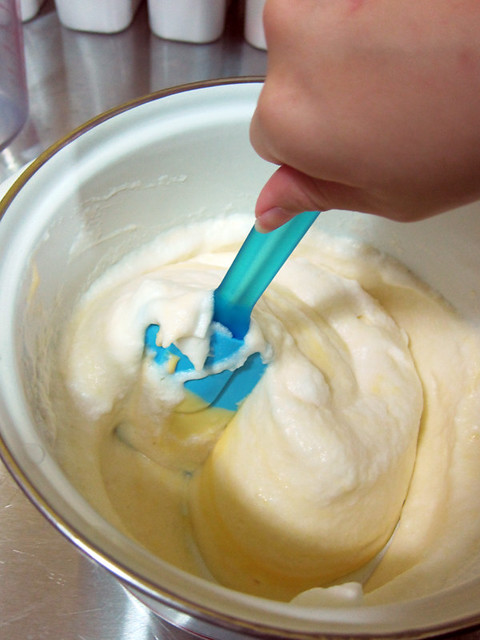
# – With a spatula, very gently mix everything till combined. Do not over-mix. As long as there’s no obvious streaks of white or beige colour is fine.

# – By now you should have a greased a baking tray and then lined it with waxed paper. Mine is 9.5″ x 14″. Pour the mixture in and spread evenly.

# – Till it looks like this.

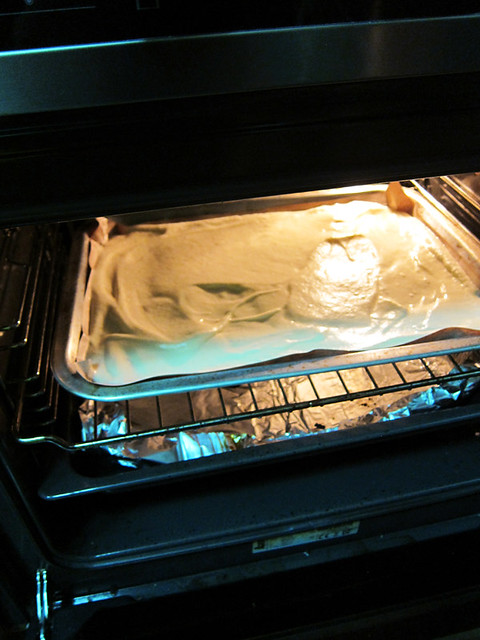
# – Stick it in a preheated oven for 180 degrees celcius for 15 minutes.

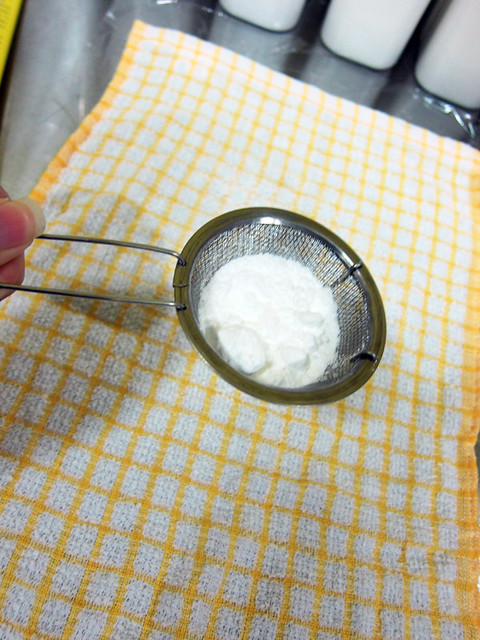
# – While the sponge is baking in the oven, prepare a clean tea towel that is the size of your sponge or more. Dust icing sugar all over it.

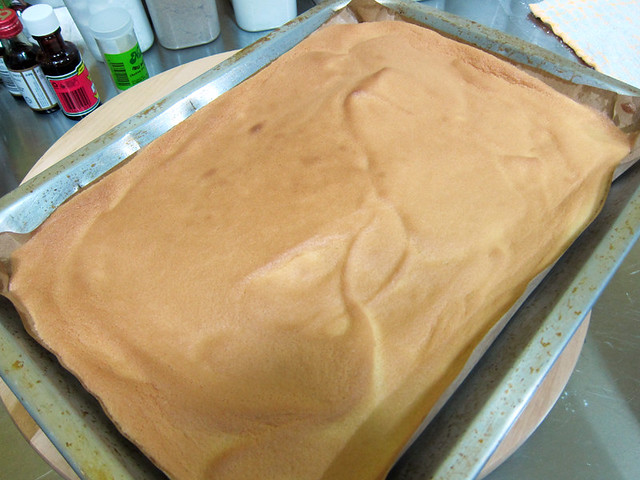
# – After 15 minutes, take the sponge out of the oven. It should be evenly browned at the top.

# – Use a spatula and run it along the side to loosen the sponge from the waxed paper.

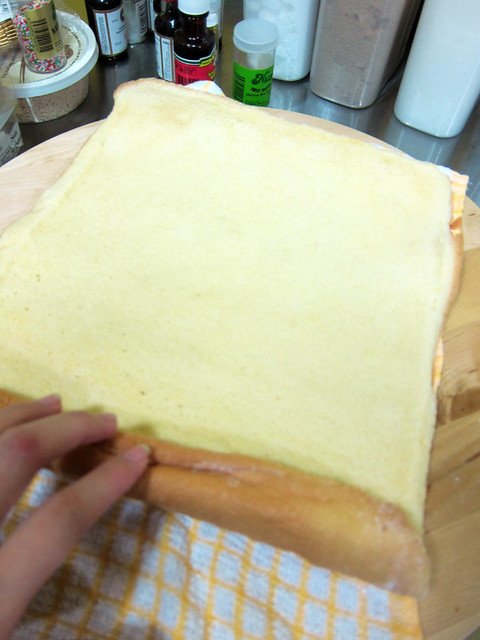
# – Then, carefully turn the entire sponge onto the tea towel, the crust facing downwards.

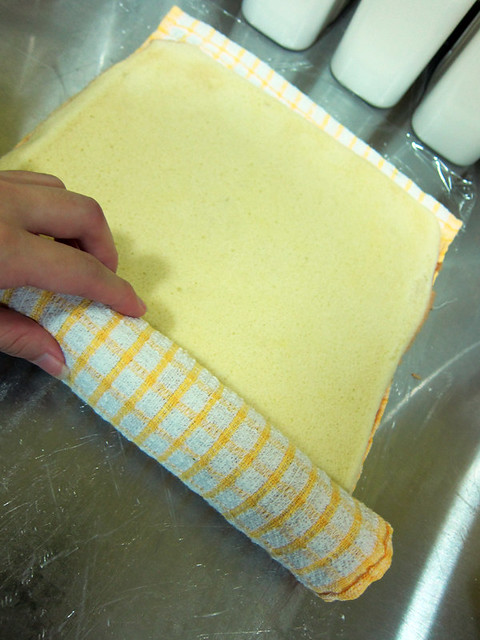
# – Carefully peel off the waxed paper and you will find a beautiful golden yellow sponge :)

# – Now, roll the towel together with the sponge. Please do this step, as it ensures the roll will not crack later.

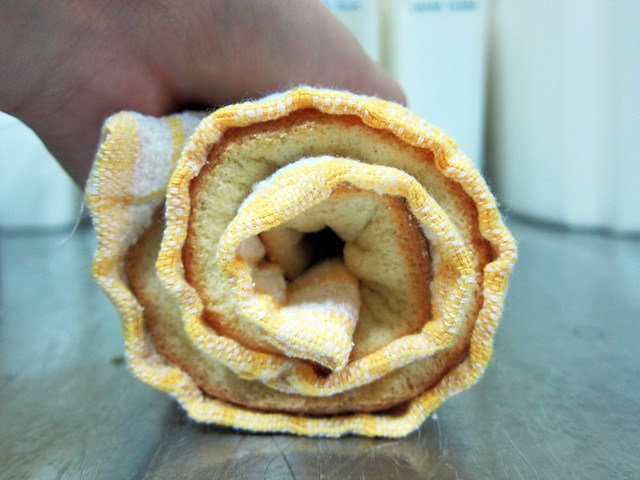
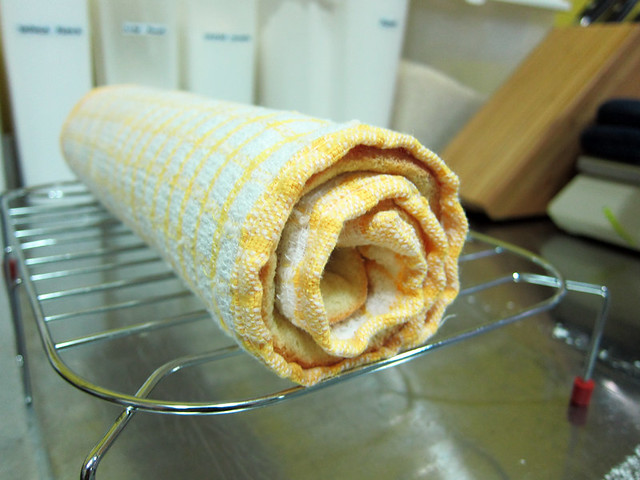
# – It will look like this from the side. Now you know why you need a clean towel.

# – Leave the rolled up sponge & towel on a wire rack to cool down completely.

# – After about 30 minutes, unroll the sponge and towel. You will see it has developed a natural curve which is a good thing.

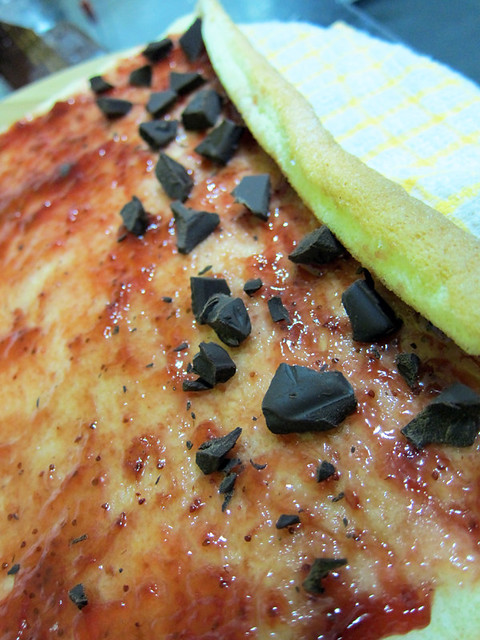
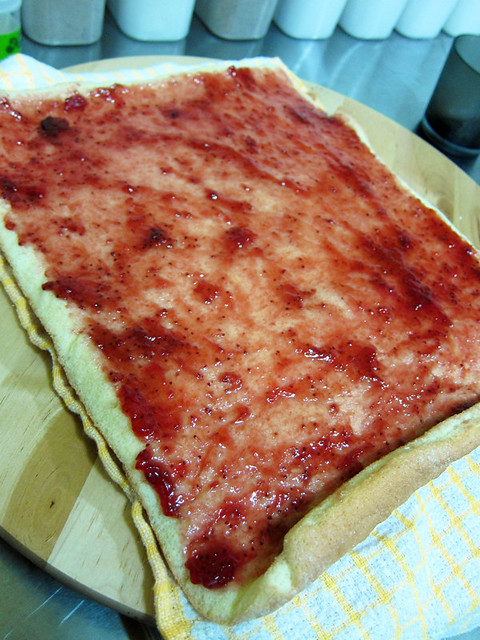
# – Now just dump the jam over the sponge and spread evenly with a spatula.

# – Put broken dark chocolate pieces at the bottom of the sponge. This step is not necessary but it does give the roll a nice chocolatey crunch ;)

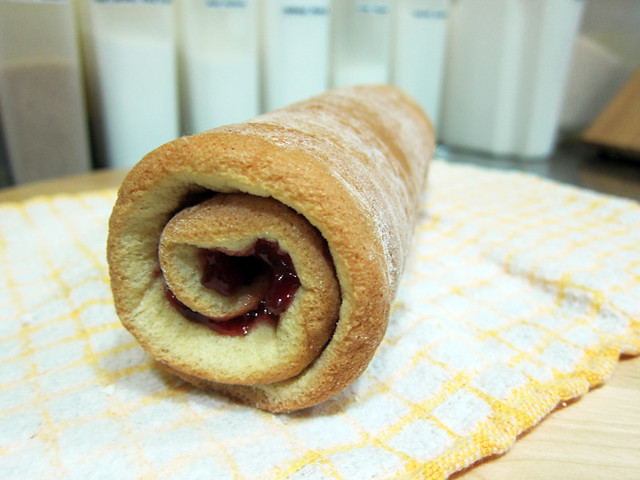
# – And then you roll it up again, WITHOUT the towel!

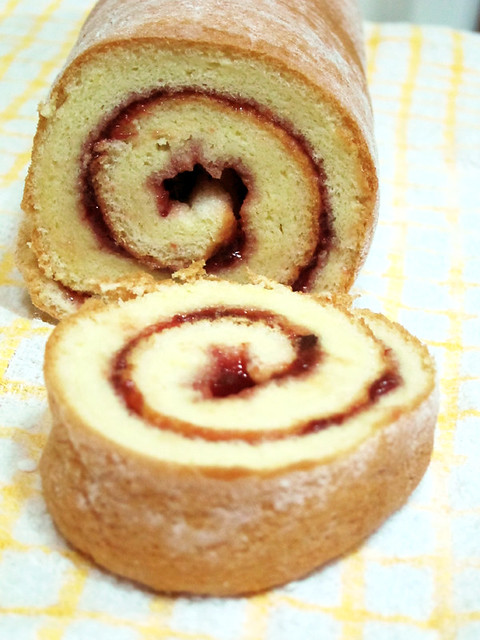
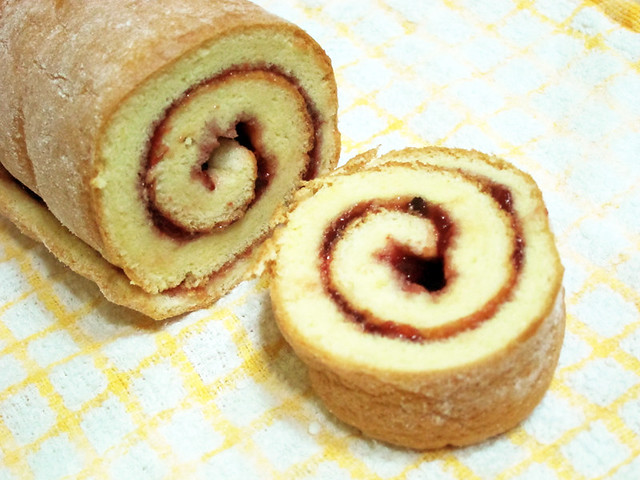
# – Strawberry chocolate sponge roll, DONE!

# – Slice it up before serving.

The sponge is not too sweet as well as fluffy and soft. It’s important to use high quality vanilla essence, jam and chocolates otherwise it might have that unpleasant artificial taste.

It’s the first time I made sponge roll and I’m so glad it did not crack on the surface at all. It’s a basic sponge roll recipe so you can make it with different fillings. I even plan to use it as trifle sponge, teeheehee.

Now that I know this recipe is reliable, next time, I’m going to use cream cheese and dried fruits as a filling. I can’t wait!!! :D