This is not a mango and apple creme brulee recipe.

Everytime I see chefs on television torching sugar on their creme brulee, I tell myself, “I want one of those!”. Kitchen torch that is.

I’ve seen them around but they don’t look very well built and I’m not too sure about holding something in my hand that spits out blue flame without so much of a warranty card. Not to mention, they’re priced quite expensively here too.

So I delayed buying one for a while until last weekend, I spotted THE torch. It’s the right colour, it’s of a decent brand, it’s on sale and it’s got 3 year warranty. I bought it on the spot.

# – My new kitchen torch :D

So kitchen torch search done. It was time to look for a creme brulee recipe. Every single one that I had come across required between 8 – 16 eggs and about a kilo and a half of double cream in weight (lets not begin on the sugars….).

I admit, it’s very tempting. I can almost taste how freaking delicious my creme brulee could be, but even then….EVEN THEN, my logic was telling me that I could be suffering from severe mental issues by knowingly consume 16 eggs, 1.5 kilos of double cream and lots, and lots, and lots of sugar.

And so, I google low fat creme brulee, and I got…..this. It is egg-less AND cream-less. It should not be called a creme brulee. But hey, I could torch sugars with recipe and so, inspired by the recipe, I made something similar albeit with minor changes.

The ingredients:

  • 2 mangoes, peeled and cubed
  • 2 apples, peeled and cubed
  • 500 grams of plain yogurt
  • 4 tablespoons of pure honey
  • 2 teaspoons of vanilla essence
  • 6 tablespoons of brown sugar

# – First, divide the cubed mangoes into 6 ramekins.

# – Followed by the cubed apples. Set aside.

# – Now pour 2 teaspoons of vanilla essence into the yogurt.

# – Then, the 4 tablespoons of honey. Taste, if it’s still too tart you can add more honey. In fact, you can totally omit this step if you don’t have a sweet tooth.
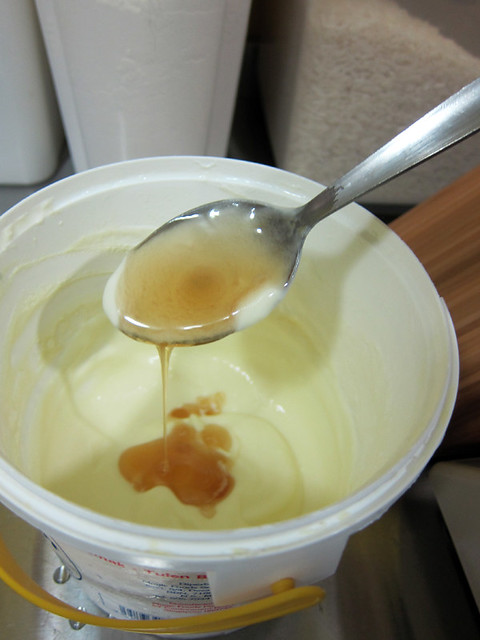
# – With a spoon, mix until everything’s combined.

# – Spoon the yogurt mixture into all the ramekins.

# – Submerging the fruits in the yogurt like this. You can tap the ramekins gently to get rid of air pockets in the mixture.

# – Sprinkle a tablespoon each of brown sugar onto the surface of the yogurt in each ramekin.

# – Then, with your kitchen torch…torch the sugar till they melt. Ahhhhh blue flame :)
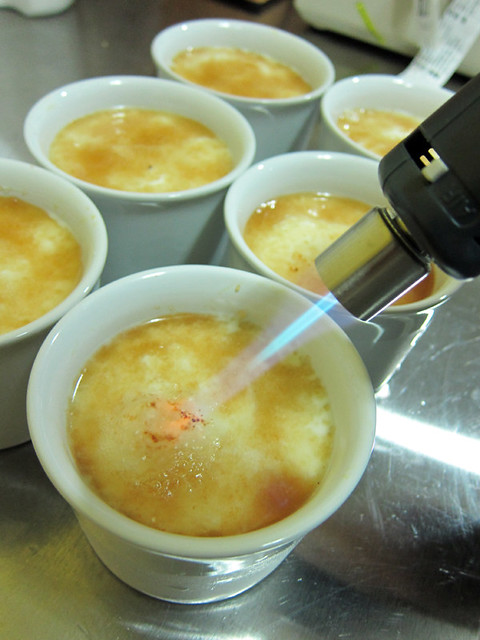
# – The melted sugar will cool down to form a thin layer of crispy caramel.
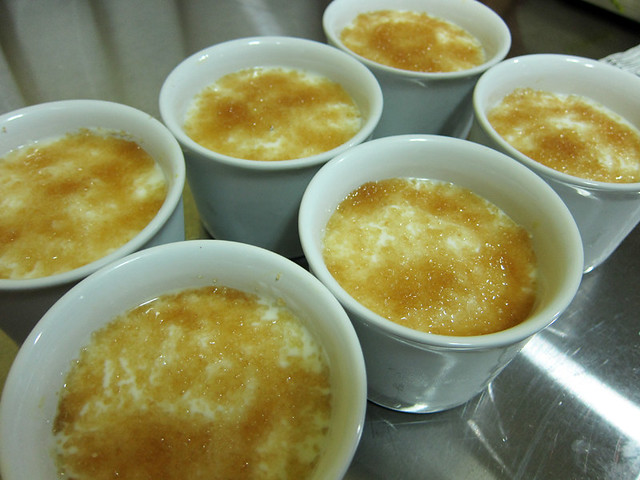
# – “This is not a mango and apple creme brulee”, DONE!

This dessert is certainly more healthy than a creme brulee made with 16 eggs but I think it’s on par where satisfaction is concerned. It is creamy but refreshing, sweet but not in a sickly sort of way. And best of all, I got to torch sugars :D

Have fun!
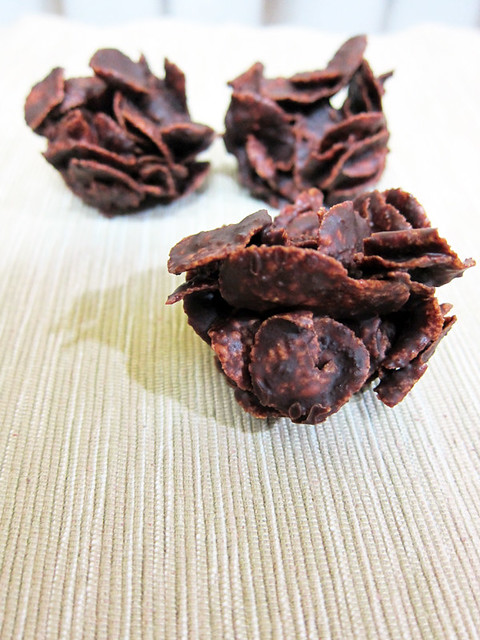
Supremely easy no-bake chocolate cornflake cups recipe for Mother’s Day.

This is perfect for Mother’s Day because anyone can make this. I’m serious…..whether you’re a man, woman, young or old, a pro or completely inept in cooking, YOU CAN STILL MAKE THIS.

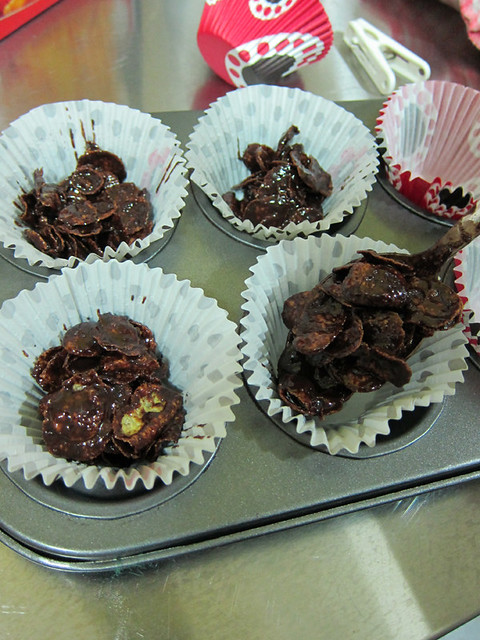
# – No-bake chocolate cornflake cups for Mother’s Day :)

It is delicious, crunchy and superbly chocolatey. And believe it or not, all can be done within 1/2 hour! The recipe serves 18, so there will be plenty to go around but make sure Mom gets the largest share!

The ingredients:

  • 50gm butter
  • 100 gm of dark chocolate (60% cocoa and above)
  • 50 gm caster sugar
  • 1 tablespoon of golden syrup
  • 100 gm cornflakes

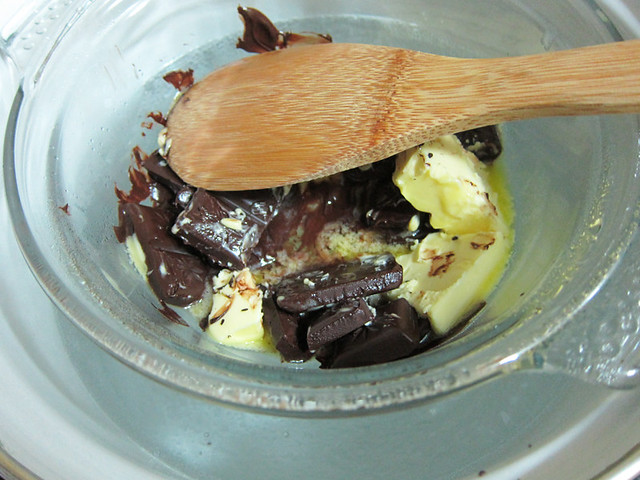
# – First of all, dump dark chocolates, butter and sugar into a bowl suspended over a pot of boiling water. It’s okay if the the bottom of the bowl touches the water. Stir till everything’s melted.

Of course, you can melt them up in a bowl in the microwave at High for 2 minutes ;)

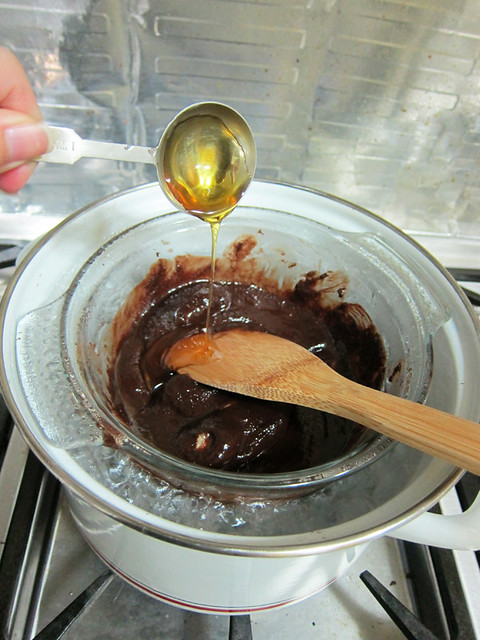
# – Then dump in a tablespoon of golden syrup. Stir till combined…

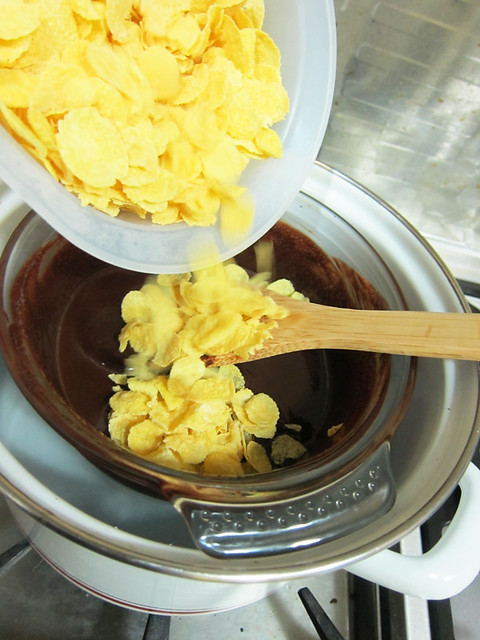
# – Then throw in the cornflakes. Turn off the heat.

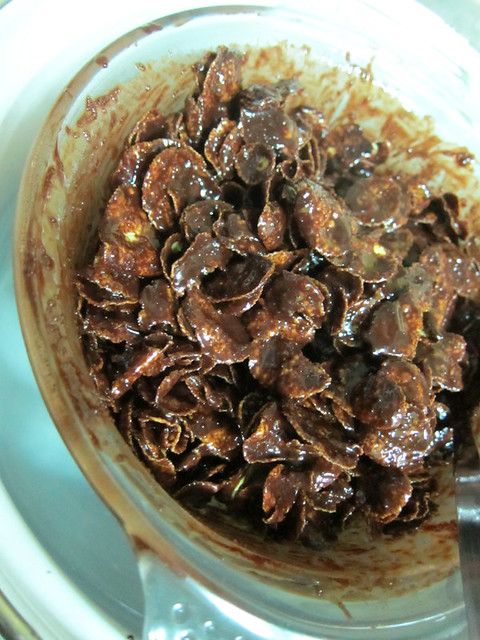
# – With a metal spoon, mix till cornflakes are well coated with chocolate sauce. Do this as fast as you can so the corn flakes won’t be soggy.

# – Lay out 18 cupcake liners and put a tablespoon of cornflake mixture into each cup.

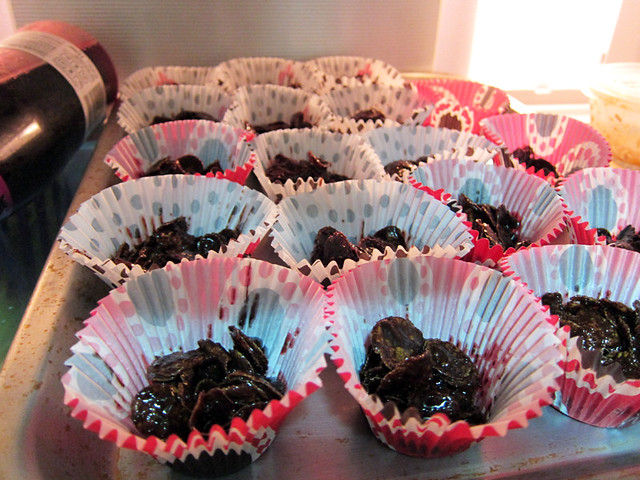
# – Stick it in the fridge for 1/2 hour.

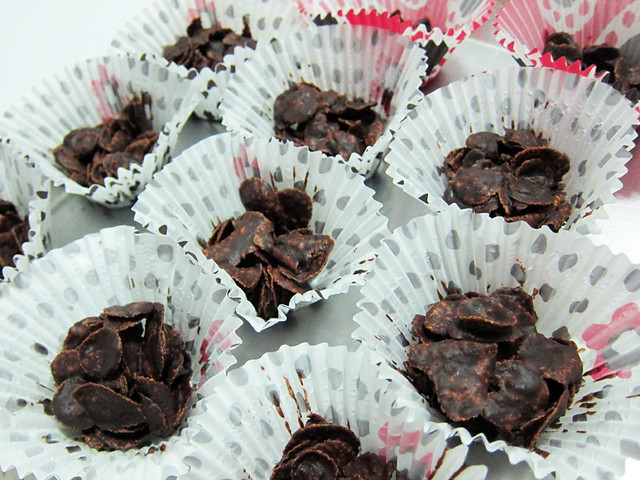
# – 30 minutes later….voila! No-bake chocolate cornflake cups, DONE!

# – They are so, so, so delicious! Crunchy and chocolatey, the perfect combo!

As the recipe uses dark chocolate, it’s not too sweet, so I believe even the most stoic Moms with no sweet tooth will succumb! By the way, store them in the fridge. They won’t melt but they will go soft in high humidity.

So, have you planned anything for your Mom? Besides this chocolatey snack, I’ve got something else up my sleeve too. Will blog about it next week :D

I’m so excited!!!!

Have a Happy Mother’s Day weekend to all Mothers! <3

Individual sticky chocolate puddings.

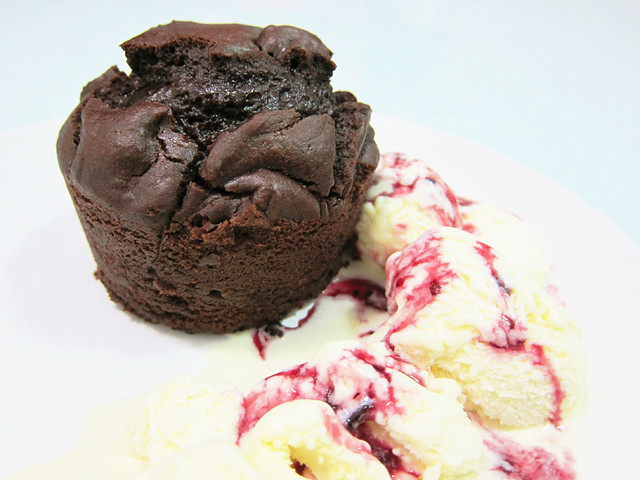
This is one of few desserts that I made which the boyfriend happily said he would pay good money for the same thing outside. I was a little worried at first because the exterior of the pudding looked a bit dry, but thankfully it was far from dry.

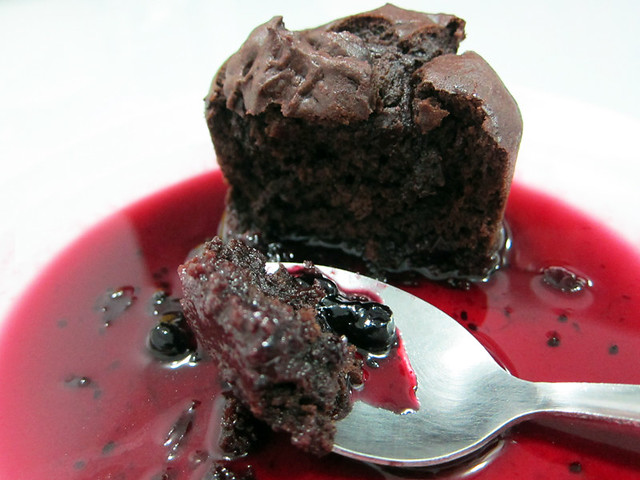
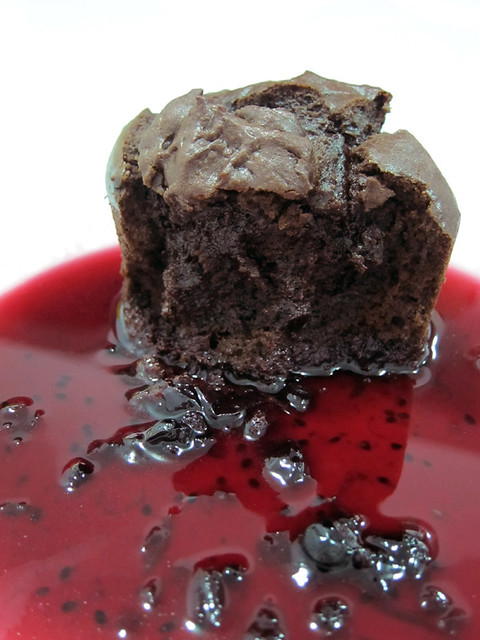
It had a crispy exterior with an inside that was a combination of both spongy and sticky, not unlike a very good brownie. Yeap, the individual sticky chocolate puddings were delicious! The boyfriend loved his with vanilla ice cream and a drizzling of blackcurrant coulis while I had mine just with coulis.

# – Individual sticky chocolate pudding.

This is a deliciously rich dessert, perfect for chocolate lovers :D

The ingredients:

  • 12 tablespoons of flour, sifted
  • 1 tablespoon of cocoa powder, sifted
  • 1 teaspoon of baking powder, sifted
  • 60 grams of butter
  • 60 grams of dark chocolate (I used 60% cocoa)
  • 4 tablespoons of granulated sugar
  • 2 eggs

To serve:

  • Any kind of berry coulis (which I cheated by melting blackcurrant jam with some water, hehe)
  • Vanilla ice cream

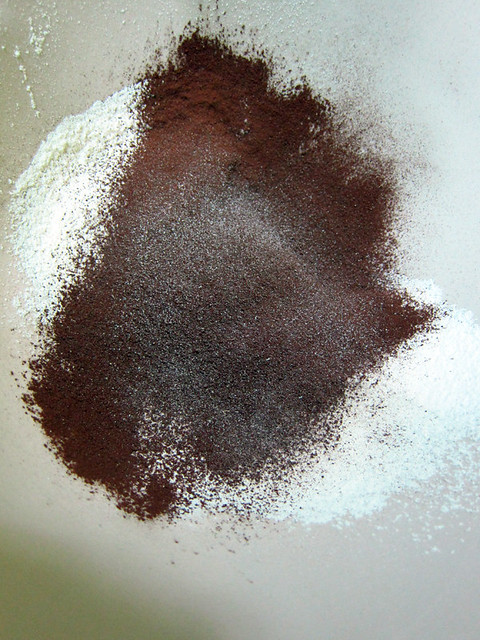
# – First of all, sift the flour, baking powder and cocoa powder into a mixing bowl and set aside.

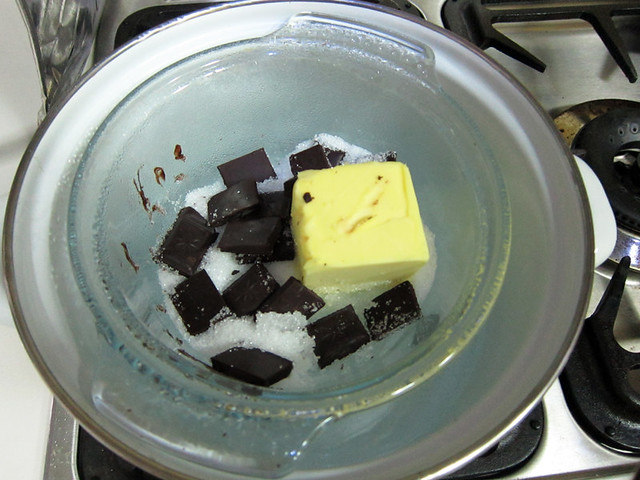
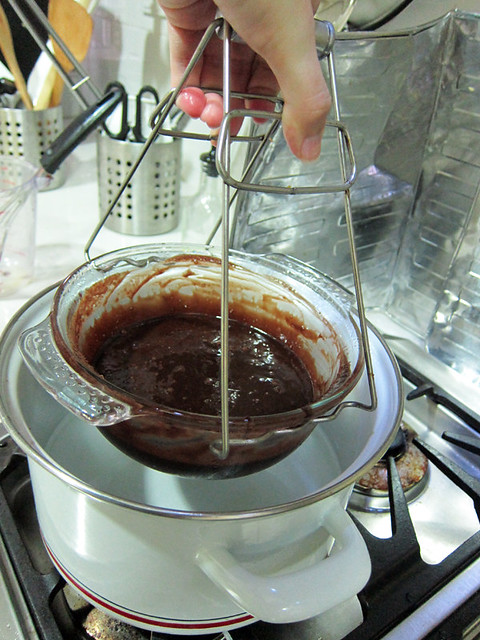
# – Now, set up a double boiler by boiling water in a pot and then suspend a larger bowl over it. Please don’t let the bottom of the bowl touch the water. My setup looks a little different as I happen to have a small bowl with ears that suspend perfectly over the pot.

# – Now dump in the dark chocolates, granulated sugar and butter into the bowl.

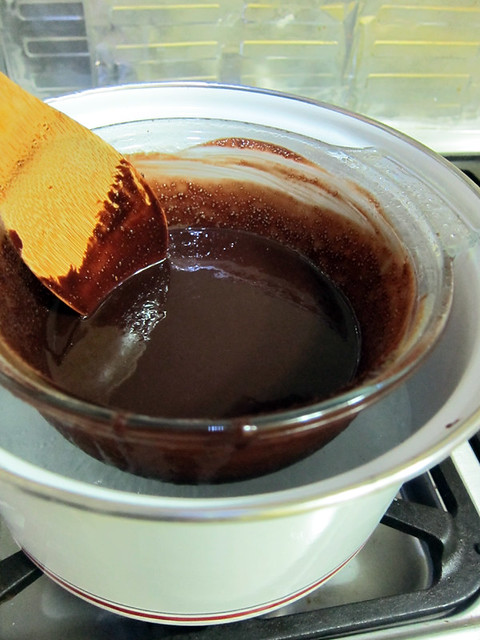
# – Stir till everything’s melted and combined.

Otherwise, you can pop the bowl of chocolates, sugar and butter into microwave at HIGH for 2 minutes then stir till everything’s combined ;)

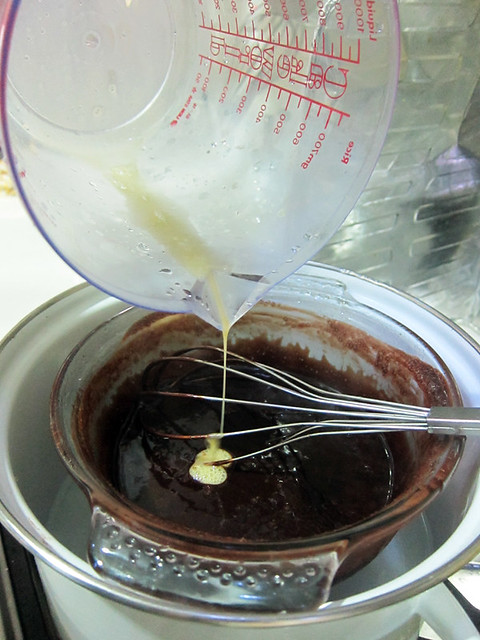
# – Beat one egg well and then pour it into the chocolate mixture while whisking it. You will notice that the mixture will start to thicken almost immediately. Turn off heat but keep whisking till you can no longer see traces of egg.

# – Now remove chocolate mixture from heat.

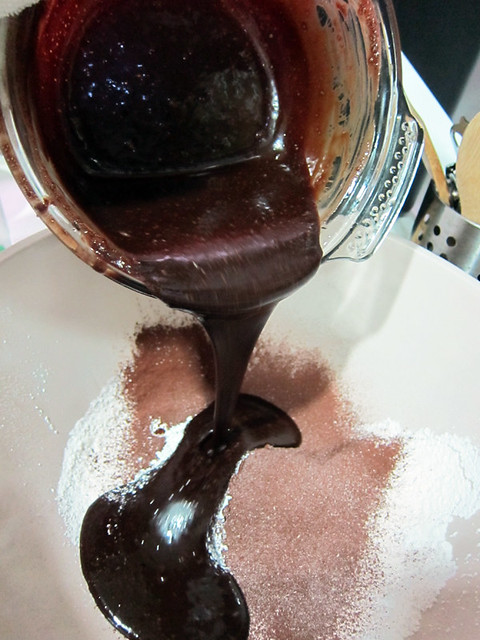
# – Pour it into the flour mixture.

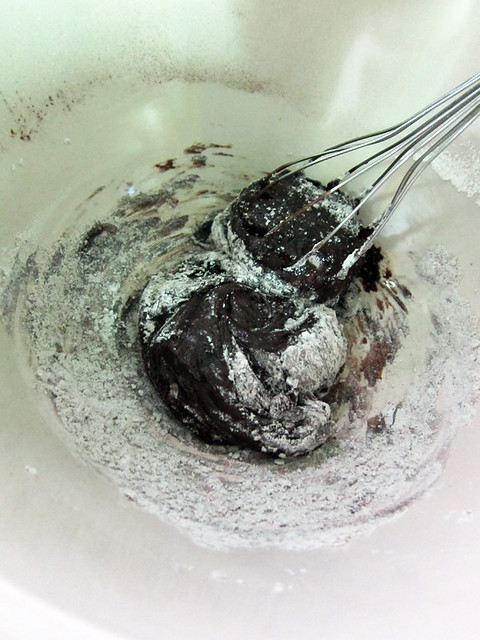
# – Mix with a wooden spoon. I wouldn’t recommend using a whisk like I did here cause it’s sticky!

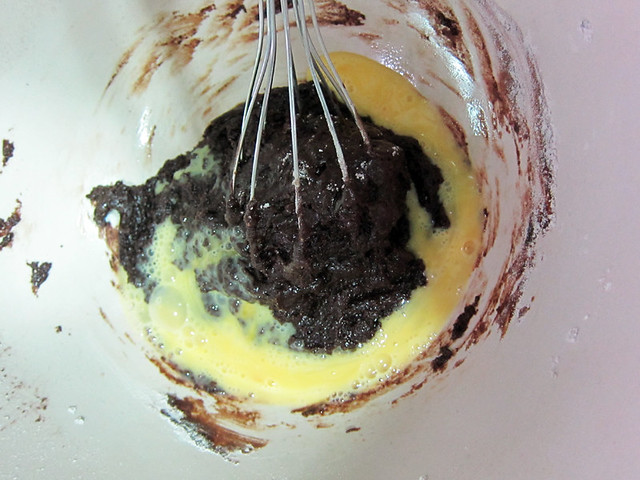
# – Beat the other egg and pour it into the mixture. Continue mixing…

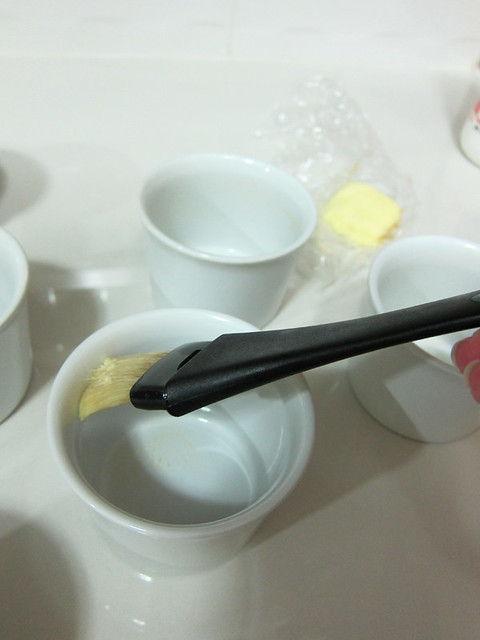
# – Now grease up 3 ramekins with butter. My ramekins can fit up to 200ml in volume each and is 3.5 inches in diameter, pretty standard stuff. You can also use deep muffin tin.

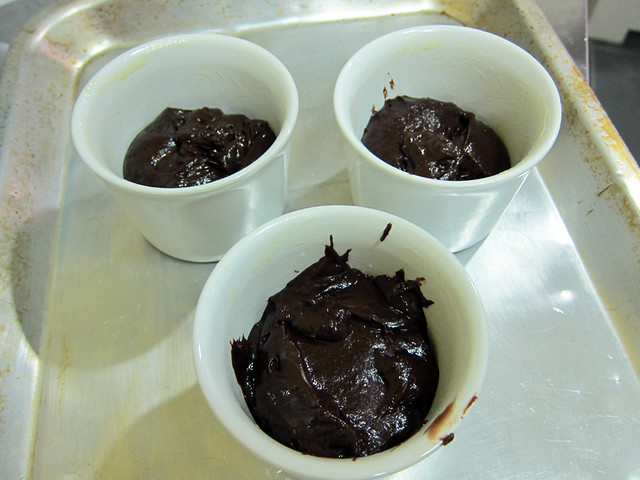
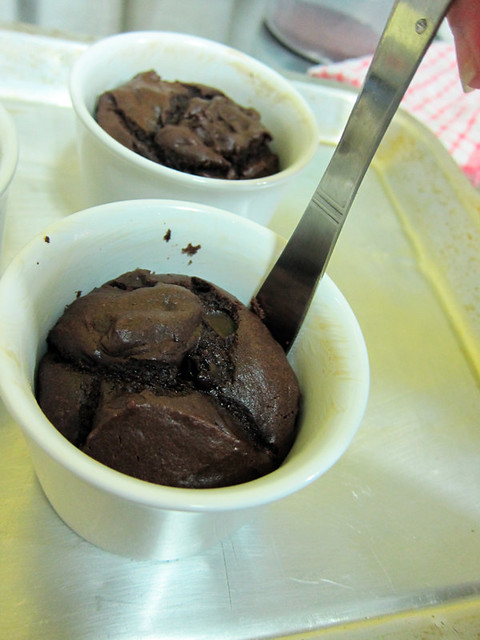
# – Spoon the mixture into all 3 ramekins. Yes, this recipe serves 3.

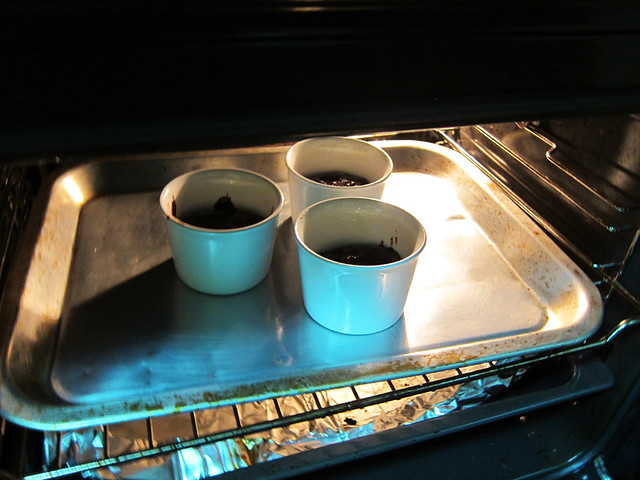
# – Stick it into a pre-heated oven at 190 degrees celcius for 13 minutes.

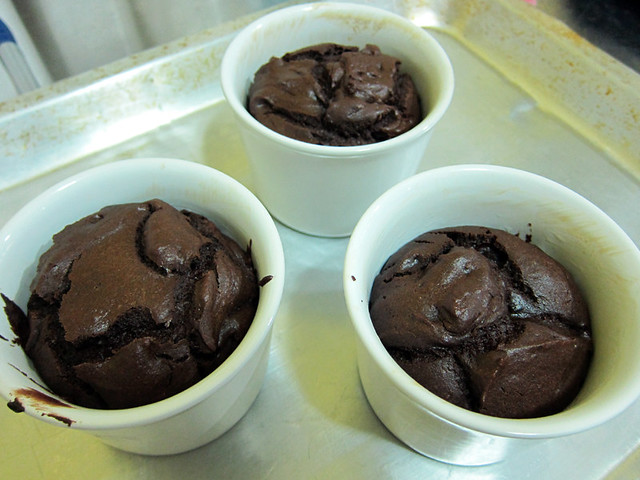
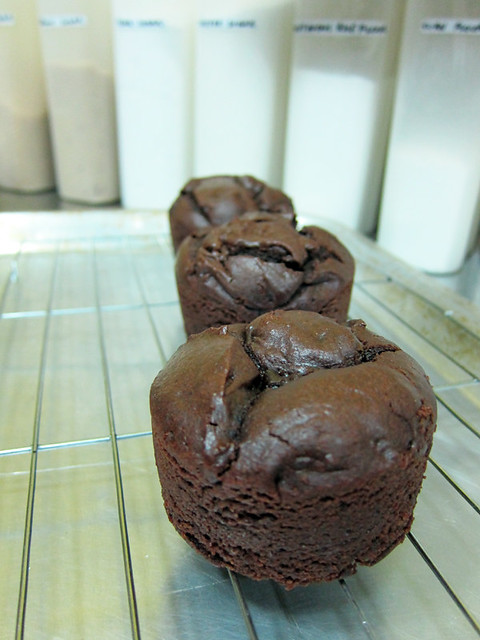
# – They’ve risen!

# – Run a knife around the pudding to loosen it from the ramekin. Then leave the puddings to cool.

# – After they’re cool enough to handle with your hand, pop them out.

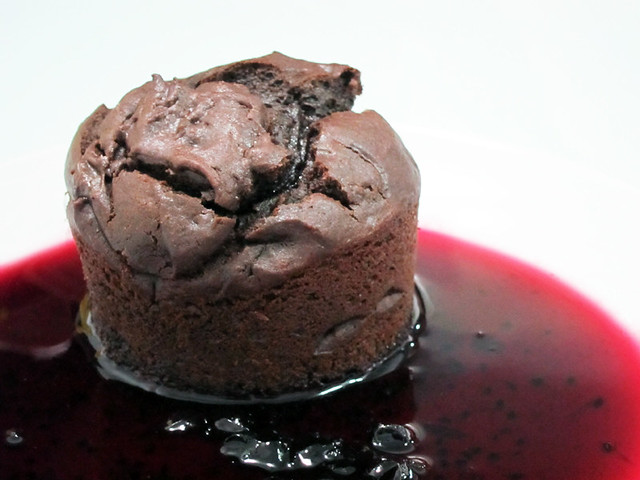
# – Serve with a berry coulis.

# – The tartness of the coulis goes really well with the rich, sticky chocolate pudding.

# – Or like my boyfriend, eat it with some good vanilla ice cream and a drizzle of coulis.

You don’t have to serve them immediately but try not to leave them out too long. You could set them aside for a while (but not in the fridge) and them warm it up in the microwave or a pre-heated oven for about a minute before serving.

As for the coulis, I just dissolved 2 tablespoons of blackcurrant jam with a few dashes of hot water. You can make coulis from scratch of course but I was well, lazy…..

Hope you like this recipe! :D