Salted chunky chocolate chip cookies recipe.

This has totally become one of my favourite recipes. I have made it 3 times and I’ll probably make it again later today.

# – Salted chunky chocolate chip cookies.
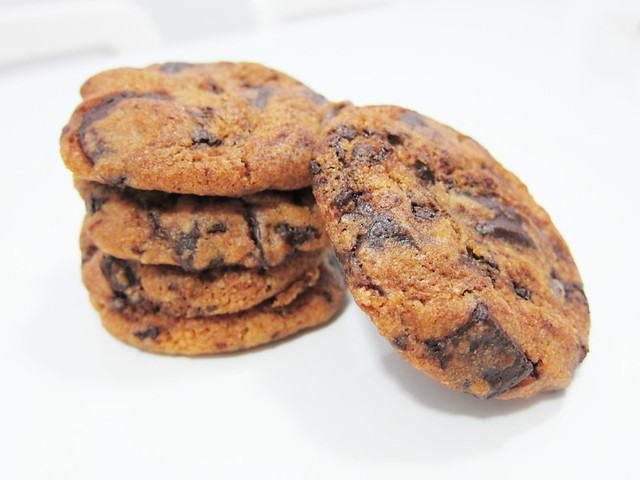
The recipe works everytime! Want cookies that are not so sweet, crispy on the outside, chewy in the middle with melty chunky choocolate oozing out? This is the recipe for you.

The ingredients:

  • 115g of salted butter, softened at room temperature
  • 110g of brown sugar
  • 100g of caster sugar
  • 1 egg, at room temperature
  • 1/2 teaspoon of vanilla essence
  • 180g plain flour
  • 1/2 teaspoon of bicarbonate soda
  • 1/2 teaspoon of coarse sea salt
  • 200g of dark chocolate, coarsely chopped

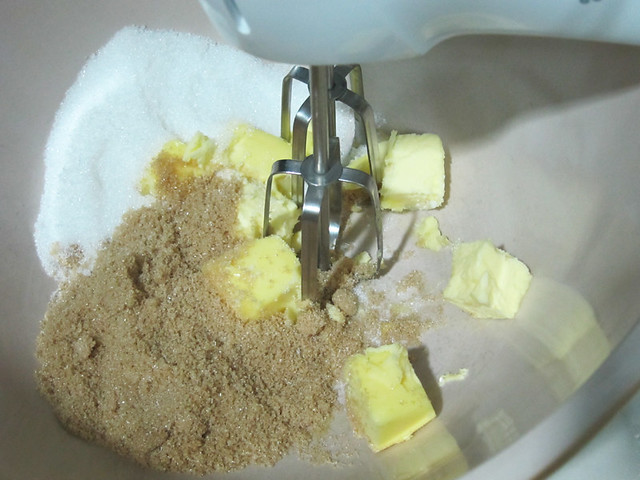
# – First, beat the caster sugar, brown sugar and softened butter till creamy.
# – Then crack an egg over the mixture and add 1/2 a teaspoon of vanilla essence.
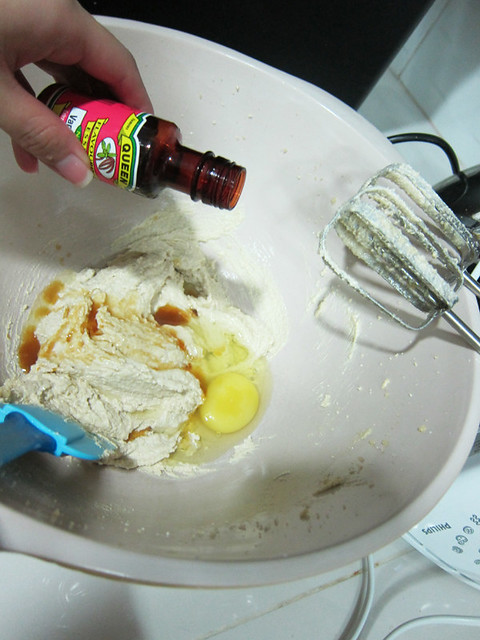
# – Beat till combined and creamy.
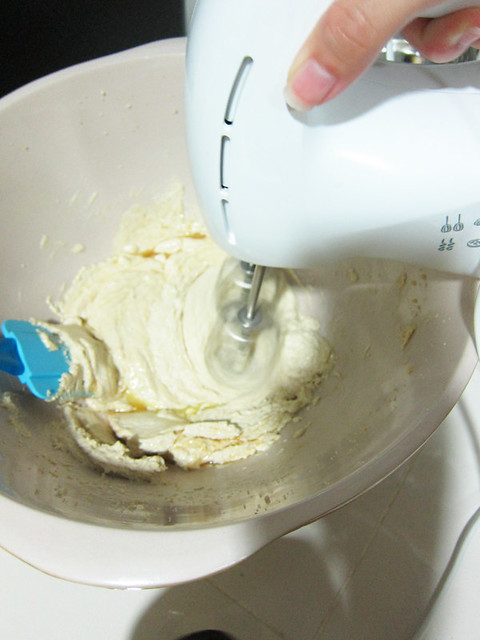
# – Now, sift in the flour and bicarbonate soda.
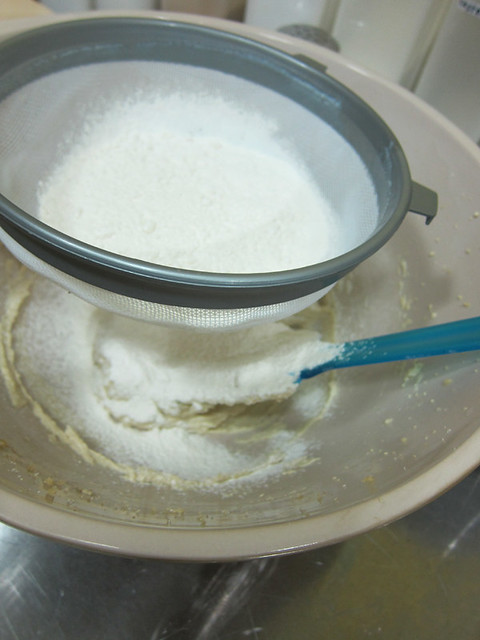
# – As well as the coarse sea salt.
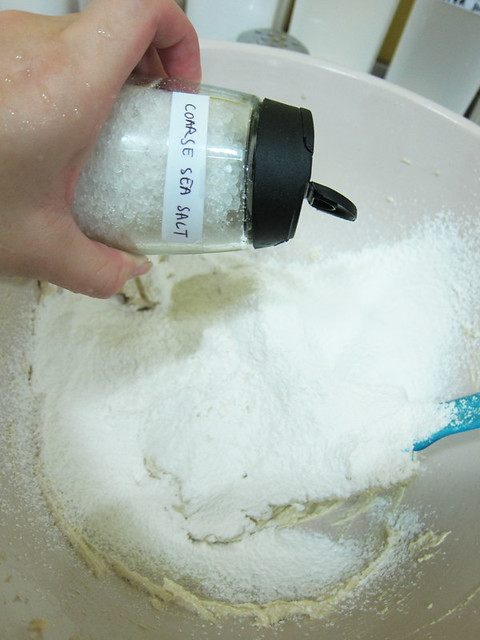
# – Fold to combine.
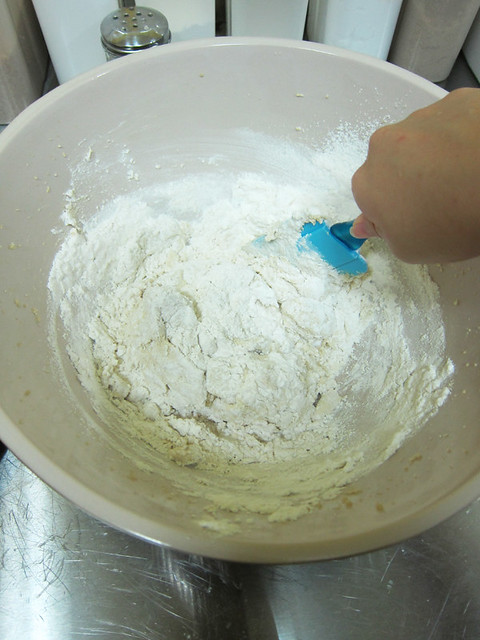
# – Then throw in the roughly chopped dark chocolates.
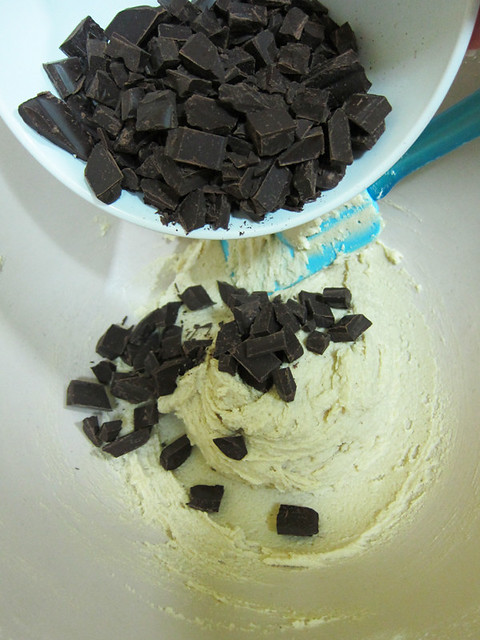
# – Mix till combined, refrain from eating cookie dough…or not.
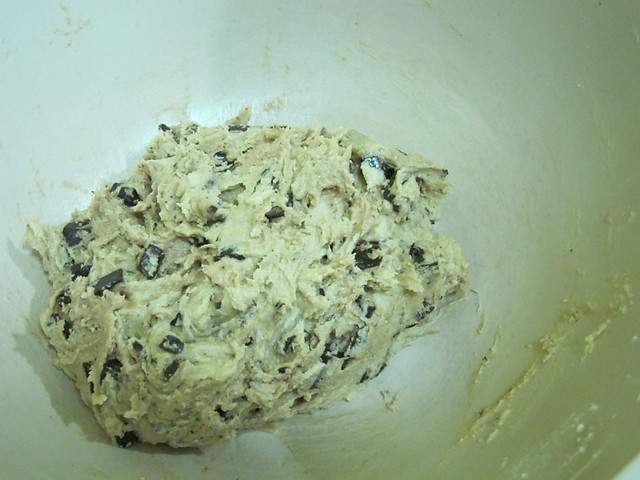
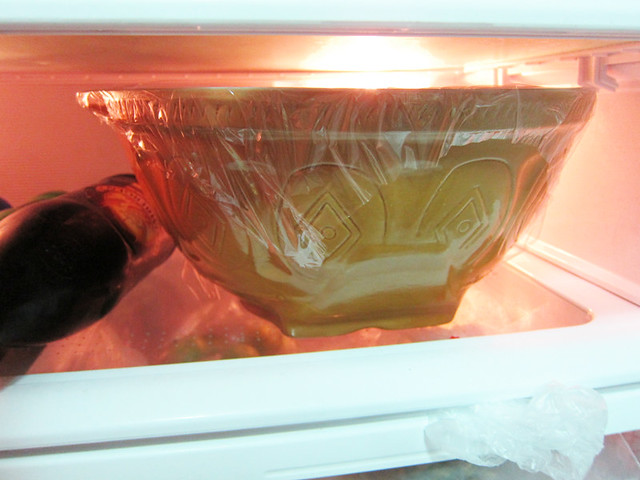
# – Cover bowl with clingfilm and stick it in the fridge to chill for at least 2 hours. I chilled mine overnight though.
# – To make the cookies, work with the dough while it’s still chilled. It’s normal for it to be quite hard and you probably need a hard metal spoon to help you hack at it. Form balls the size of a walnut and arrange them on a non-stick baking tray or one that’s greased and lined with non-stick baking paper. This recipe makes a maximum of about 75 decent size cookies!
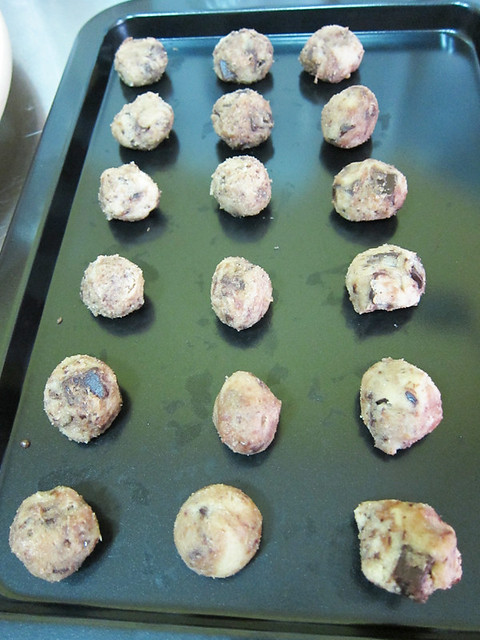
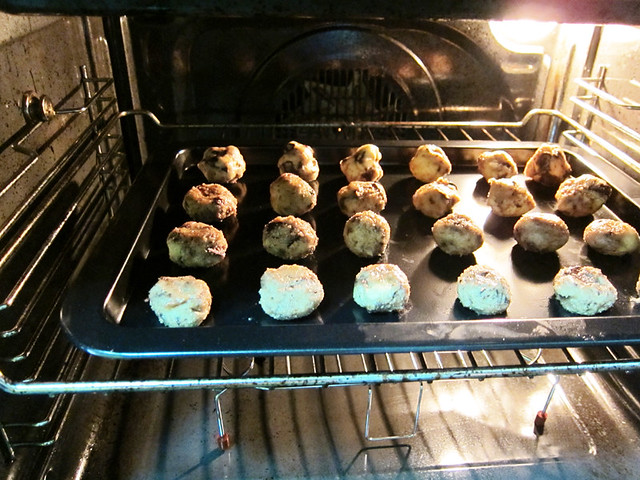
# – Stick it in a pre-heated oven at 180 degrees celcius for 10 minutes.
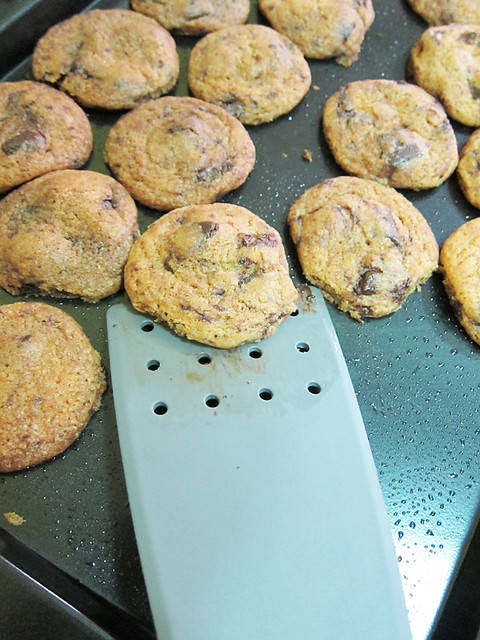
# – When the cookies are done baking, remove from oven and loosen them up from the tray with a spatula.
# – Allow to cool completely on wire rack.
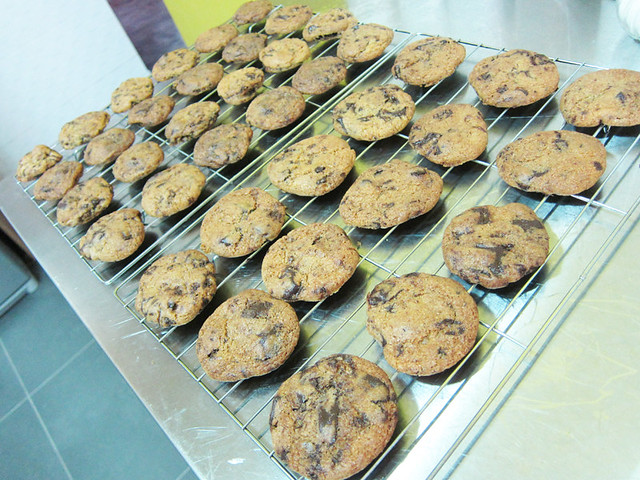
# – Salted chunky chocolate chip cookies, DONE!
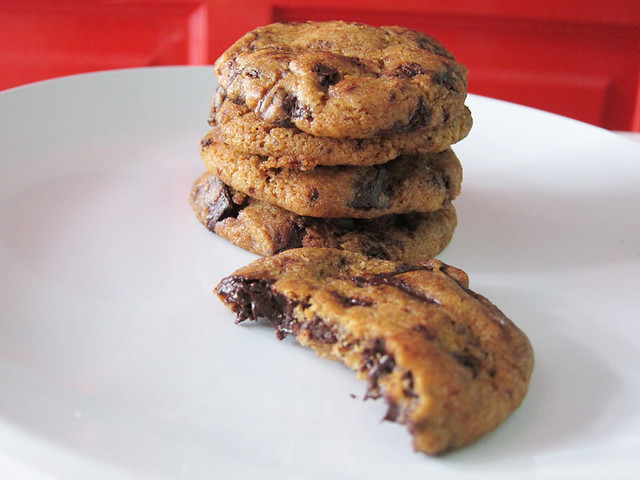
I love these cookies so much, with pops of saltiness coming through the decadent chocolates…DIVINE!

# – Hmmmmm.
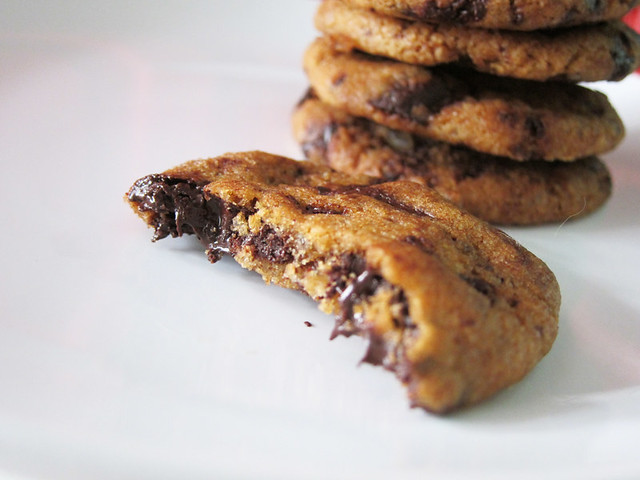
Thank you Citrus & Candy for sharing such a wonderful and straightforward recipe.
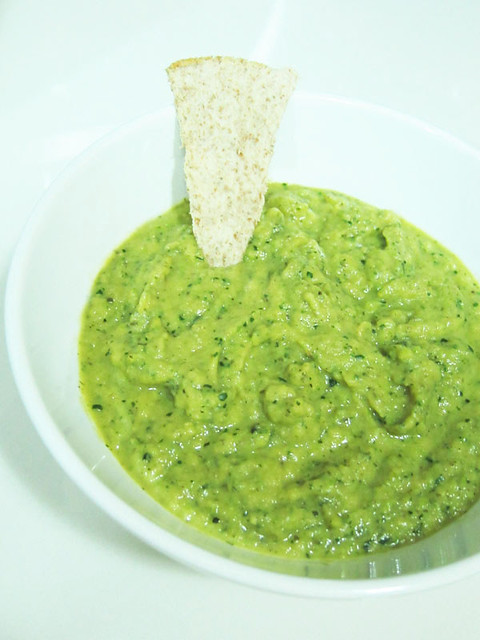
Homemade zucchini dip with melba toasts recipe.

Some of you might know that we embarked on a detox diet immediately after our holiday in Bangkok.

How could we not? As we waddled through the airport huffing and puffing at every step, we knew something had to be done. And that something would not involve things that once had heartbeats.

By the time we reached home, we were ready to crash….to fall into the deepest food coma but somehow, we managed to reach a mutual decision of going vegetarian and preferably fat-less for a week.

And then I woke up covered in beads of sweat after a rather unnerving dream of having an affair with a woman who liked to dress up as a man. Honestly, I do not want to know what that dream had meant.

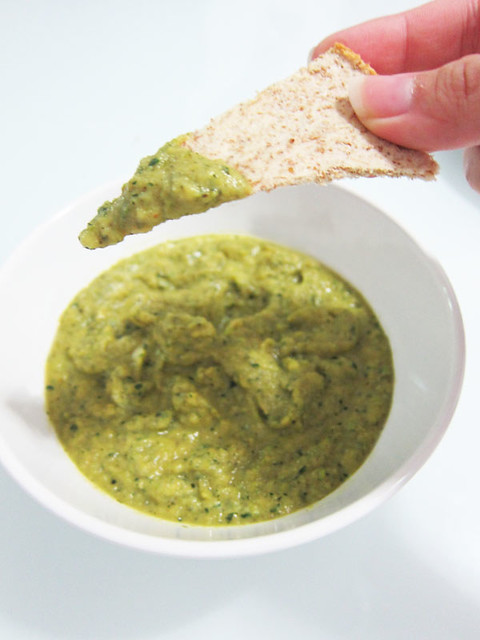
Anyway, we started our detox week with apple + carrots slushies for lunch and the following recipe for dinner; zucchini dip with melba toasts.

# – Zucchini dip with melba toasts.

For the dip:

  • 1 zucchini, sliced
  • 1 tablespoon of olive oil
  • 3 garlic cloves, peeled and roughly chopped
  • 1 tablespoon of lemon juice
  • A dash of salt
  • A dash of black pepper

For the melba toasts:

  • 3-4 slices of wholemeal bread
  • A rolling pin

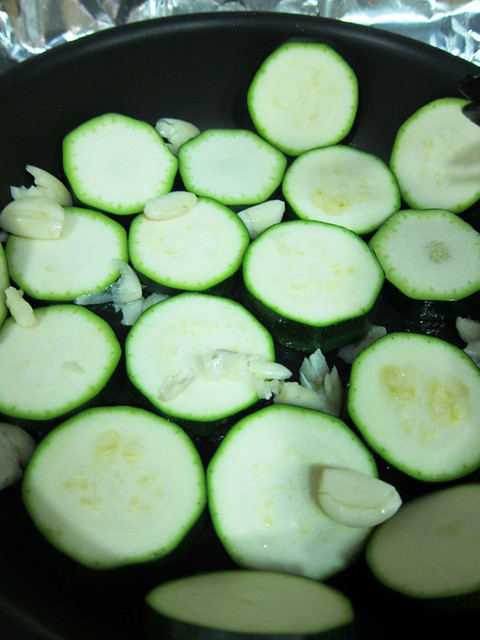
# – First, heat up 1 tablespoon of olive oil in a pan then brown the garlic and zucchini slices.

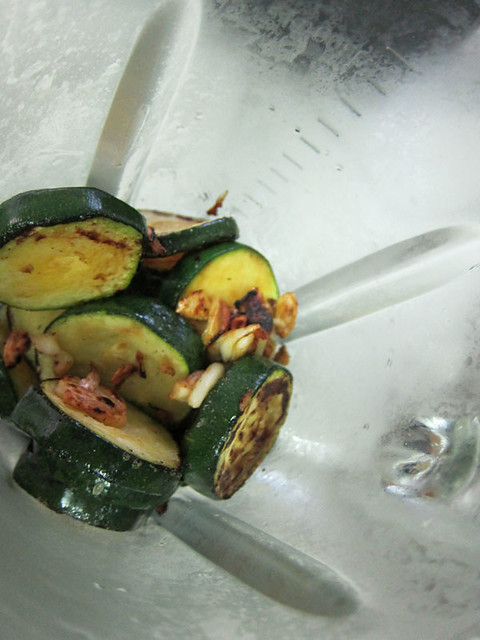
# – When zucchinis are evenly browned, transfer them to a blender together with the garlic.

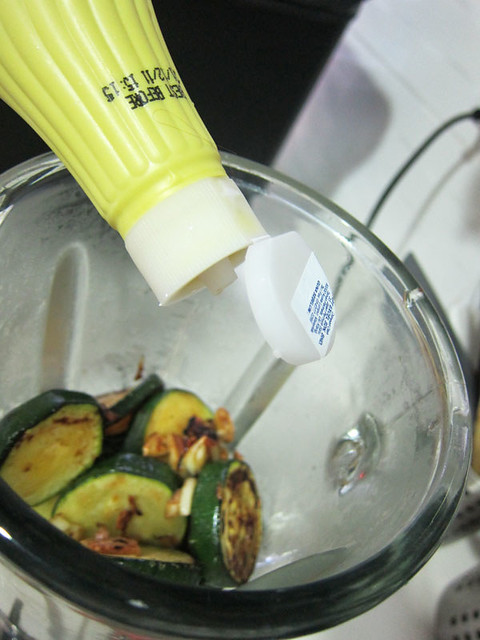
# – Add the lemon juice.

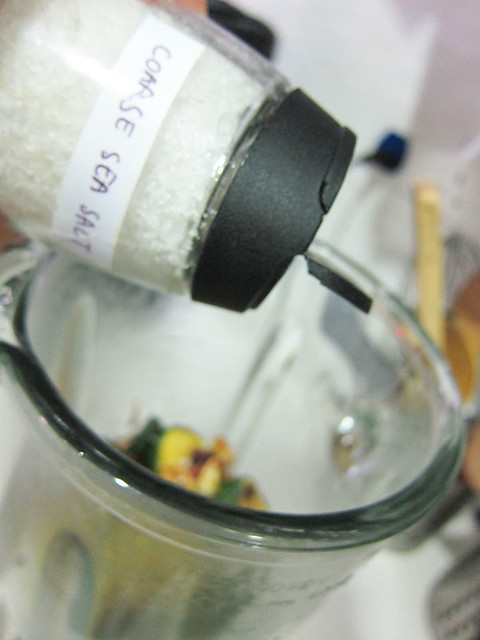
# – Followed by salt.

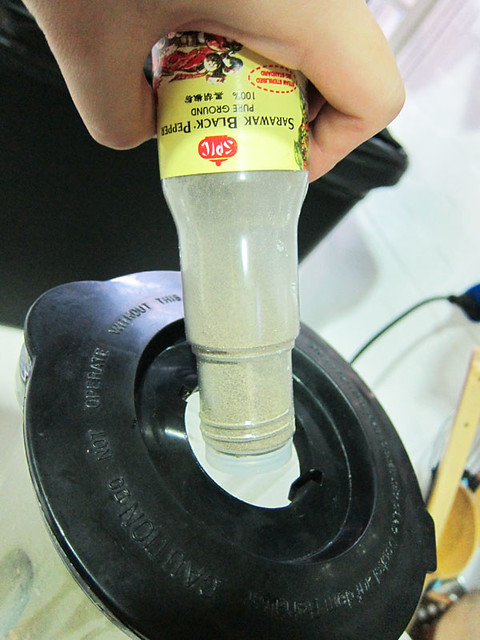
# – And black pepper. Blitz till content transforms into puree. The zucchini dip is now done. Set aside.

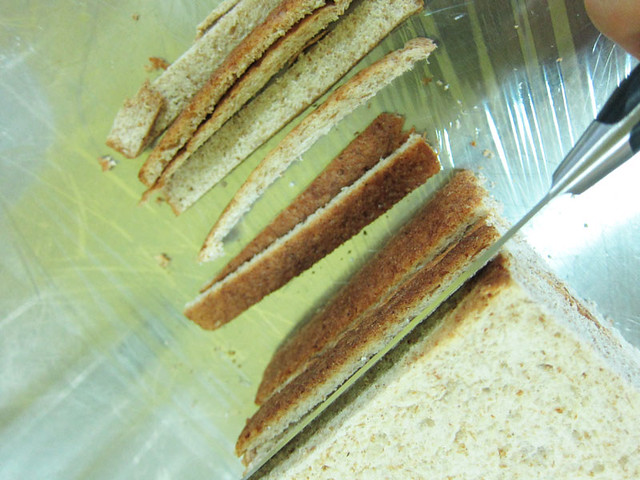
# – Now, cut the crusts off the wholemeal bread and then cut the bread into triangular shapes.

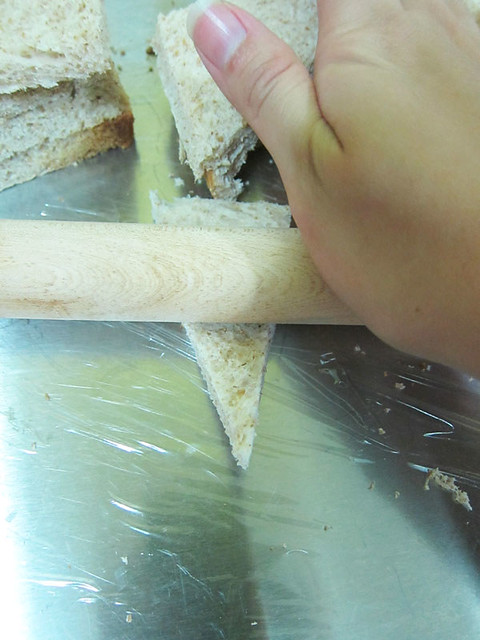
# – With a rolling pin, flatten the bread slices till quite thin.

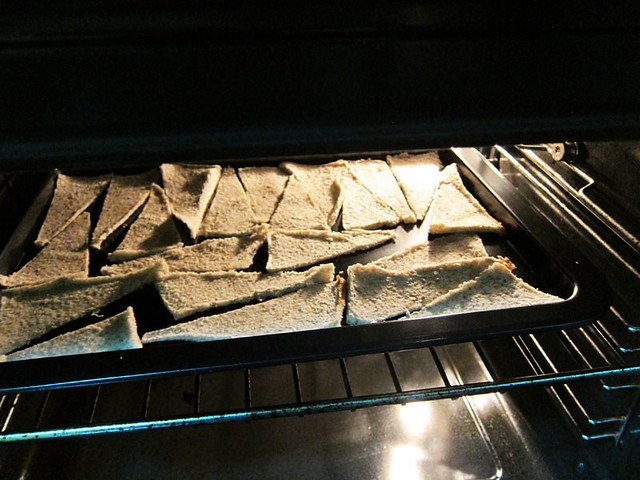
# – Put them on a non-stick baking tray and stick in a pre-heated oven at 150 degrees celcius for 20 minutes. Serve with the dip.

# – Zucchini dip with crispy melba toasts, DONE!

I wouldn’t recommend it as a main meal but it would make a delicious and light appetiser. It’s creamy, flavourful and yes, healthy!

We were hungry as hell by bedtime, but sometimes you just got to be an adult about it and not succumb to temptation of heading out to Mcdonald’s for some fried chickens.

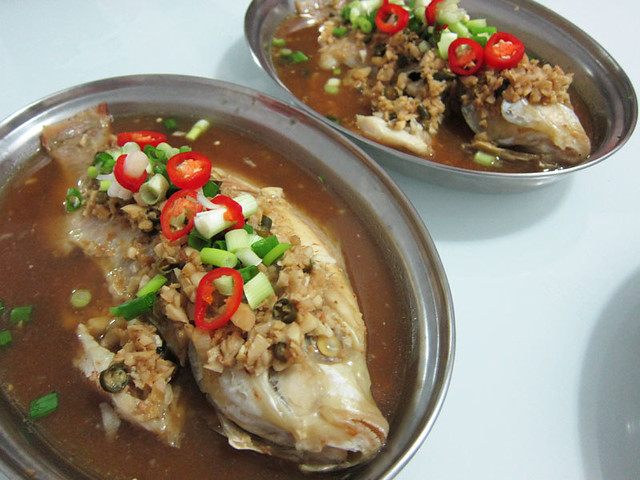
Steamed tilapia fish Lan Je Style at your own home.

One of my favourite restaurants to go to is Lan Je for its beautifully steamed tilapias. There’s only one style of steaming but you can ask for mild, normal or spicy. Of course, I always go for spicy.

You can read about Lan Je here, here and here.

Although a new Lan Je branch has recently opened practically at my doorstep, in spirit of home cooking, I tried to replicate the dish that I love so much.

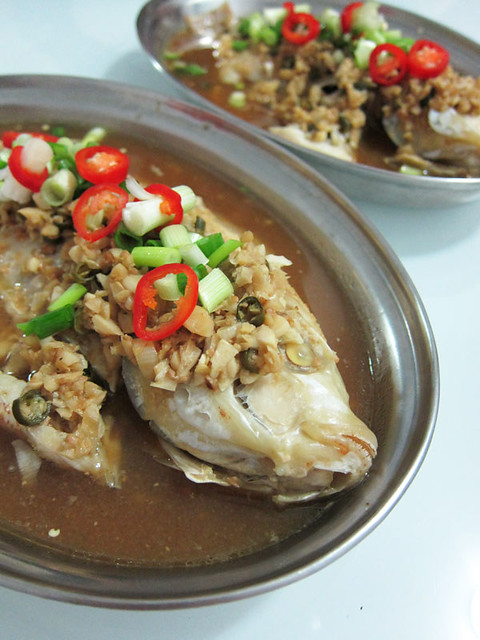
# – Steamed tilapia fish Lan Je style.

I was very pleased because, while it’s didn’t have the unmistakable taste of Lan Je, it was pretty damn close :)

For the fish preparation:

  • 2 tilapias about 200-300 grams each, cleaned and scaled
  • 2 cm of ginger, sliced
  • Enough water to cover fish in a pan/pot

For the sauce:

  • Some of water
  • 8-10cm of ginger, finely diced
  • 2 bulbs of garlic, finely diced
  • 6 bird’s eye chillies, finely sliced (less if you can’t take that hot)
  • 2 tablespoons of fermented soyabean paste (taucu)
  • A few dashes of Worcestershire sauce
  • A teaspoon of dark caramel sauce
  • A few dashes of light soya sauce

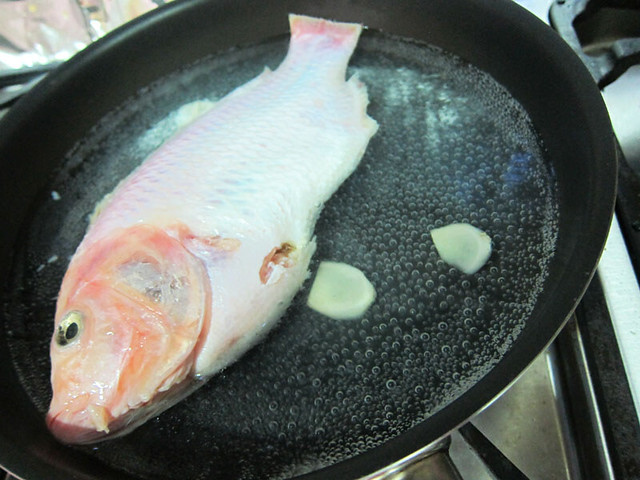
# – First, blanch the fish in boiling water with sliced ginger for about 1 minute. As you can see, I was too lazy to boil a big pot of water so I just boiled some water in a pan and flipped the fish to cook briefly on both sides :P Rock it out your way. Do not over-cook the fish, by the way. Remove the fish from water, pat to dry inside and outside then set aside.

This step is to remove the nasty smell of fish as well as bitterness that might affect the taste of the sauce when you steam a raw fish straightaway.

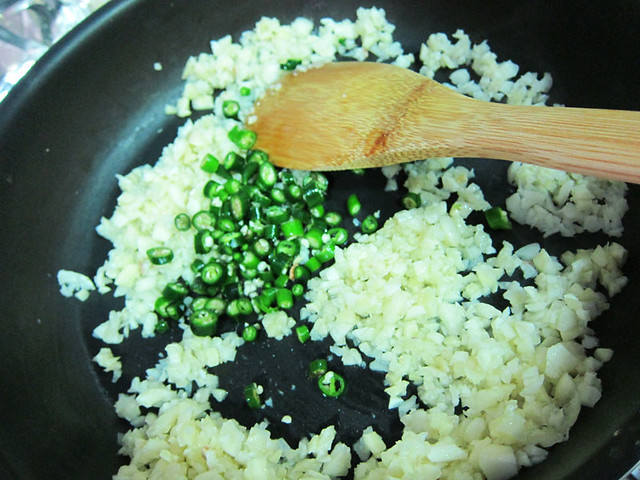
# – To make the sauce, fry up the minced ginger, garlic and bird’s eye chillies with a bit of oil till fragrant.

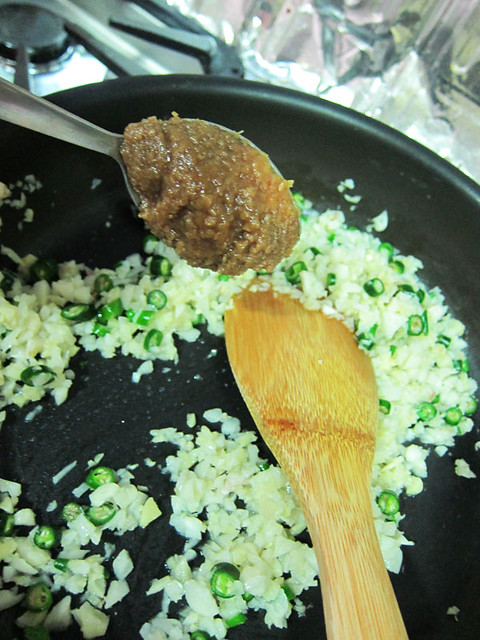
# – Add the fermented bean paste or taucu and mix till combined.

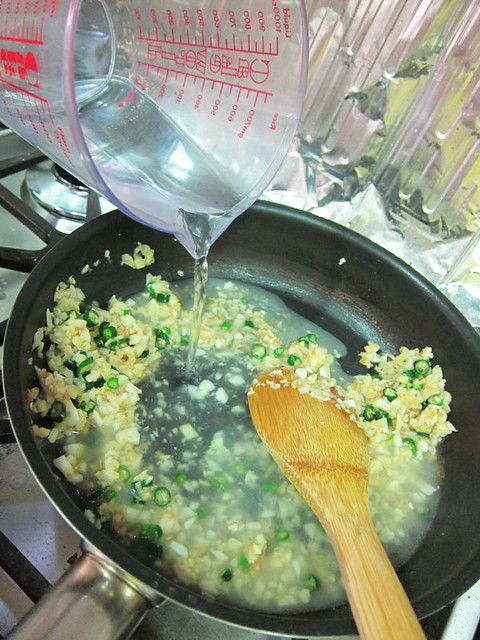
# – Next, add in some water. The fact was, I put in too much water. I would really reduce the amount of liquid in my next attempt. Depending on how deep the plates that you’re steaming your fish in, estimate the amount of water as you do not want the fish to be drowning, just resting in a shallow pool of sauce. Also, fish produces liquid as it steams, a lot of liquid. If you think you need more liquid, you can add later. Finally, I’d say…about 2 tablespoons of water will do for now ;)

Do note that in the following pictures you will notice that the sauce looked pretty liquid, but as I warned against putting in too much water, just imagine the sauce is quite dry instead :P

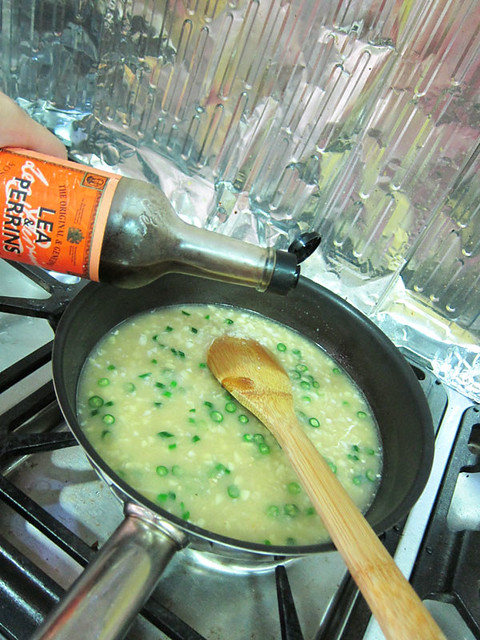
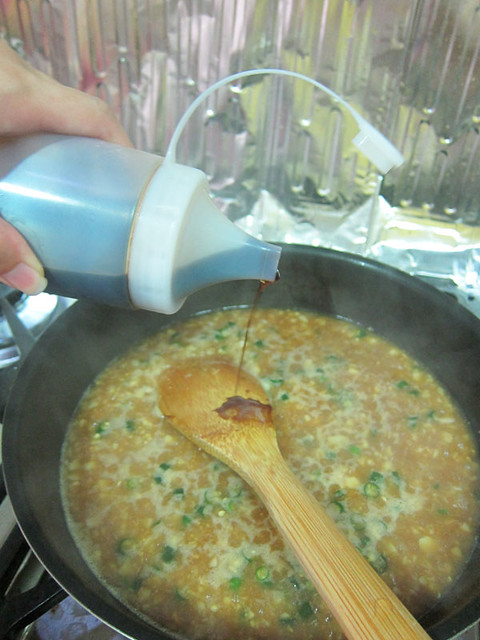
# – Add a couple of dashes of Worcestershire sauce.

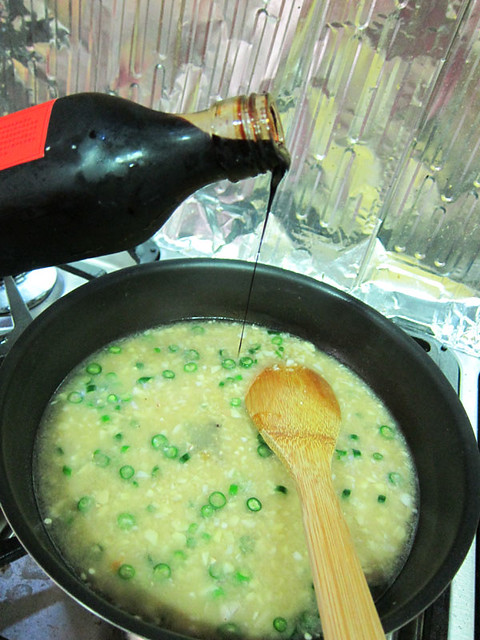
# – Followed by dark caramel sauce for colour.

# – And a dash of light soya sauce.

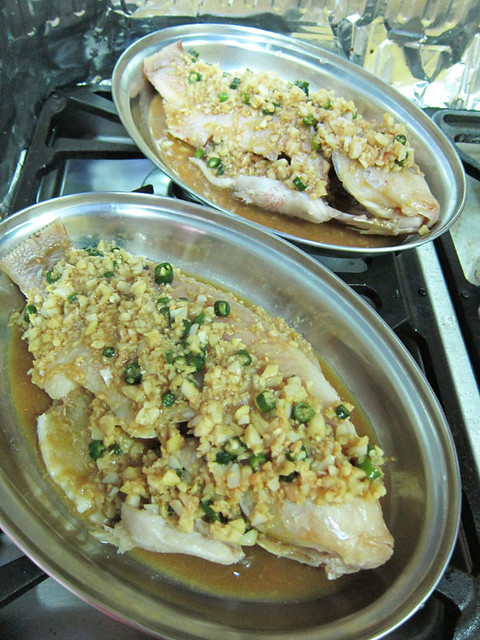
# – Now place the fish in its own plate and pour the sauce all over each of them. Do not worry if there’s no liquid at the bottom of your plates as depicted in the pictures, I put in too much water remember?

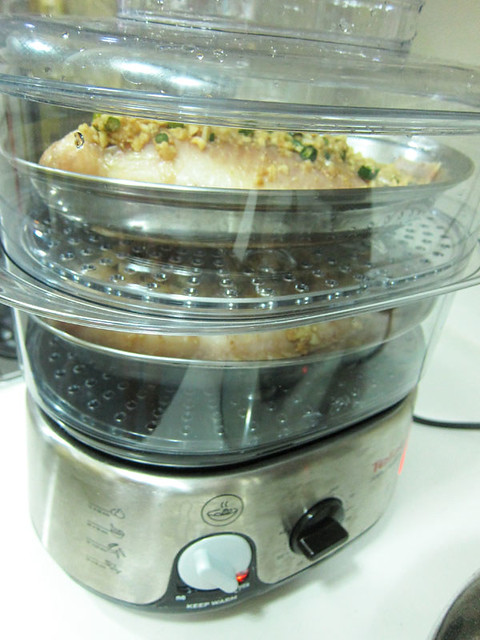
# – Steam for 15-20 minutes.

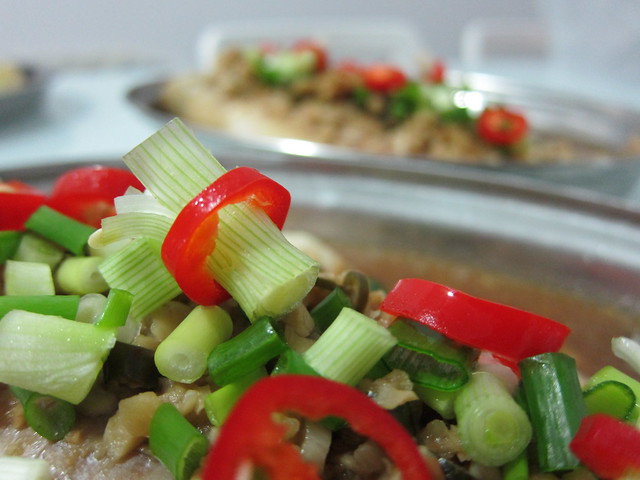
# – When done, garnish with spring onions and freshly cut chillies if you liked.

# – Steamed tilapia fish Lan Je Style, DONE. See how the fish are half submerged in sauce? Don’t get me wrong, the sauce tasted superb (GREAT with rice) but like I said, I’d prefer them lying on a shallow pool of sauce instead of swimming in it hahaha.

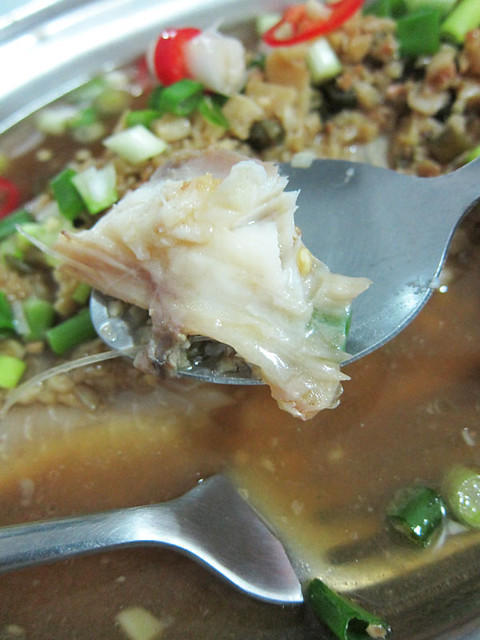
# – Flaky flesh, yums.

You can adjust the level of spiciness accordingly by controlling the amount of bird’s eye chillies that go into the making of the sauce. This recipe is quite spicy, but I can take quite hot so if you’re not sure, reduce the number of chillies to 3 or errmm…1.

So there, my first attempt in replicating a Lan Je style steamed fish. Can’t wait for my next try and hopefully it’ll be perfect then!