Fake Japanese braised chicken wings with potatoes.

Never ever try to plan dinner right after lunch because it’s virtually impossible to conjure up any coherent thought. And that’s how my chicken wings came about. Bought them while on a semi-food coma, with no planning whatsoever.

The thing is, I’ve never really had luck with cooking chicken on the bone. They’ve always turned out semi-raw and I’d have to nuke them in the microwave half way through eating. Yeah, pretty disgusting.

So really, I don’t know how I ended up with a packet of chicken wings because I’d normally quite consciously avoid them.

# – Fake Japanese braised chicken wings with potatoes.
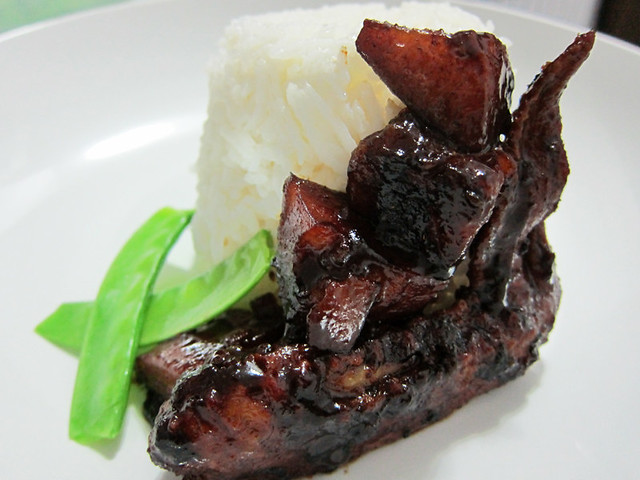
From food coma to a full blown panic mode, I realised the only source of protein for tonight’s dinner were the wings. The look of disappointment on the BF’s face upon his realisation that he’d chomped on raw poultry popped up to haunt me.

I was determined to make it right but I didn’t know how :(

Thankfully, I found a recipe called “tebasaki to sato-imo” or english for braised chicken wings with new potatoes (i <3 google translate) in one of my recipe books. So, I replaced the sake with chinese rice wine, scallions with coriander powder and new potatoes with old potatoes chopped up into new potato size.... And hence, the title :P I was confident it would work, it had to work gawddamit! # - Tebasaki To Sato-imo
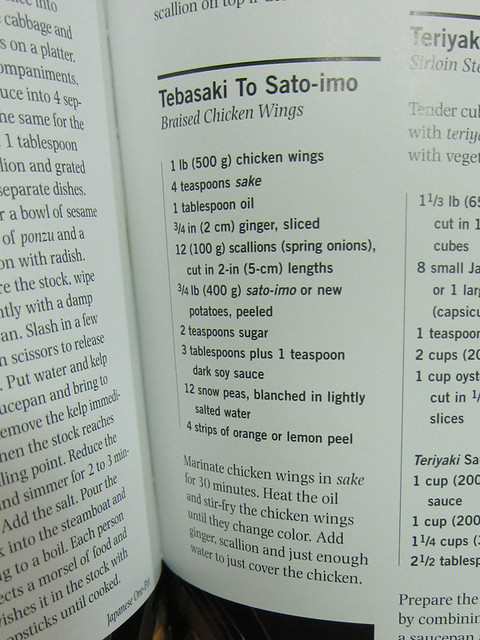
The ingredients:

  • 500 grams of chicken wings (that’s about 4 wings with drummets still attached)
  • 400 grams of potatoes, cut into cubes
  • 4 tablespoons of chinese rice wine (or better, sake!)
  • 3 tablespoons + 1 teaspoon of dark soya sauce
  • 2 teaspoon of sugar
  • 2 cm of ginger, sliced
  • 1 tablespoon of coriander powder
  • 200 ml of water

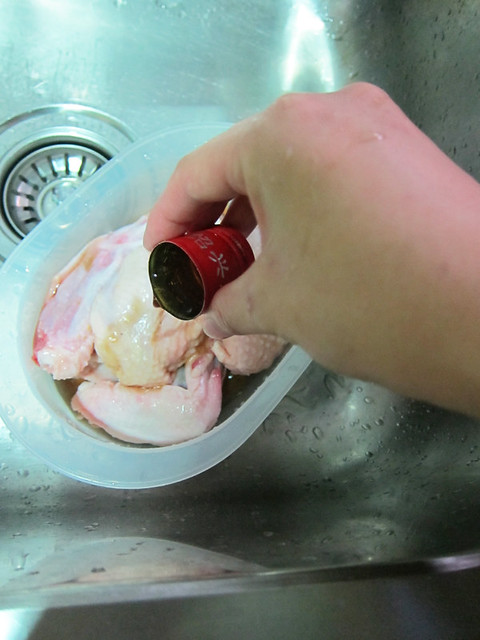
# – First, marinade the wings with 4 tablespoon of chinese rice wine and set aside for 30 minutes.
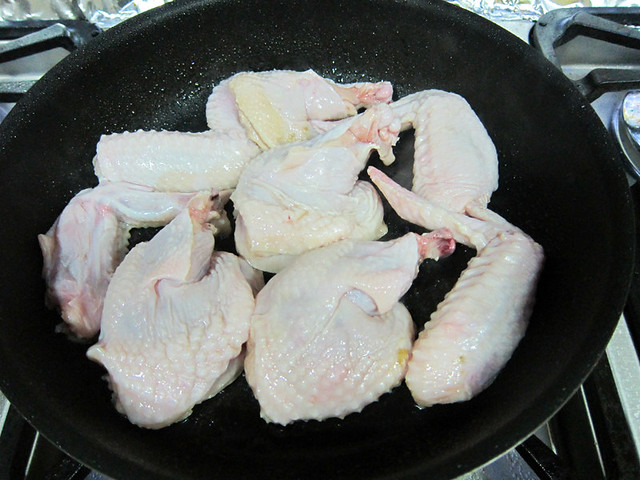
# – Then, heat up oil in a pan and brown the chicken wings on all sides.
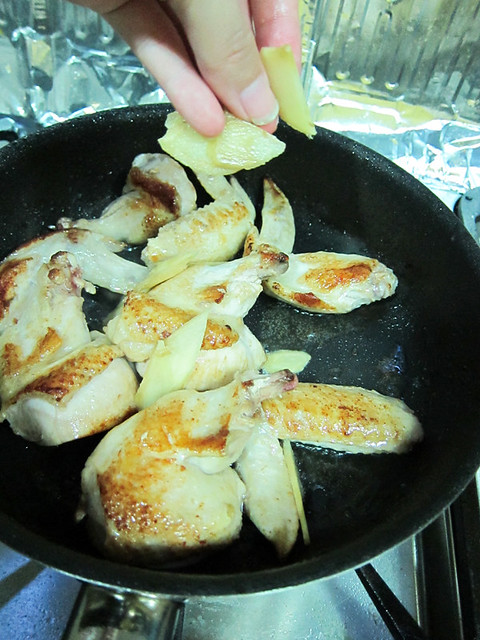
# – When wings have browned, throw in the sliced ginger.
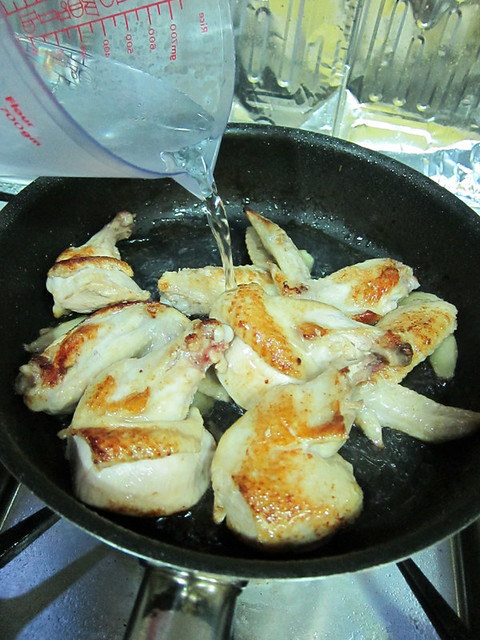
# – Pour water in till chicken wings are just covered.
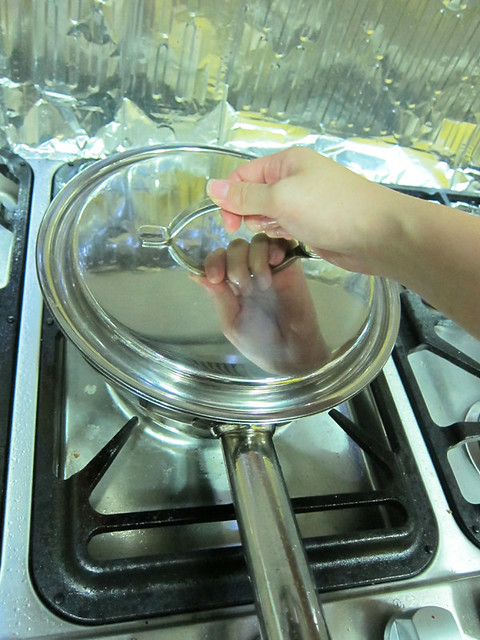
# – Cover and let it simmer for 10-15 minutes.
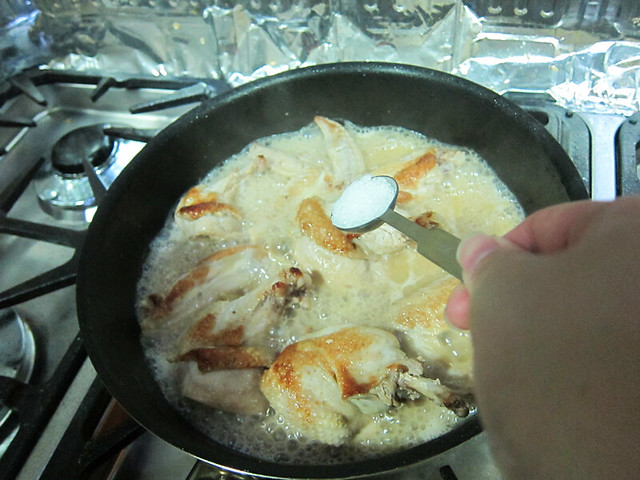
# – After that, throw in 2 teaspoons of sugar.
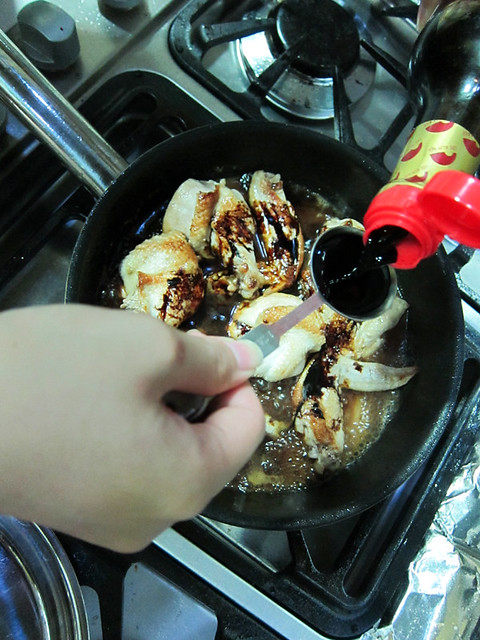
# – And the dark soya sauce.
# – Not to forget the potatoes…
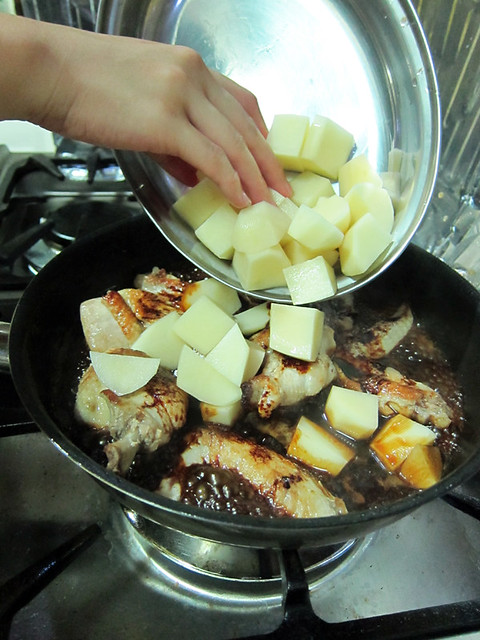
# – Lastly, the one tablespoon of coriander powder.
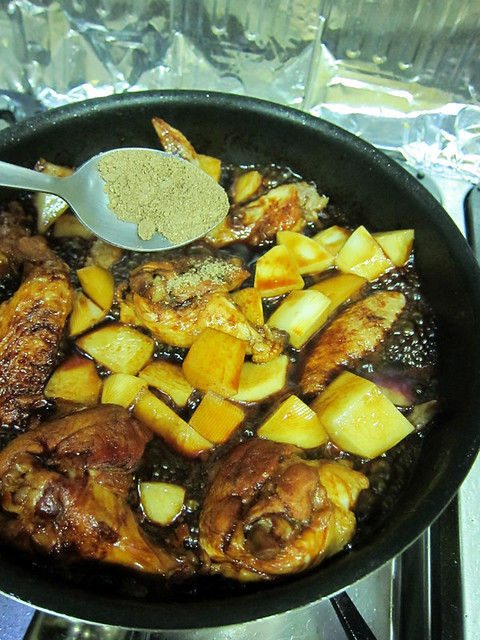
# – Stir to combine, cover and let simmer for 30 minutes.
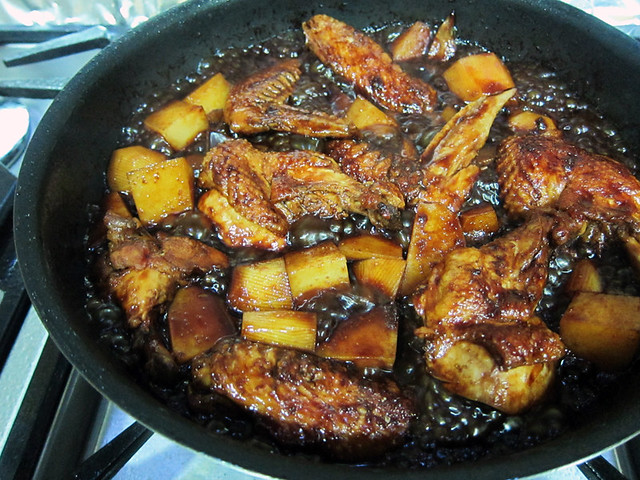
# – In the meantime, steam or boil some peas. Because everyone should eat vegetables!
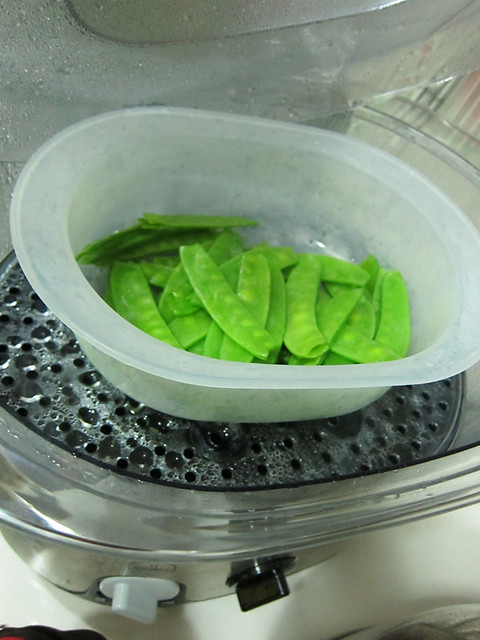
# – Fake Japanese braised chicken wings with potatoes, DONE!
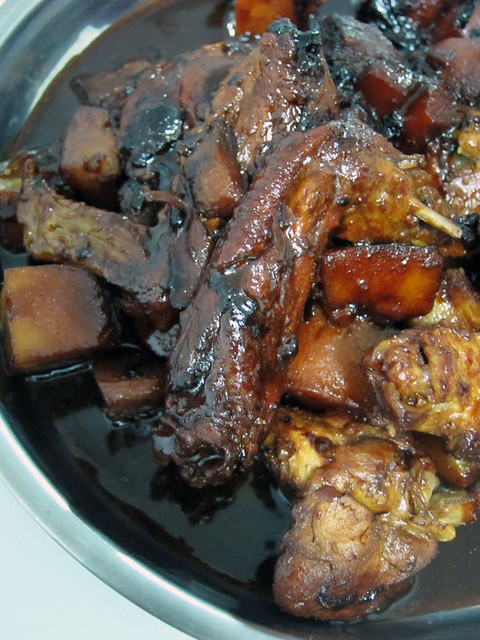
The wings…they were gorgeous! The meat was succulent, moist and full of flavours. The sauce was DELICIOUS and sticky. And the potatoes? Gawd, the potatoes…

# – Look at the colours inside the potato. Flavoured through and through.
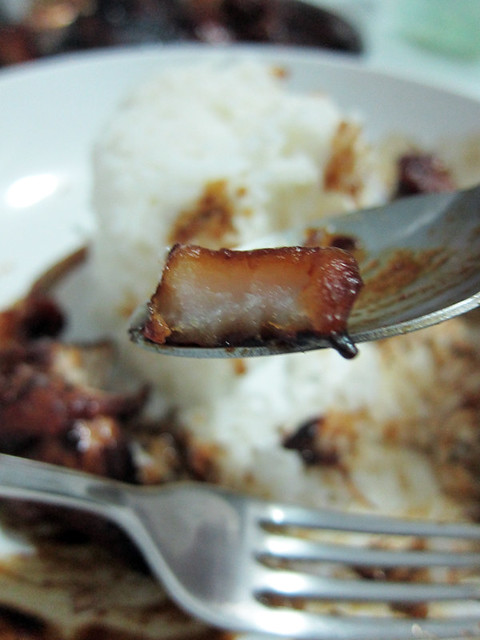
Simply sublime with rice and what’s surprising was how few ingredients were involved and how relaxing the entire process was. Just leave them to simmer into something so amazingly delicious.

Don’t believe me?

# – Plate-licking good!
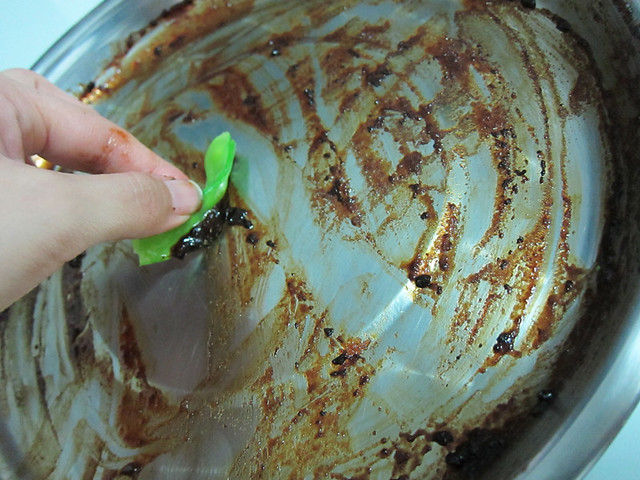
Best thing of all, I didn’t have to nuke them in the middle of dinner just so we won’t get bird flu or something. I implore you to try this recipe! Happy cooking!
Individual mango chocolate pavlova recipe.

When LSA was back in town recently, we got her to pop over for some homemade dinner. I made this as a dessert because:

1. It’s simple to whip up the meringue and just let it bake for 2 hours while I continue with the rest of the cooking.
2. Chocolate pavlovas are possibly one of my favourite things in the world.

I realise I should have made something that LSA personally likes, but I guess I’m just pushy like that….

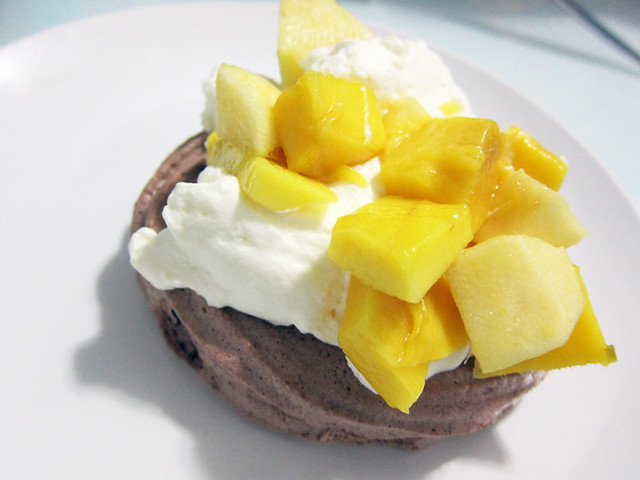
# – Individual mango chocolate pavlova.

Anyway, while I was busy setting out the table and all, LSA asked me, “Kim, can I check with you what is your policy about centipedes?”

“Huh?”

“If you’re looking at one, would you leave it alive or would you kill it?”

“Huh?”

And less than a second after I responded, a centipede crawled really fast into Charlie’s pen right before my eyes. WHAT THE EFFFFF???

Long story short, LSA helped me killed it by courageously squashing it to death with some paper towels while I held on to a chair ready to jump on it lest it crawled towards my direction.

LSA, I <3 you, hahahahahhaha. For the pavlova:

  • 4 eggwhites
  • 200 grams of caster sugar
  • 4 teaspoons of cornflour
  • 1 teaspoon of lemon juice or vinegar
  • 3 tablespoons of cocoa powder

For the filling:

  • 300 ml of whipping cream, whipped up
  • 2 mangoes, peeled and cut into cubes

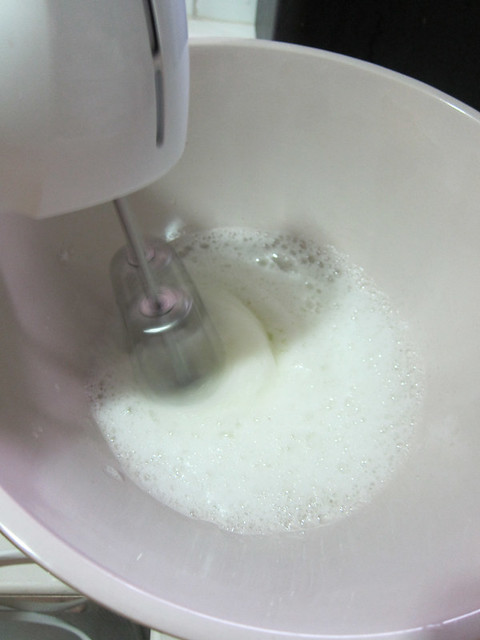
# – First, in a clean and greaseless bowl, beat the egg whites.

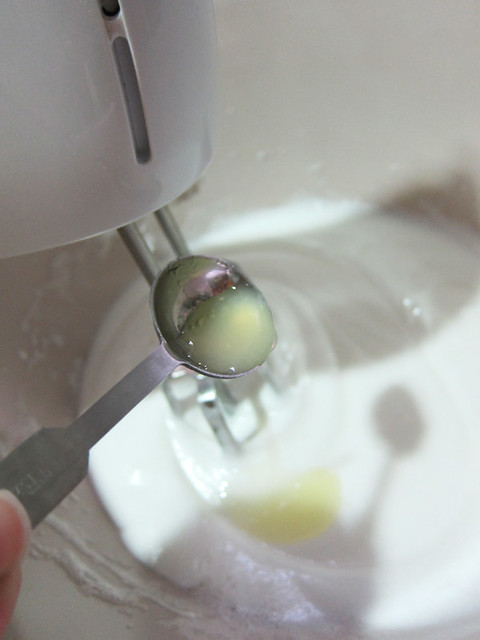
# – When the egg whites have doubled in size, gradually pour in the caster sugar and continue beating.

# – When the egg whites have turned glossy, add in the lemon juice. Lower the beating speed.

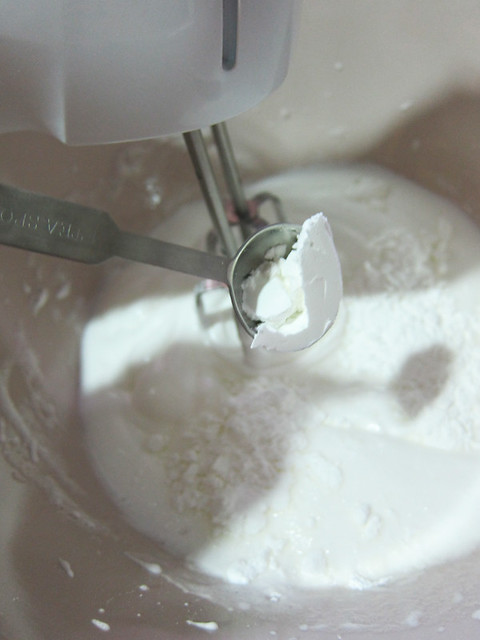
# – While slowly beating, add the cornflour.

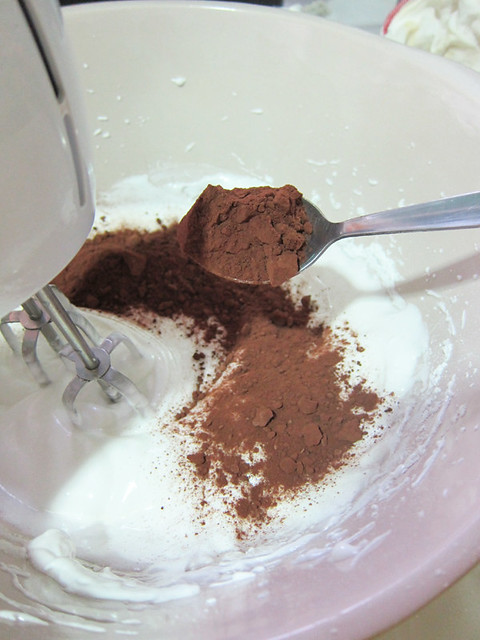
# – And lastly, the cocoa powder. When the mixture has turned an even chocolate colour, stop the beaters.

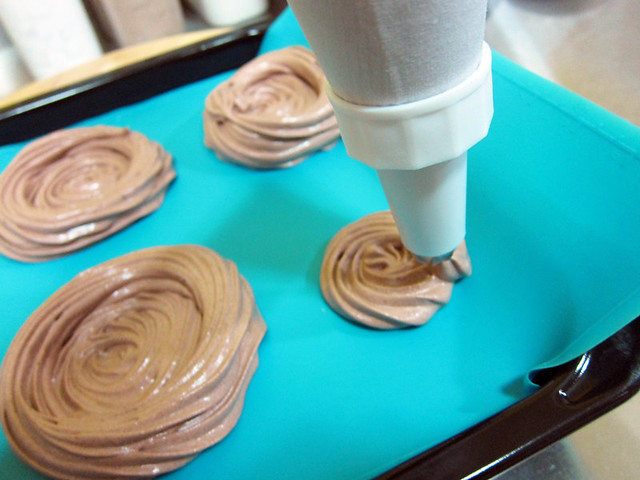
# – Stick the mixture in a piping bag and pipe out 6 bird’s nest designs on a non-stick baking sheet. If you don’t have a piping bag, just spoon the mixture over and aim for a pretty rustic look ;)

# – Stick it in a preheated oven at 130 degrees celcius and bake for 2 whole hours. This is how they looked like after baking. My tray was too small so I couldn’t pipe out 6 nests properly, so I just piped out small chocolate meringues all around with the leftover :D

# – Put a few dollops of cream over the next and sprinkle with fresh mango cubes. Individual mango chocolate pavlova, DONE!

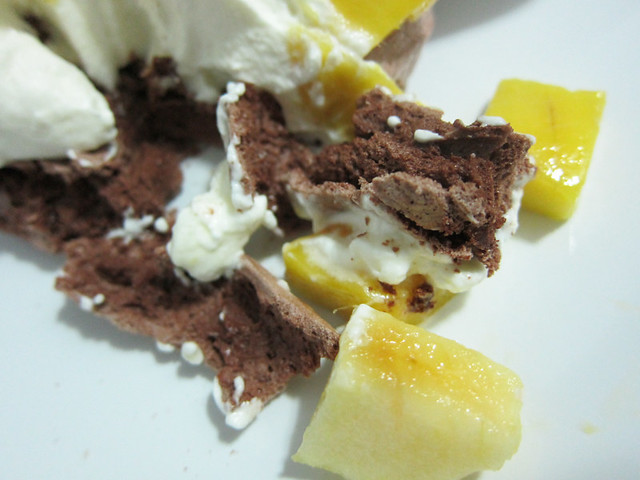
# – Chocolatey, crispy on the outside and chewy in the middle. It went down absolutely well with cream and juicy mangoes.

A dessert like this cost would probably cost like a minimum of RM12 outside for ONE serving. I could make 6 servings for under RM10! It is quite ridiculous isn’t it? To think that the effort involved also wasn’t that much really.

If you’re worried about making meringues, just check out the tips I’ve posted here. You can of course substitute mangoes with other fruits of your choice.

Happy baking!

Recipe for my version of palak paneer.

Remember when I made my own cheese/paneer? It was actually for this Indian dish called “Palak Paneer“.

Contrary to my earlier belief, it’s really not difficult to cook palak paneer. It’s probably easier to cook than a creamy western soup. A handheld blender would be most useful in the making of this dish, otherwise just stick to a good old blender or food processor.

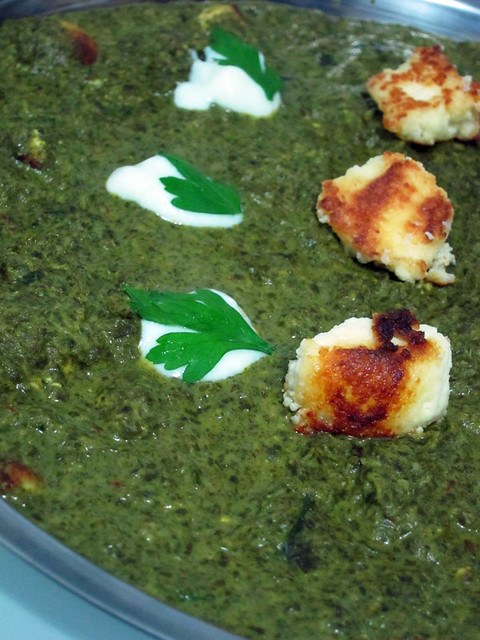
# – Palak paneer.

I didn’t realise how much the BF loves palak paneer until we were in Hyderabad, India, where EVERY meal must be accompanied by palak paneer. I don’t blame him though…it is a truly delicious dish.

Of course, it’s only a matter of time before he plonked a big bunch of spinach into our shopping trolley. The time has come…

The ingredients:

  • 2 cloves of garlic, chopped
  • 1 tablespoon of ginger, chopped
  • 2 dried chillies, seeded
  • 1/2 cup of onion, finely chopped
  • 2 teaspoons of ground cumin
  • 1 teaspoon of ground coriander
  • 1 teaspoon of ground turmeric
  • 3/4 cup of yogurt
  • 500 grammes of fresh spinach, torn
  • 4 sprigs fresh cilantro leaves
  • 300 grams of homemade cheese or paneer (you can use cottage cheese)
  • sea salt to taste

# – First, cut the paneer or homemade cheese into cubes and brown them in a pan.

# – When browned, set the cheese aside.

# – Now, stir fry the garlic, dried chillies, ginger and onions until fragrant (sorry I n00bed it and forgot the onion picture).

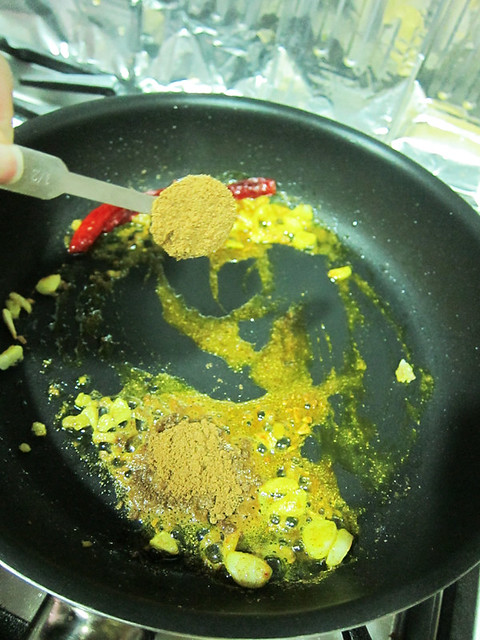
# – Add in the ground coriander, ground cumin and ground tumeric.

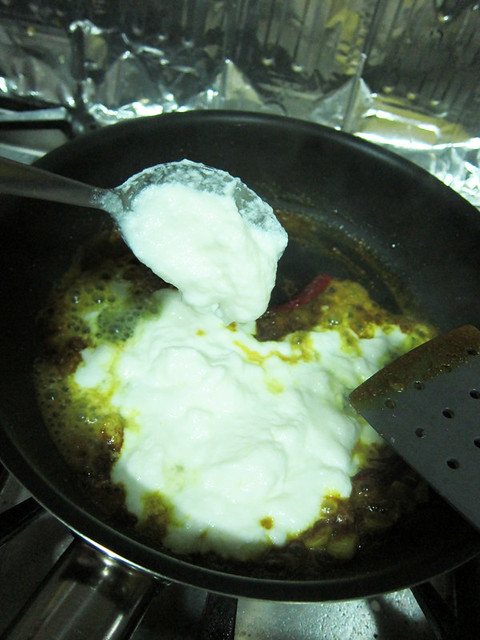
# – Followed by the yogurt. Stir to combine.

# – Now add in the spinach, a handful at a time. Cook till all spinach are wilted. If you like to make a really green palak paneer, don’t cook the spinach for too long as they will lose the vibrant green colour.

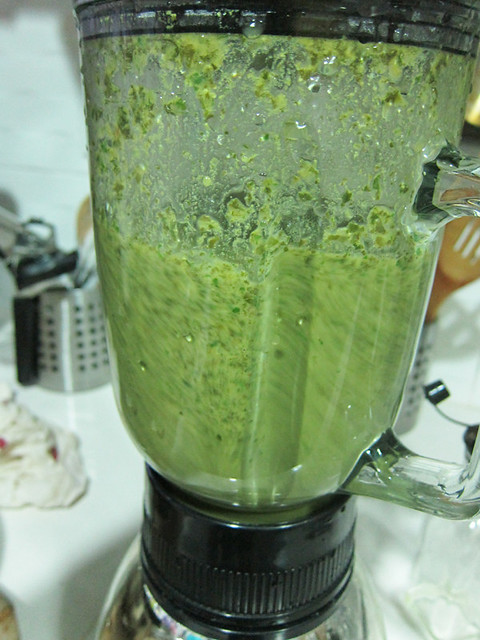
# – When spinach have wilted, chuck everything into a blender and blitz into a fine paste.

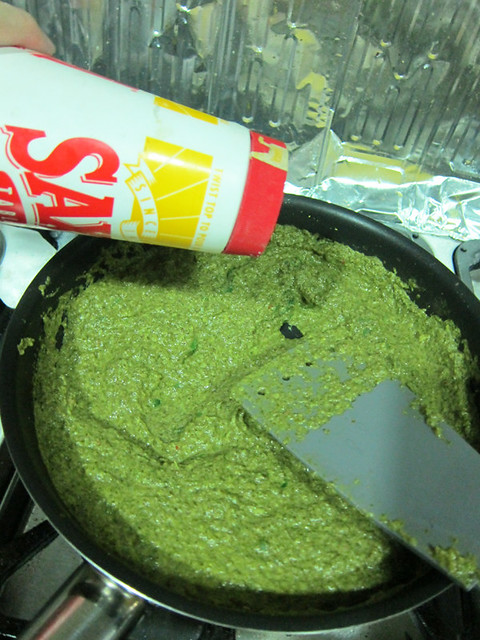
# – Pour the paste back into the pan and heat it up on the lowest flame.

# – Season with some salt.

# – Then add all but a few browned cheese cubes into it. Simmer for another 10 minutes.

# – Pour into a plate and decorate with the remaining cheese and a few spoons of yogurt.

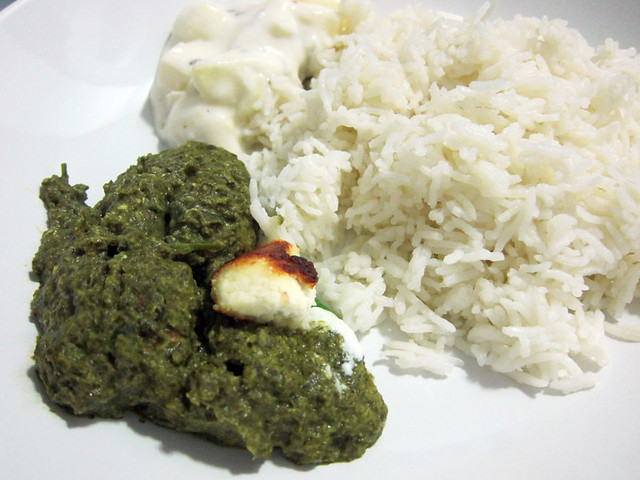
# – Palak Paneer, DONE!

# – Serve with biryani rice and apple raita (chopped apples and indian spices mixed into yogurt)

It is creamy but not cloying, the spinach paste is perfect with the browned cheese.

Every palak paneer is unique to its cook so you just have to eat many versions to find your favourite (this is by no means a complaint). As for those of you who are hoping to cook it from scratch, just tweak the seasonings to your taste.