Mustard beef pie, a recipe to impress.

This dish was actually inspired by Rachel Allen’s Individual Beef Wellington, which I saw her made in her show, Rachel Allen’s Dinner Parties. Thing was, all I had in hand was minced beef so instead of a traditional Beef Wellington, I made Mustard Beef Pie instead :D

Still, if it weren’t for Rachel Allen, I wouldn’t have thought of making this dish.

# – Mustard beef pie.

The ingredients:

  • 200 grams of minced beef
  • 2 carrots, chopped
  • 1 onion, chopped
  • 3 shallots, finely chopped
  • 1 chilli, finely chopped
  • 3 cloves of garlic, sliced
  • 150 ml of water or stock
  • 8 pieces of puff pastry squares
  • 3 tablespoons of mustard powder (you can use whole grain mustard for better texture too)
  • Salt and pepper
  • 1 egg yolk

For the gravy:

  • 200 ml of milk
  • 1 beef stock cube
  • 1 tablespoon of corn flour, dissolved in 2 tablespoons of water

# – First, marinade the minced beef with 3 tablespoons of mustard powder and some salt for about 15 minutes.
null

# – In the meantime, fry up the onions, shallots, garlic and chillies in a pan.

# – When browned, throw in the carrots.
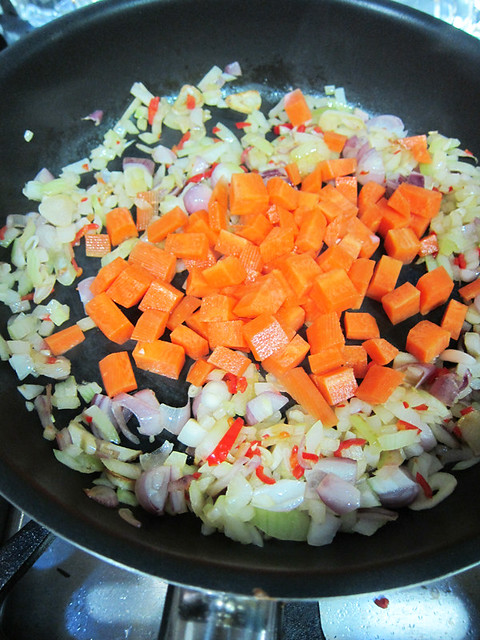
# – Followed by the water or stock.

# – A dash of salt to bring up the flavours. Leave to simmer for about 10 minutes or till the carrots are softer.

# – Time to throw in the beef. Stir to combine.

# – When the beef has almost cooked through, remove from heat and set aside to cool down.
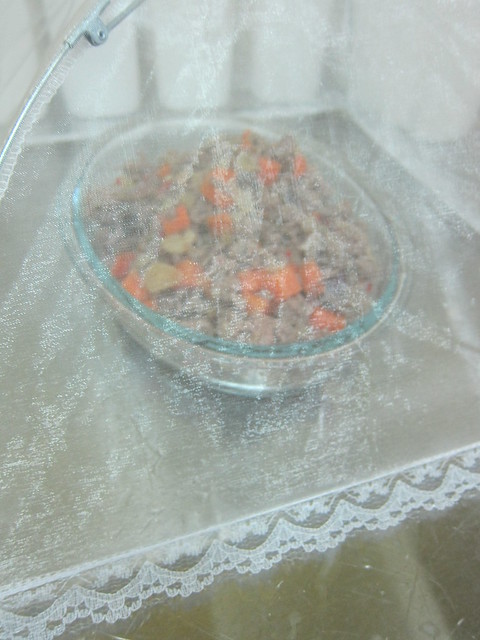
# – Roll out the puff pastry squares. Puff pastries are easier to handle when chilled otherwise they become very sticky. Just stick them back in the fridge to chill for a bit if they’ve gotten too sticky or soft to manage.

# – Spoon a few tablespoons of fillings onto one puff pastry square. Make sure they’re right in the middle of the square.
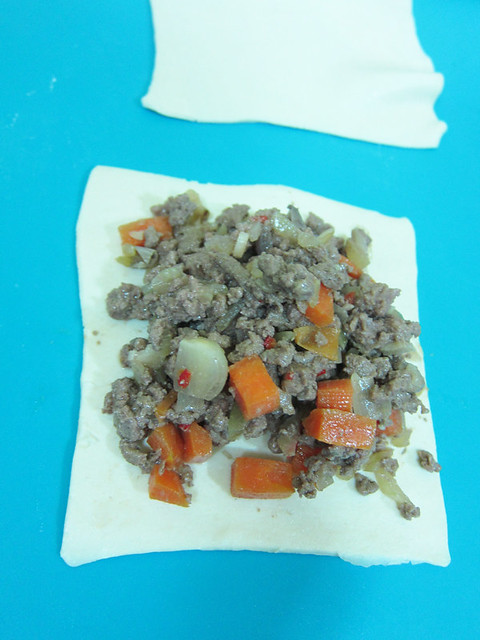
# – Take another puff pastry square and lay it over the filling. Use a fork to press the edges down to seal it up.
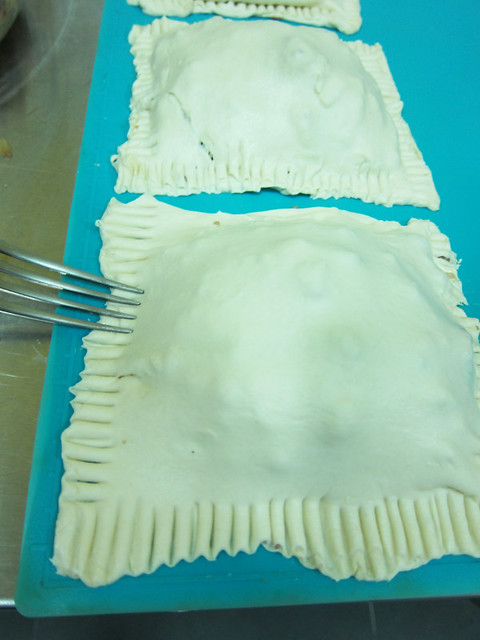
# – With a knife, poke a hole at the top of the pie. This is to release steam when it’s baking in the oven.
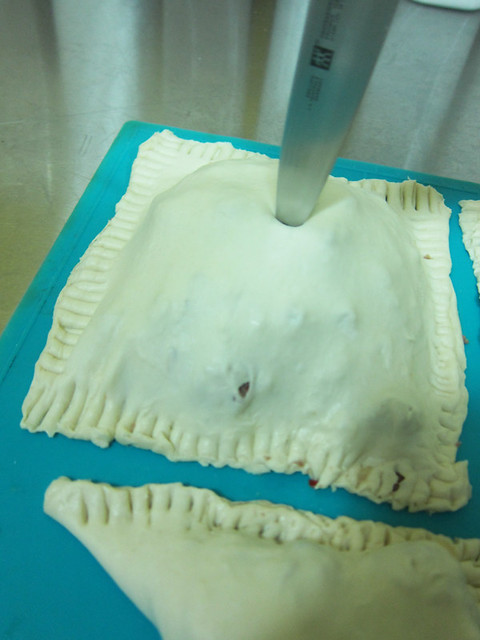
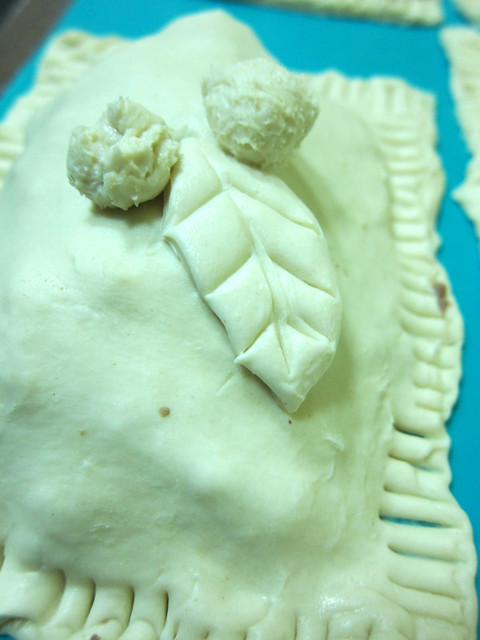
# – Decorate the pie with leafs cutouts and errr…cherries from leftover puff pastry.
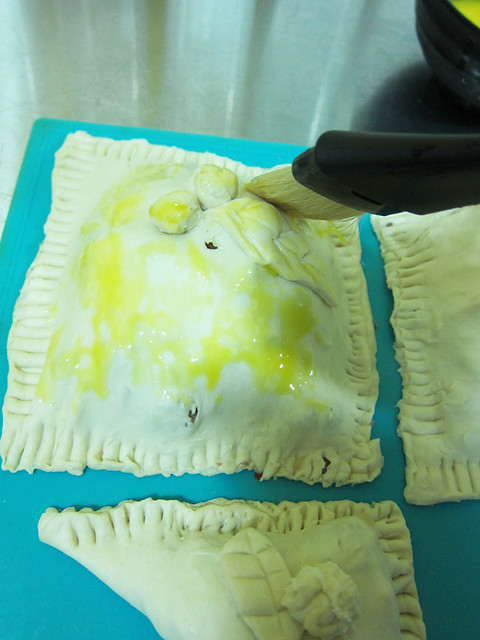
# – Generously brush egg yolk all over the pies. This will give the pie a beautiful golden colour.
# – Stick them in a preheated oven of 160 degrees celcius for 25-35 minutes.
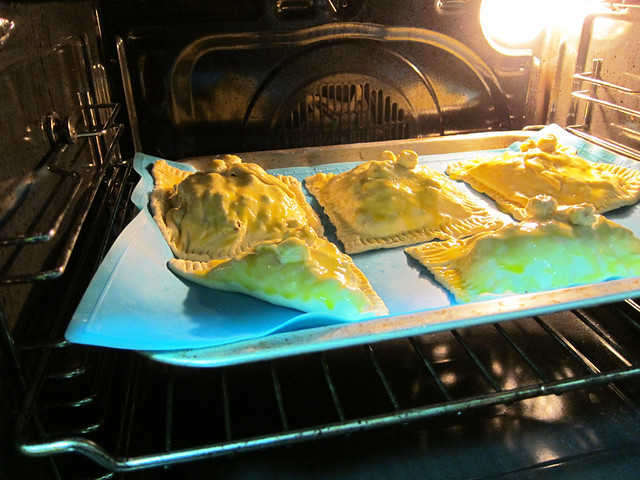
# – Mustard beef pies, done!
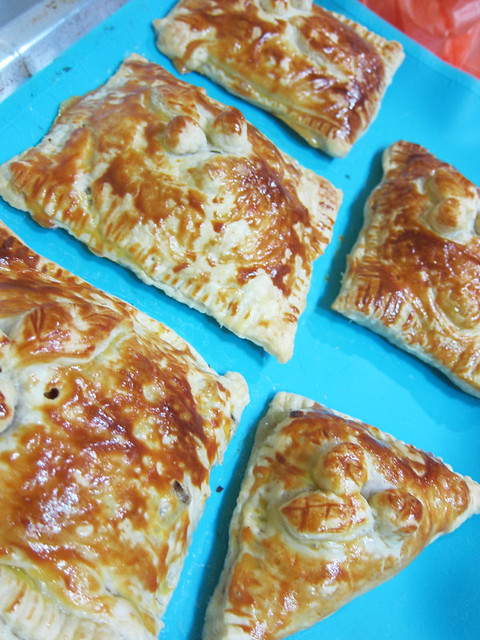
# – Serve with steamed sweet holland beans.
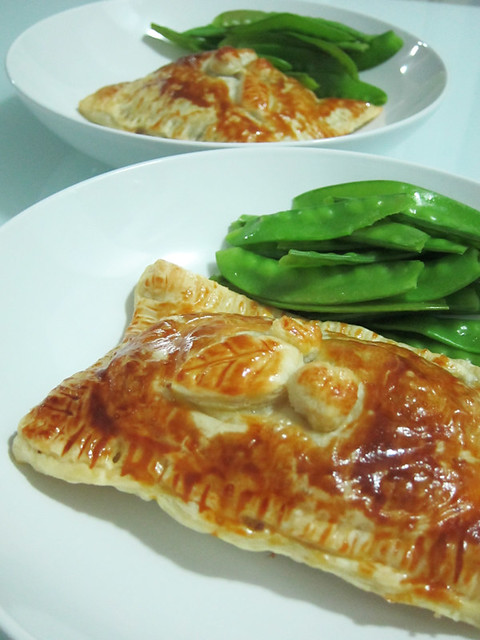
# – Make a simple gravy by adding a beef cube and mixture of 1 tablespoon of corn flour dissolved in 2 tablespoons of water into 200 ml of milk that’s been deglazing the pan used to cook the beef earlier. Stir till thickens slightly.

# – Pour the gravy all over the pie before eating for a delicious, moist pie :D
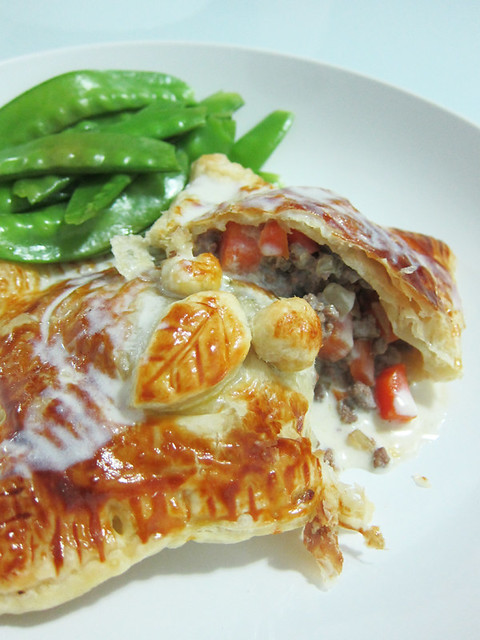
I guess the BF really liked em, as he hoovered up 3 pies, which led him to twit nonsense like this….

# – LOL

Juicy, beefy filling in flaky, buttery pastry. Of course I ate a lot of pies too!

++ Advertorial Break ++
==================

Looking for a brand new phone that is guaranteed to bring your smartphone experience to a totally elevated level? Look no further than the Sony Ericsson Xperia™ PLAY!

# – Sony Ericsson Xperia™ PLAY
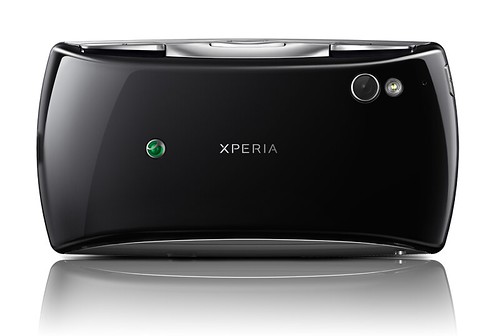
It’s like a PSP that makes phone calls (not just skype) and surf the net (not just at wifi spots) and check emails and twit and facebook and many more. What’s more, it looks sleek as hell!

# – Sleek and futuristic design.

For the best deals on how to acquire this phone, hop on to: https://www.celcom.com.my/smartphones/android.php#android1
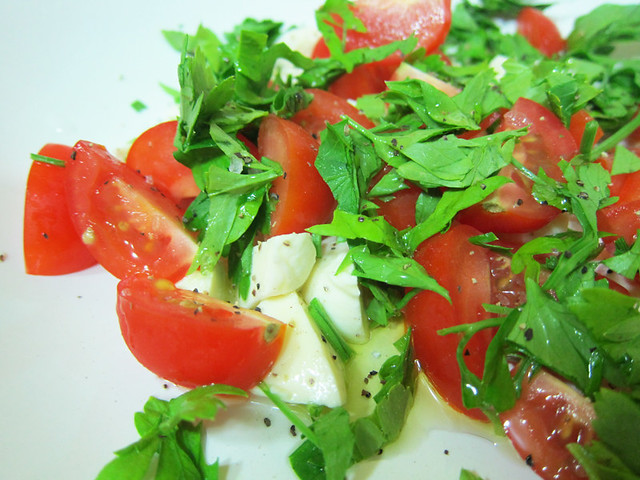
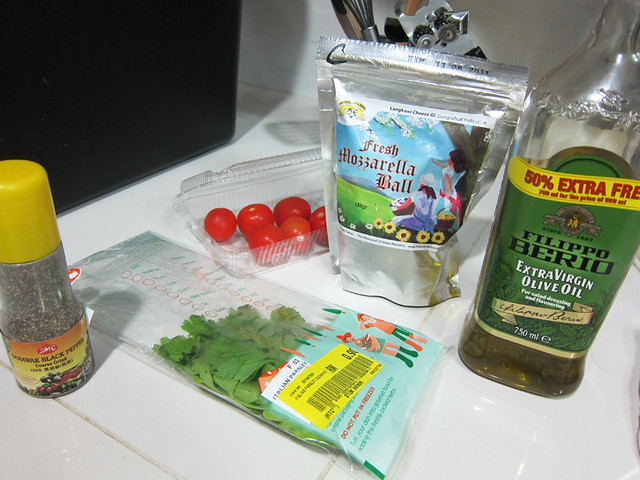
Refreshing mozzarella, tomato and parsley salad.

Every Friday, I have to think up something light for dinner as it’s badminton night for the BF. He doesn’t like playing the game with a stomach full of food. At first, I thought, hey…this is easy.

But as weeks go by I realised it’s actually not easy to whip up something that is both delicious and light. How can anything light be delicious, right? There are exceptions though, for instance this recipe (tooting own horn).

# – Mozzarella, tomato and parsley salad.

The ingredients:

  • 200 grams of mozzarella, cut into bite size
  • A handful of cherry tomatoes, halved
  • A handful of Italian parsley, chopped up
  • 2 tablespoon of olive oil
  • 1/2 teaspoon of coarse sea salt
  • 1/2 teaspoon of ground black pepper

# – The stellar cast.

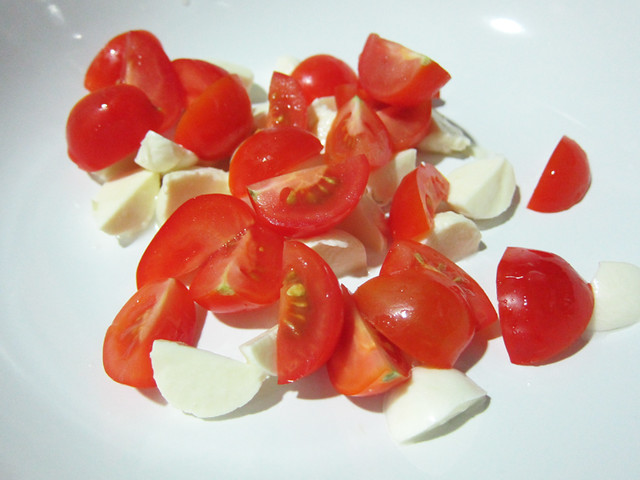
# – First, cut the mozzarella into bite sizes.

# – Throw in the halved cherry tomatoes.

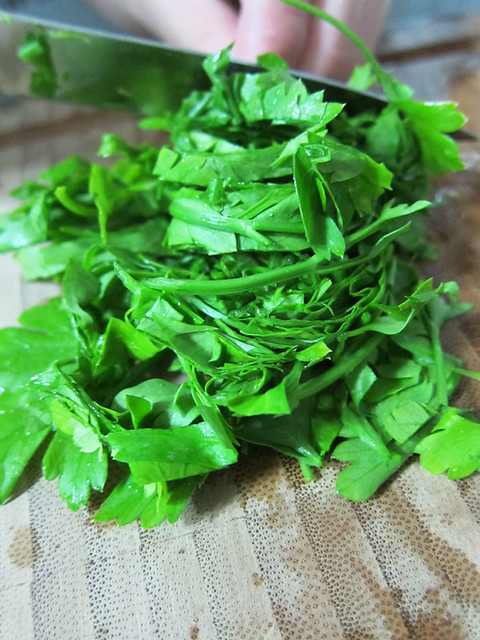
# – Chop up the Italian parsley.

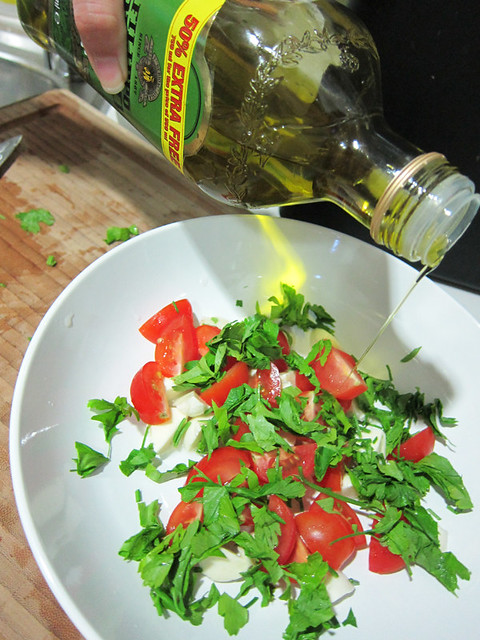
# – Throw the parsley in as well.

# – Drizzle olive oil all over…

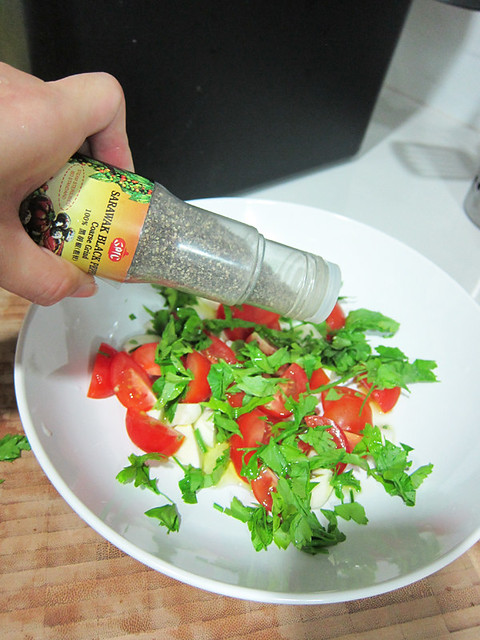
# – A sprinkling of ground black pepper…

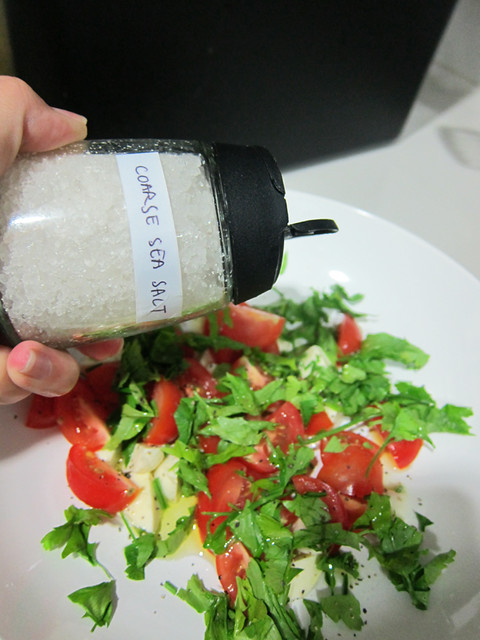
# – Lastly, some coarse sea salt to finish it off.

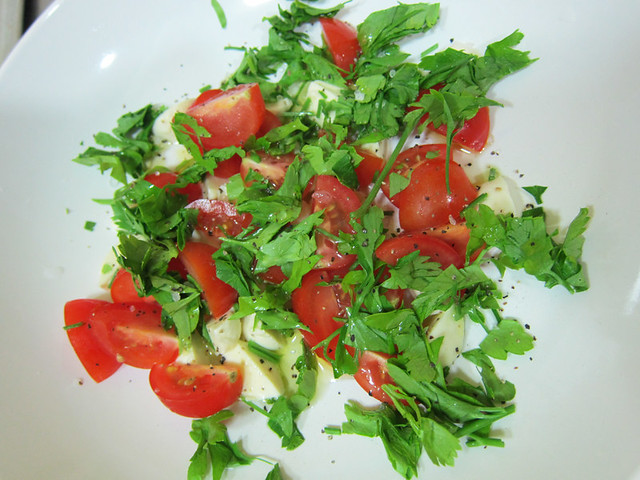
# – Mozzarella, tomato and parsley salad, DONE!

No cooking involved. Just cut some stuff up, pour some stuff in, sprinkle some stuff over and it’s done. Taste like a million bucks and most importantly, it’s light.

Perfect to prep the stomach up for KFC after, hehehe. (kidding)

Macaron Attempt Episode 2 – A semi success.

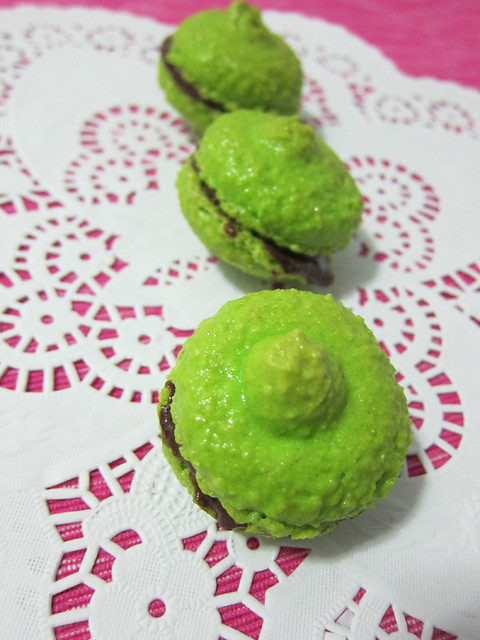
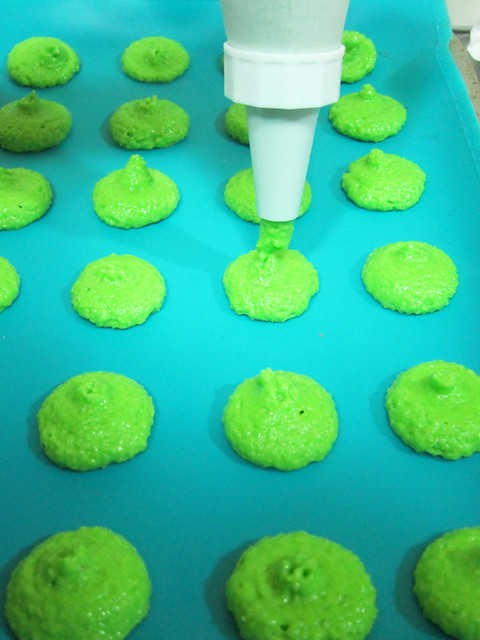
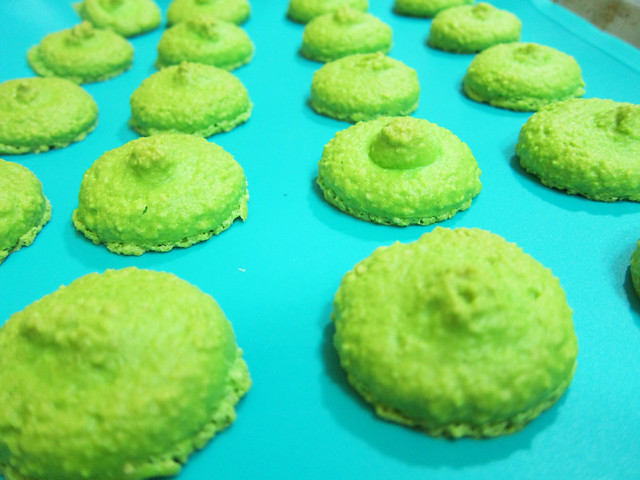
# – Hello, we are macarons. Butt-ugly macarons that ironically, look like nipples.

I got rather serious following my first macaron attempt that failed.

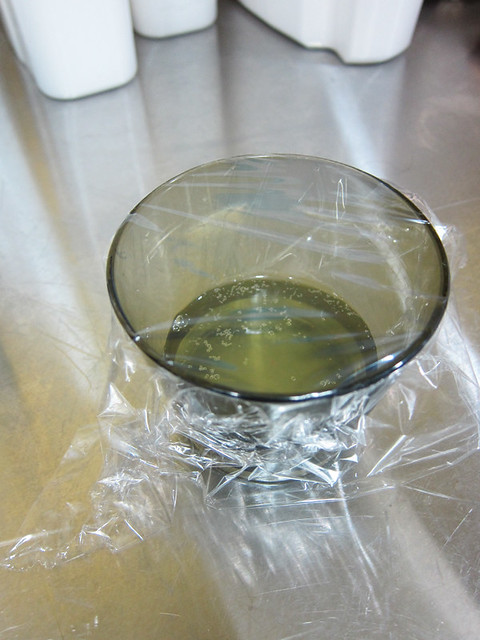
I aged the egg whites, which essentially means I left them in room temperature for a total of 48 hours as I read somewhere that aged egg whites can have more air beaten into them. No, I didn’t get food poisoning and yes, I did read somewhere that egg whites have antiseptic properties (please don’t go and slap it on open wounds now).

# – 2 egg whites, aged for 48 hours.

I also switched on two aircons on full blast (thanks to my gorgeous bb lainey for the advice) to reduce the room’s humidity.

Of course, I used my silicon baking mat this time instead of the damned paper. I was adamant that no macarons would get stuck this time. I did however, have to use the paper later when I had extra macaron mix but I made sure I greased the mofo properly.

/serious face

By the way, I must credit the website that eased me into attempting the scary realms of making macarons, thanks Amanda from Here Comes the Sun.

The ingredients:

  • 110 grams of icing sugar
  • 150 grams of finely ground almonds
  • 2 egg whites
  • 50 grams of caster sugar
  • 1/4 teaspoon of peppermint essence
  • 1 teaspoon of green colouring

For the chocolate filling:

  • 100 grams of dark chocolates, melted at Medium Low for 2 minutes and cooled down
  • 100 ml of whipping cream, whipped till fluffy

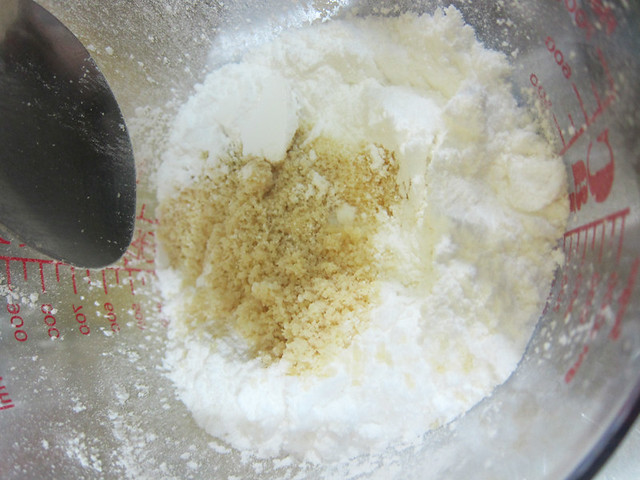
# – First, mix the ground almond and icing sugar together. You should then pulse the mixture till powder fine, and then sieve them. Twice. Set aside.

Additional note: However, I did not pulse the mixture because I haven’t gotten a food processor. Sieving them without the prior blitzing was also next to impossible due to the rough texture of store-bought ground almonds. I believe the lack of this step was the main cause of my macaron’s ugliness. So yeah, if you’ve got the privilege of a food processor…use it, gawdamit!

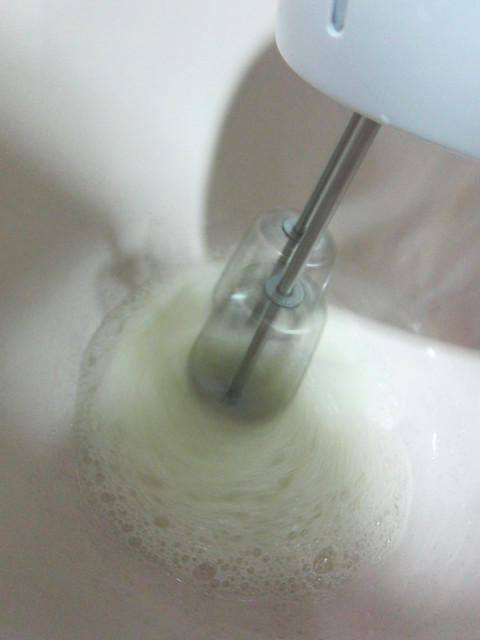
# – Now in a mixing bowl, beat the aged egg whites till fluffy.

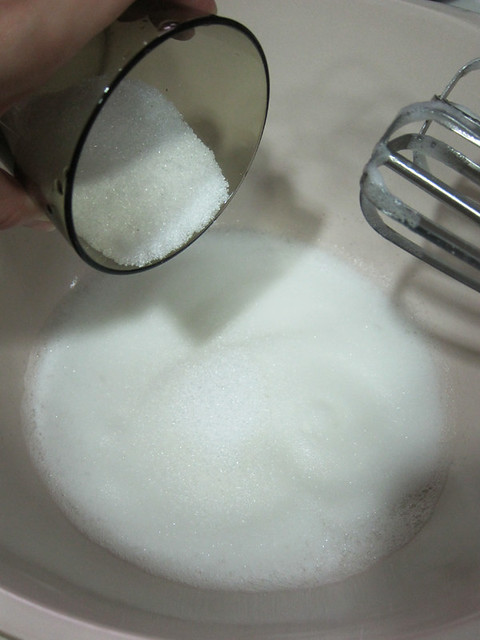
# – Then add in the caster sugar slowly while still beating.

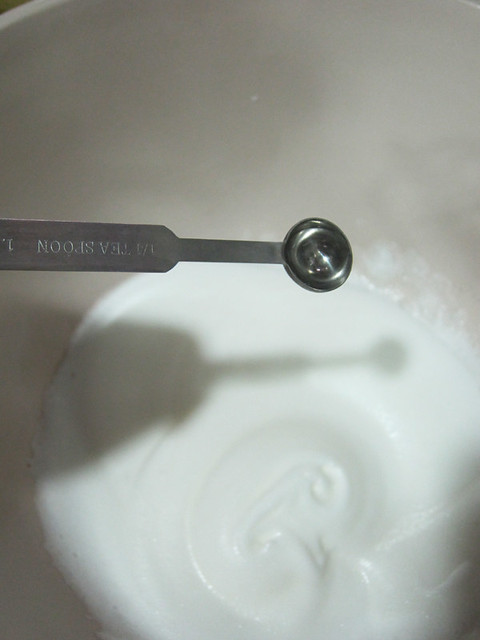
# – When the egg whites have turned glossy, put a 1/4 teaspoon of peppermint essence. I reduced the amount of peppermint essence from 1 teaspoon to 1/4 teaspoon which yielded a nice mild minty taste instead of “Is this super strong breath mints that I’m chewing?”.

# – Followed by a teaspoon of green colouring.

# – Beat the mixture again until colour is even.

# – Now pour in the almond + icing sugar mixture into the green gloop.

# – Fold gently until combined like this.

# – Pipe disc shaped onto the baking mat. Leave to rest for a minimum of 30 minutes for the exterior to harden. To be safe, I left it for one hour.

# – After that, stick it in a pre-heated oven at 160 degrees celcius for 20 minutes.

# – Peppermint macarons, DONE!

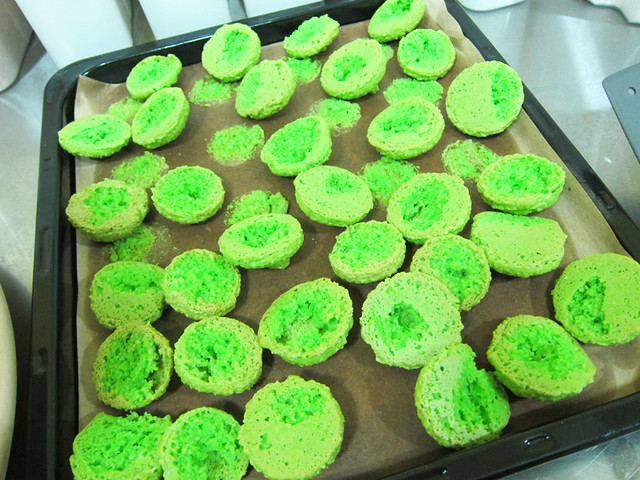
You see, the lack of attractiveness of the macarons was not my only problem. 80% of the macarons stuck to the baking mats. However, unlike the first attempt, it was far more manageable. I didn’t have to throw them away or turn them into something else. In fact, in my head I was secretly pleased because I could pipe more filling in :P

# – Slightly hollowed macarons as bottom bits stuck to the mat. Let the macarons cool down completely.

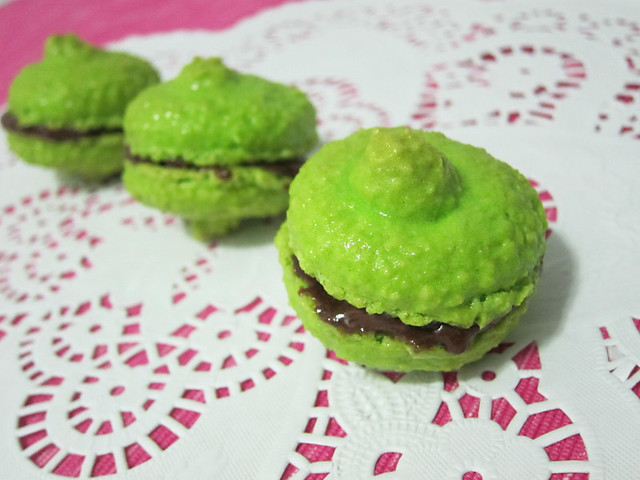
# – Mix the whipped cream and cooled melted chocolate together till combined. Then pipe it into one macaron and sandwich the filling with another.

# – After Eight inspired macarons, DONE!

Thankfully, this second attempt was actually decent. The macarons were ugly as [insert expletive] but taste-wise…it was spot-on. The exterior was crispy, the middle was nice and chewy and it so totally reminded me of After Eights :)

# – YUMS!

Next attempt will see me try to make these babies without the bottom sticking and achieving a smooth egg-shell like exterior. Which means…I have to start shopping for a good food processor. Any suggestion please???