How to make your own cheese or paneer.

I’m really excited to share this because it’s so simple! This is actually an Indian recipe for making paneer, an almost tasteless crumbly white cheese, which, excitingly….can be flavoured however you like!

I’ve always fantasised about making my own cheese because cheeses are so expensive here! The only cheap cheeses are cheese slices which probably are not even real cheese and they taste like plastic.

There are only 2 ingredients that you need to make this basic cheese, milk and lemon juice! Excited yet?

Utensils you need:

  • 1 tea towel or muslin cloth
  • 2 pots
  • Something heavy like a chopping board or stone mortar (to weight the cheese down)

The ingredients:

  • 1 litre of fresh milk
  • 100 ml of lemon juice (or acid like white vinegar)

# – First pour the milk into a pot and bring it to boil on medium heat. Stir sometimes.
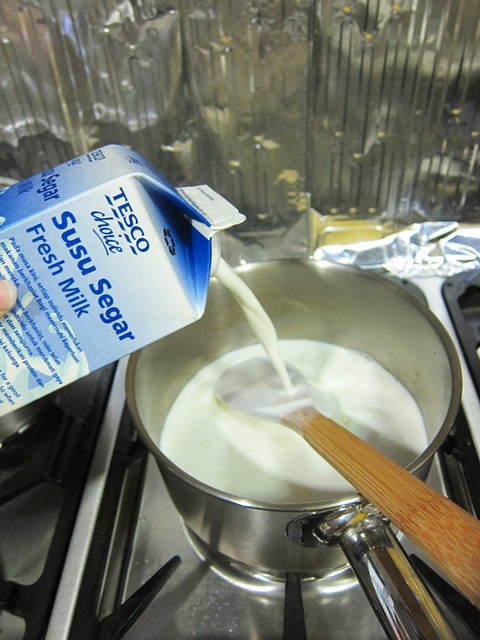
# – While the milk boils, set the teatowel over the other pot, like this…
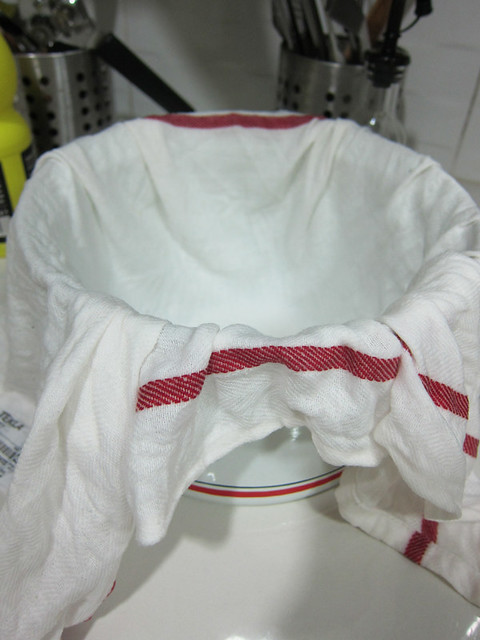
# – When the milk starts bubbling, pour in the lemon juice bit by bit while stirring.
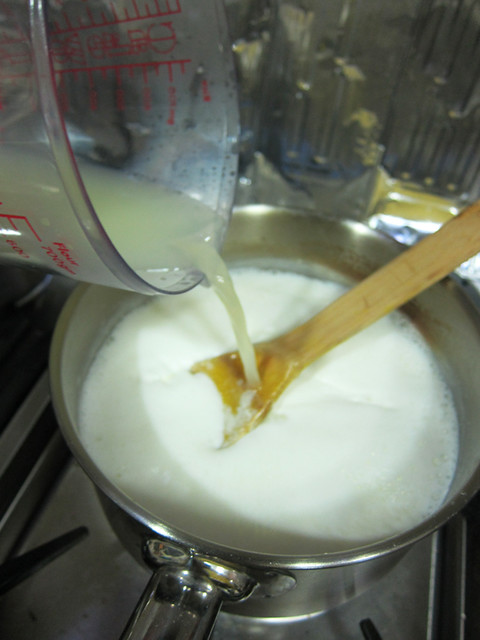
# – As you stir, you will notice that the milk begins to curdle. Looks like bashed up tofu. Stir for another minute or two.
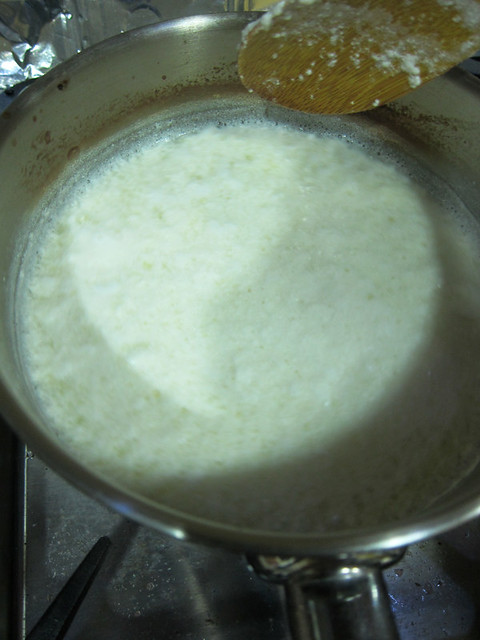
# – Pour the content into the tea towel set up earlier to strain.

# – When you lift the tea towel up, you can see what’s left behind is a clear yellowish liquid. This is called whey. Some people use it to boil rice or something but I just discarded it…

# – Turn the pot upside down and place the drained curd (still in tea towel) on top.
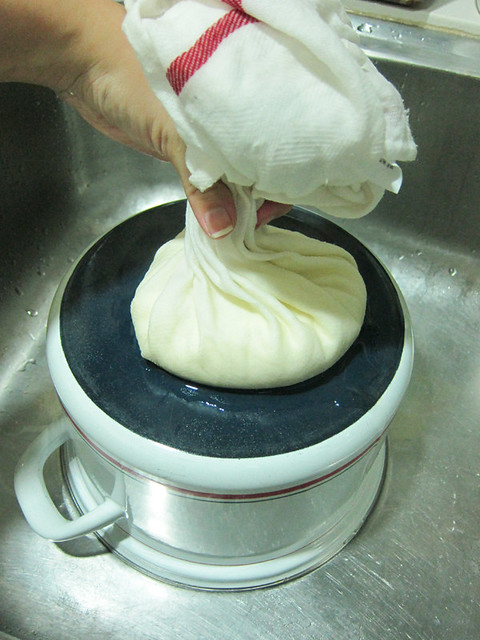
# – Weigh it down with something heavy for 2 hours. You can do this in the sink cause it’s wet. Check out my style…

# – After 2 hours, cheese. DONE!
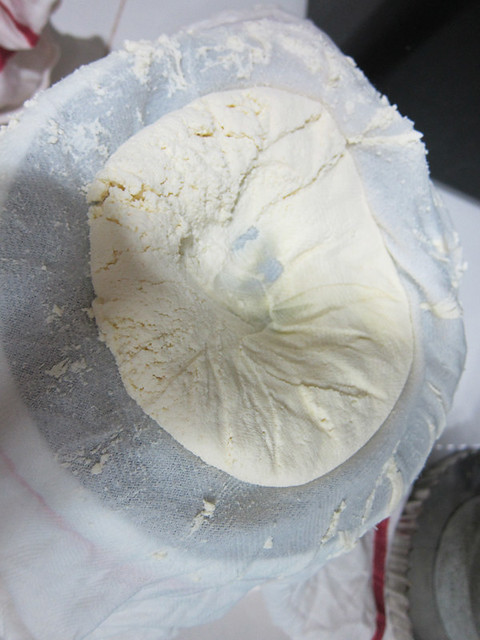
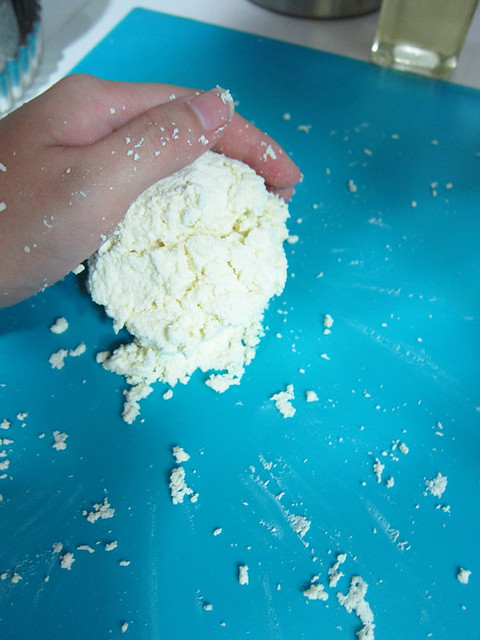
# – You can use it straightaway but if you want a less crumbly cheese you could knead it a few minutes to soften the texture, which I did. If you want to flavour it, you should chuck in the flavourings at this point…parsley, garlic, dried fruits…make it happen!
# – Wrap it up in clingwrap if you’re not going to use it immediately.

# – Keeps for 5 days in the fridge.

Told you it’s simple. It’s crazy simple!!!!
How to make peppermint chocolate sticks candy.

I made this at 3am last night after being briefly comatosed (2 hours) from half pint of beer. With ice. I’m a cheap drunk like that.

# – Peppermint bark candy.

In my defense, I don’t normally knock out so quickly especially if I had something to focus on, such as a movie or a conversation.

But, it was a balmy evening, BF was busy with work so I was left to my own device, Charlie was sleeping quietly on my foot, I was flipping through a book called “The Chocolate Bible” while sipping iced beer and before I knew it, I fell asleep with peppermint bark in my mind.

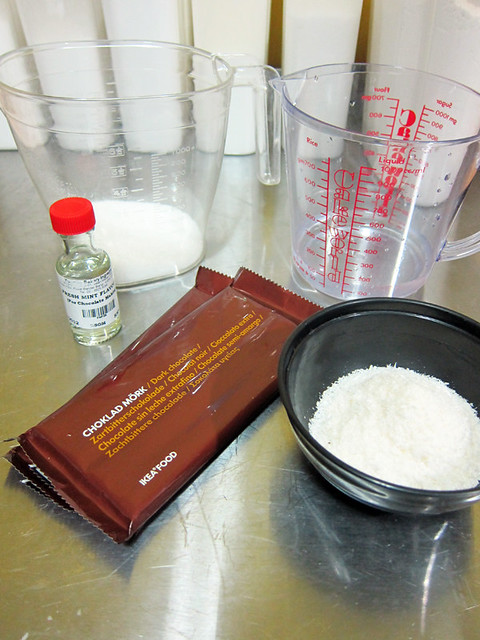
# – Only 5 ingredients! #winning

I popped up after the effect of alcohol had worn off and all I wanted to do was make the damn candy. These things are fated.

The ingredients:

  • 200 grams of chocolate (by the way, I used Ikea’s 60% dark chocolates which are MUCH cheaper and taste significantly better than those overpriced cooking chocolates. Which is why I bought 1.5 kilograms of them :P)
  • 1/2 teaspoon of peppermint essence
  • 115 grams of granulated sugar
  • 150 ml of water
  • 4 tablespoons of dessicated coconut

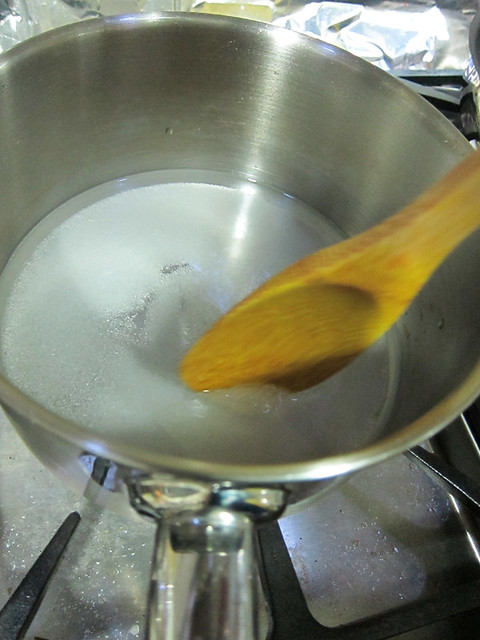
# – First, boil the water and granulated sugar in a saucepan on medium heat. Stir until all sugar has dissolved.

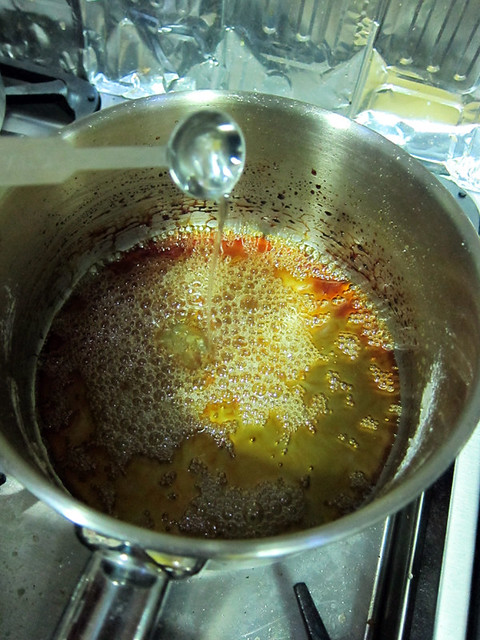
# – Allow the sugar mixture to boil on its own for about 13 minutes or till it has turned into amber colour. Immediately stir in the peppermint essence.

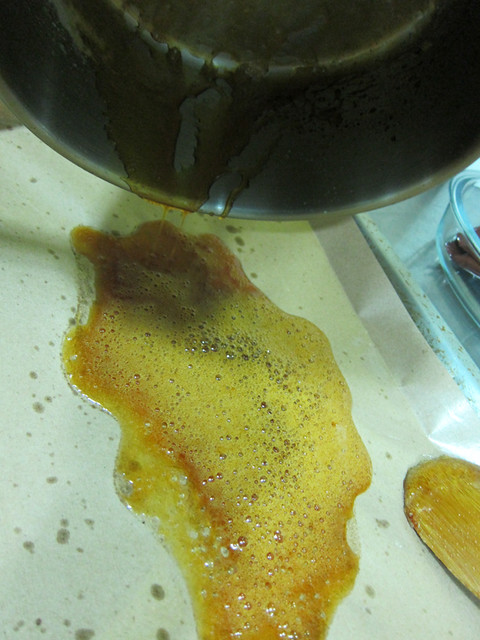
# – Pour the mixture onto a greased metal baking tray. Don’t use paper like I did as it may stick. I had to painstakingly break off the bits with papers stuck on it to be discarded. Tilt the tray to make sure the sugar has spread out evenly. Be very careful as liquid sugar is extremely hot!

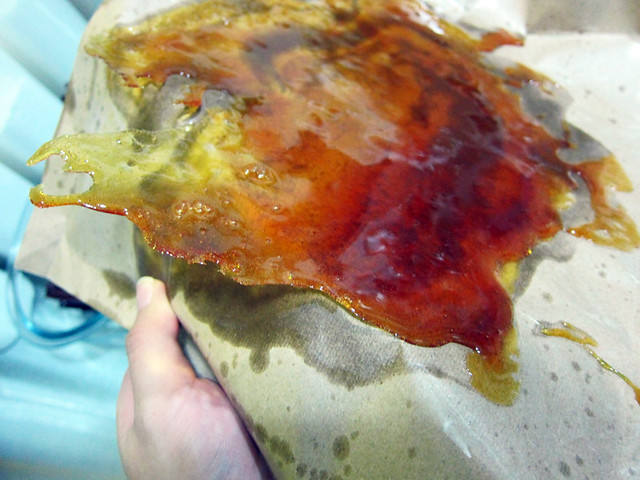
# – Leave it to set for an hour or stick it in the fridge for 15 minutes. The sugar should harden and you can lift it off the tray.

# – Bash the sugar into small pieces with the end of a rolling pin or a pestle. Set aside.

# – In the meantime, melt the chocolate. You can do it with a double boiler or stick it in the microwave for 2 minutes at Medium Low.

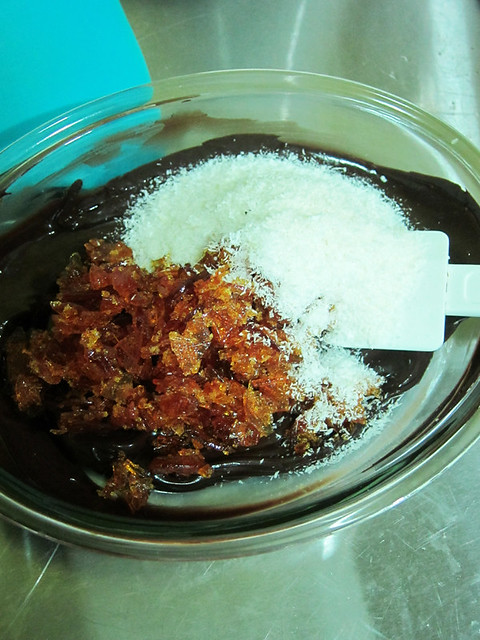
# – Dump in the peppermint sugar and dessicated coconut into the melted chocolate.

# – With a spatula, stir till everything is well coated.

# – Dump the mixture onto a silicon sheet or baking tray. With a knife or long spatula, spread it out as thinly as possible. Stick it in the fridge to chill for a minimum of 30 minutes.

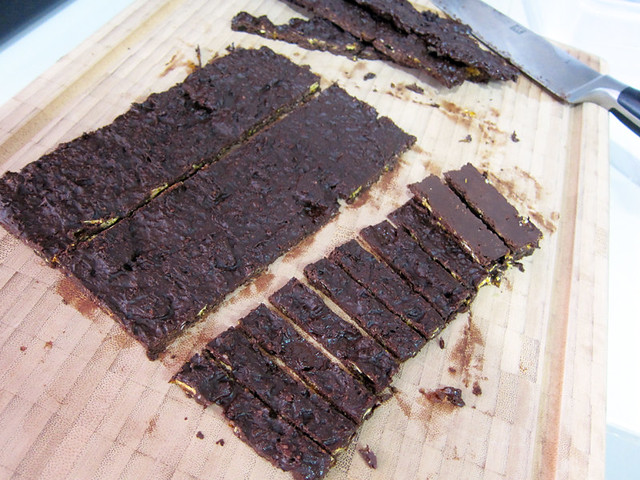
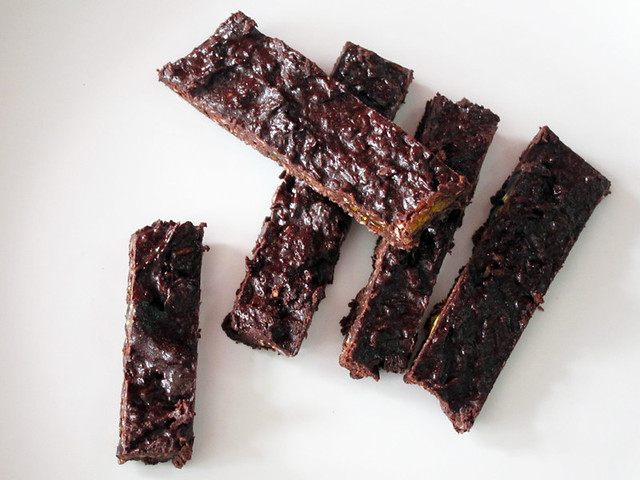
# – When the chocolate has set, use a sharp knife to cut it into sticks.

# – Peppermint chocolate stick candy, DONE!

Fans of peppermint flavour would LOVE this! The peppermint candy gives the chocolate a lovely cool crunch while the dessicated coconut keeps the mint flavour from getting too harsh with its own brand of sweetness that would remind you of the sun, sea and beach.

If you asked me, this candy conjures up images of Christmas in the tropics, which is apt because I live in Malaysia. It’s 6 months too early but this is going into my Christmas menu for this year. By the way, unless you know how to temper chocolates (a process that keeps the chocolates glossy and solid in room temperature), you got to keep these babies chilled.

Addictive!

Steamed pork and fish meatloaf recipe.

This was supposed to be an authentic Indonesian “otak-otak” (that’s what the recipe book claimed anyway). I was quite excited to make it, since I had one frozen dory left and I was itching to use it.

Alas, luck was not on my side as I realised the dory was too small even for 1 person…

So, without so much of a blink, I decided to incorporate pork into the dish. And hence, the dish had to be renamed to “Steamed pork & fish meatloaf”. I’ll make real otak-otak another time..

# – Steamed pork & fish meatloaf, served with rice.

Funny thing was, the BF was unable to ascertain that there was pork in there. I guess if you blitzed the mixture fine enough you really can’t tell what it is. He was really surprised to know that there was pork!

The ingredients:

  • 200 grams of pork, cut into cubes
  • 120 grams of boneless white fish fillet (I used dory), cut into cubes
  • 1 onion, chopped
  • 5-7 shallots
  • 3 cloves of garlic
  • 100 ml of coconut milk
  • 1 teaspoon of white pepper
  • 1 tablespoon of lime or lemon juice
  • 1 tablespoon of chilli powder
  • 1 teaspoon of salt

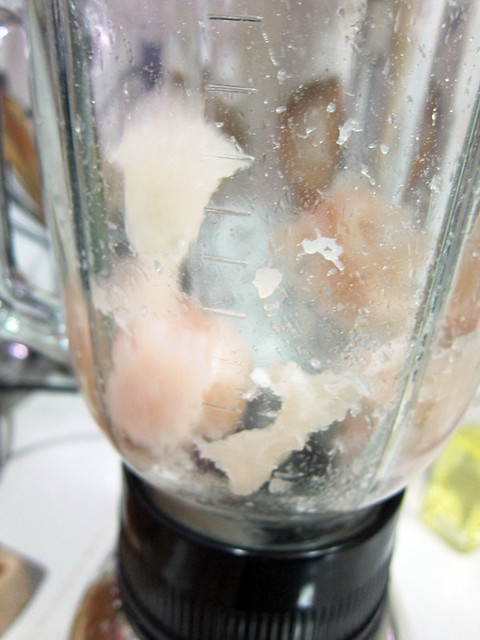
# – First of all, chuck the fish into a blender or food processors. Give it a blitz.

# – Then, add the pork.

# – Followed by the shallots, garlic cloves & chopped onion.

# – Pour in the coconut milk. Blend till combined.

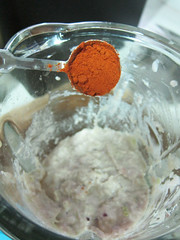
# – Add the salt, lemon/lime juice, white pepper and chilli powder.

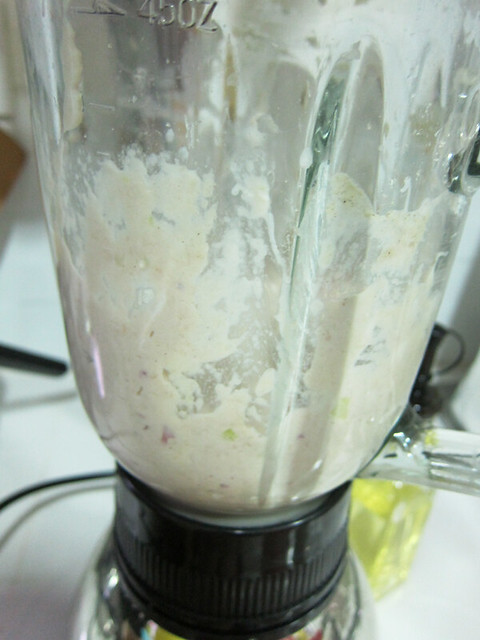
# – Blend till fine.

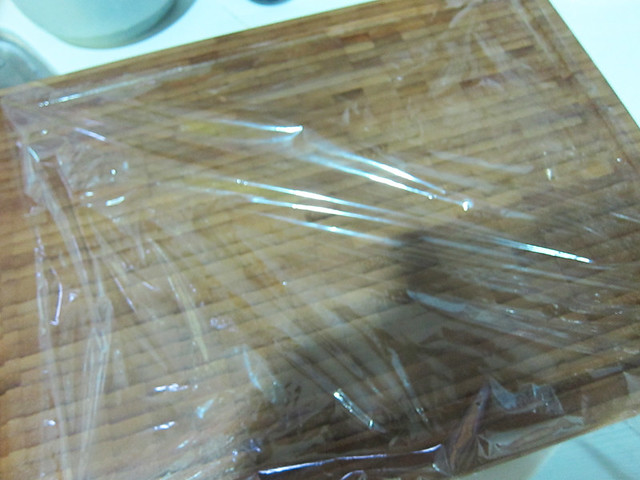
# – Lay a clingwrap film over a chopping board.

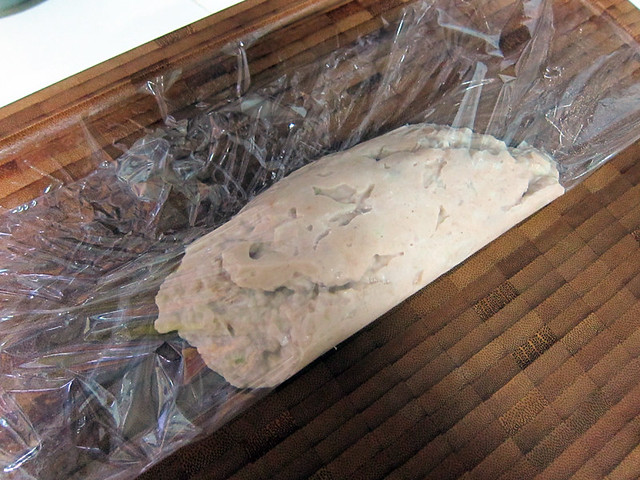
# – Scoop half the paste onto the middle of the film.

# – Fold the bottom part of the film over the paste.

# – Then fold the part with the paste inside over the top of the film.

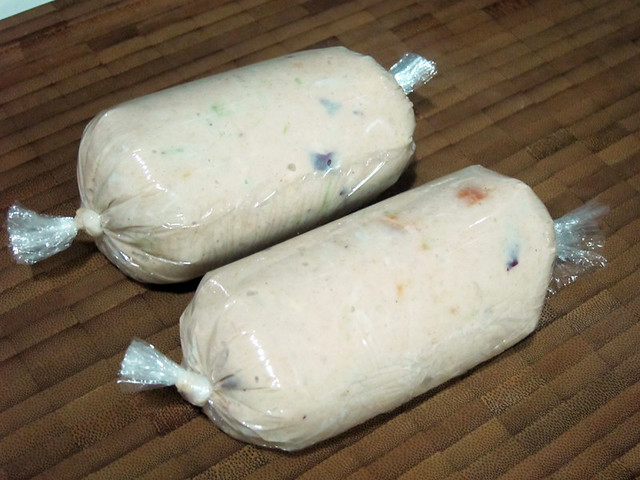
# – Tie a knot on each end to form a sort of Christmas popper shape…like this.

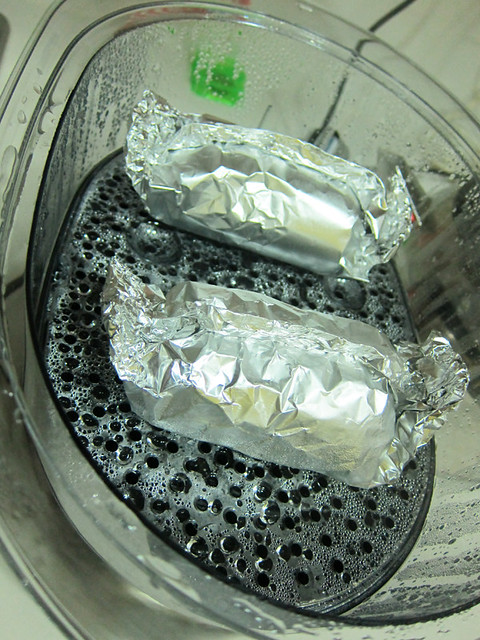
# – Wrap the parcels in aluminium foil.

# – Stick them in the steamer for 20 minutes.

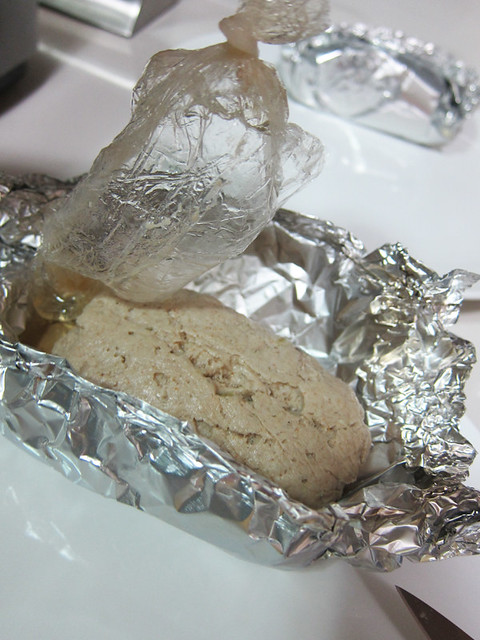
# – When it’s done, cut the clingwrap film and carefully remove it. Let the loaf stays in the foil.

# – This is optional, but you could use a kitchen torch to crispen the top a bit. Otherwise stick in the oven in grill mode for 5 minutes at 210 degrees celcius.

# – Steamed pork and fish meatloaf, DONE! Instead of rice, you can serve it with grated cauliflower for a slow carb option.

The looks were nothing to shout about but it was juicy, tender and very flavoursome. It’s also really healthy because as you probably have noticed, there’s not a drop of oil used in making this dish!