Chinese Steamed Pork Ribs with Salted Soyabeans.

This is a dish that I grew up with and one that I’d always wanted to recreate since getting my own kitchen. Absolutely easy to make and so delicious, it’s no wonder that my mum served this for dinner at least once every week when I was younger.

The pork is juicy, tender and succulent. The salted soyabeans, or “taucu” makes a distinctive and delicious savoury sauce that goes extremely well with piping hot plain steamed rice. You can add more chillies for kicks but if you’ve got children at home, they can be omitted for a milder version.

Ingredients:

  • 400-500 grams of pork ribs
  • 2 tablespoon of salted soyabean paste or “taucu” (if they’re still in bean form, mash it with a fork or pestle & mortar or food processor)
  • 2 medium sized chilies or dried chillies, seeded and roughly chopped
  • 1 tablespoon of minced garlic
  • 2 tablespoons of minced shallots
  • 1 ginger about the size of a thumb, julienned
  • 5 tablespoons of water
  • 2 tablespoons of chopped spring onion (for garnish)

For marinating the pork:

  • 2 tablespoon of corn flour
  • 1 tablespoon of chinese rice wine
  • 1.5 tablespoon of sesame oil

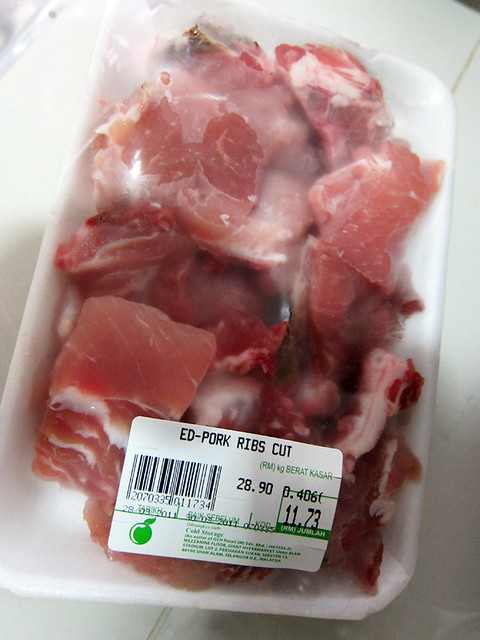
If you don’t quite fancy visiting the morning market, it’s quite easy to get pork ribs at places like Tesco, Cold Storage and Jaya Grocer. The ones that I bought were about 400grams for just under RM12 from Cold Storage. I believe it’s probably slightly more expensive than the wet market but I guess you pay more for convenience.

# – Pork ribs from Cold Storage.
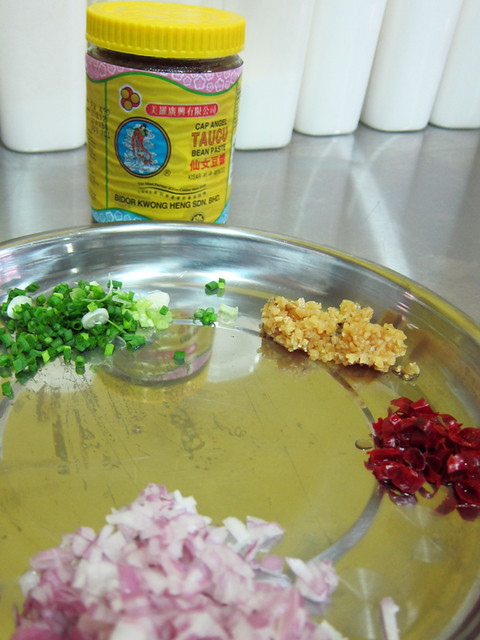
# – The ingredients for the sauce. Ginger not in picture thanks to my carelessness.
Lets begin…

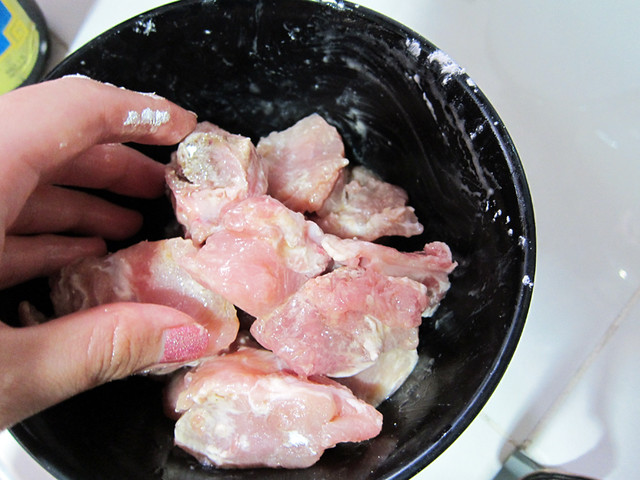
# – Clean the pork ribs and cut them into more or less equal sizes then marinade with chinese rice wine, cornflour and sesame oil for at least 5 hours. Overnight is even better. So yes, adjust your timing as you don’t need to deal with the pork till about 1/2 hour before serving time.
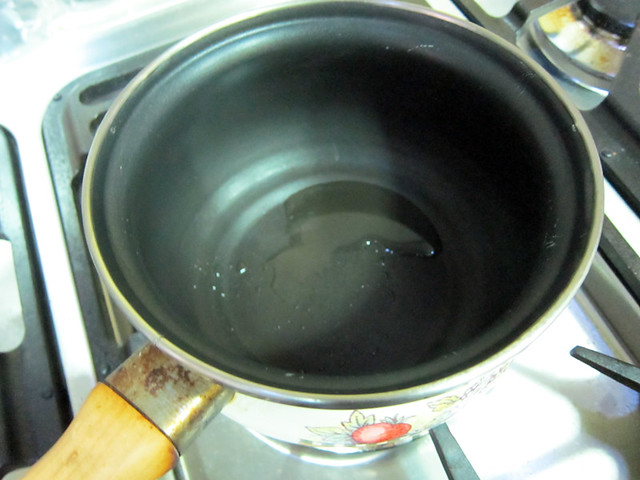
# – When you’re ready to cook, heat up a pot with some cooking oil.
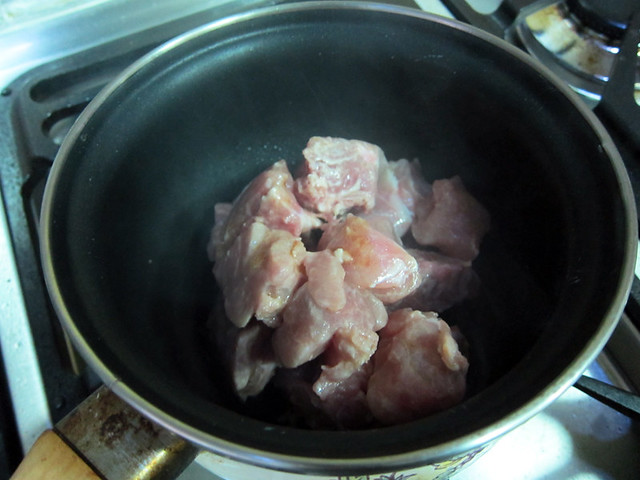
# – Throw in the marinaded pork ribs and brown them. No need to cook through. Remove them from the pan as soon as the pork changed colours from pink to patches of white.
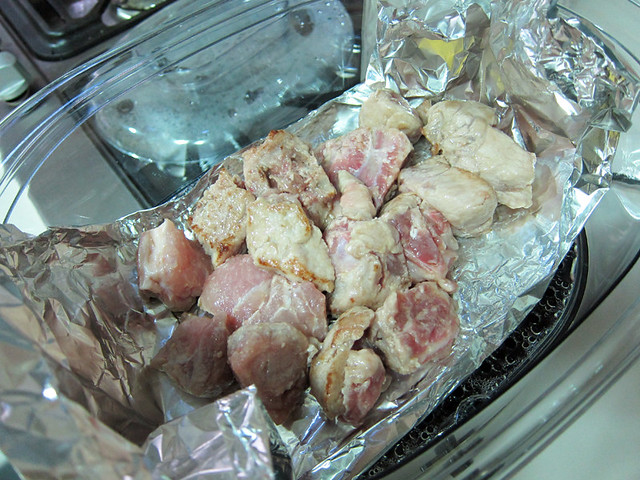
# – Lay the pork out on the plate that you want to steam them in. Set aside. In my case, I used aluminium foil because I do not have plates that could fit into my steamer -_-
# – In the same pot, heat up a little bit of oil. Throw in the garlic, chillies and shallots. Fry till fragrant.
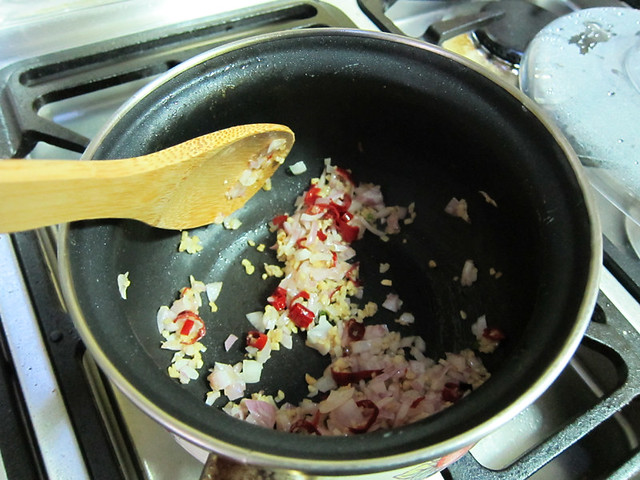
# – Next, throw in the ginger and fry it till you can smell the fragrance.
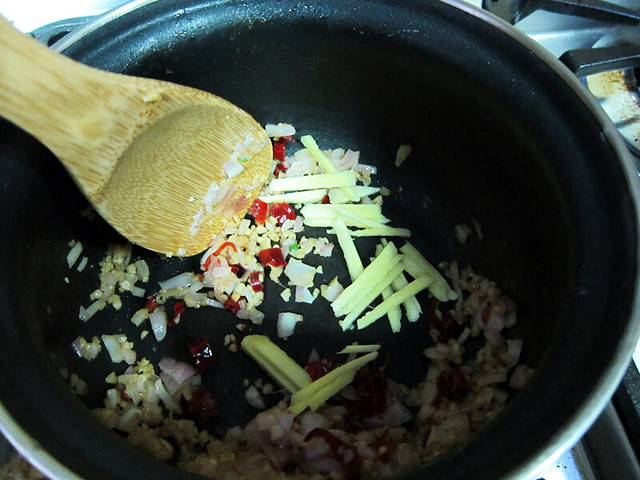
# – Put the salted soyabean paste and stir.

# – Add 5 tablespoons of water and stir. Let it simmer for a bit.
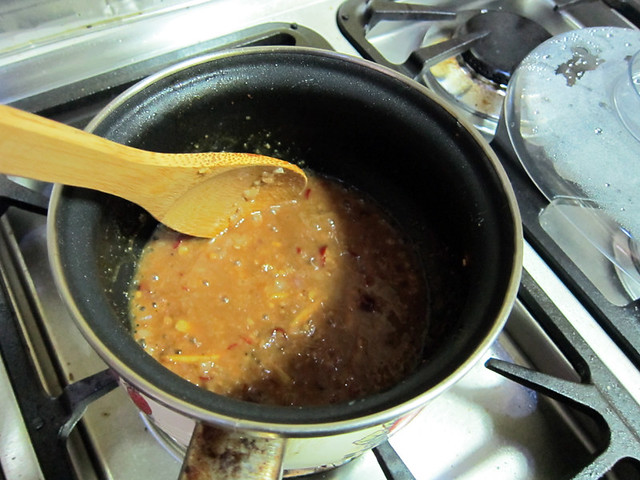
# – Remove the mixture from heat and pour it all over the pork ribs.
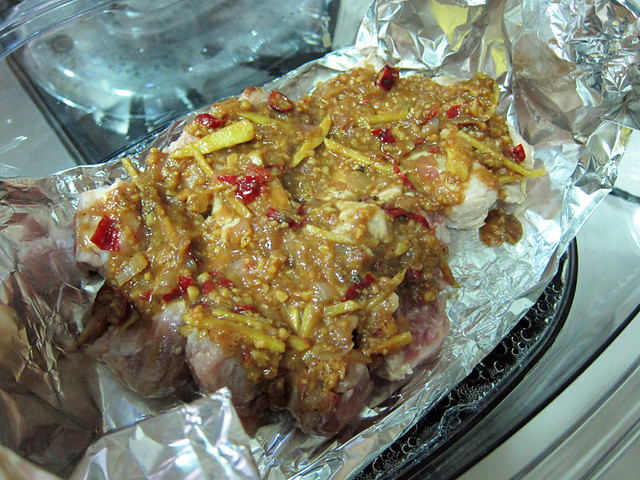
# – Steam for 20 minutes. If you don’t have a steamer, put a wire rack in a wok or very deep pan and fill it up with water. Make sure the wire rack is not submerged in water. When water starts boiling, put the plate of pork ribs onto the rack and cover with lid for 20 minutes. And if you’re using this makeshift steamer, remember to always check for water level and top up when it’s low.

After 20 minutes….

# – Garnish with spring onions. Delicious and very appetising chinese steamed pork ribs with salted soyabeans. DONE!

Be warned as it will makes you wolf down rice like a teenager!

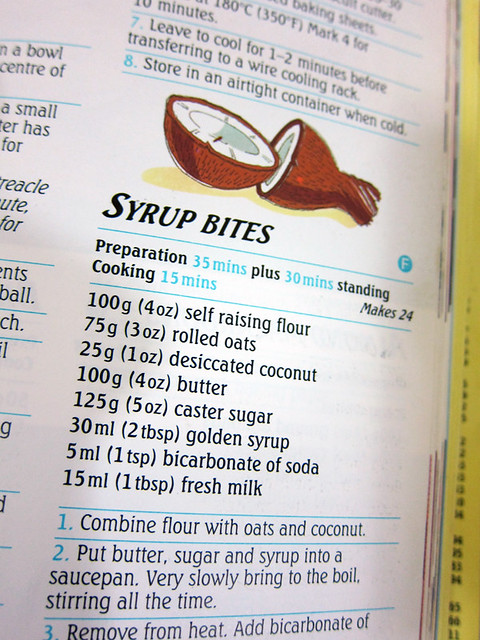
Making Syrup Bites – you will love it like I do.

When the BF’s mom came to visit a couple of months ago, she brought along an old recipe book that belonged to the BF. It was given to him by his aunt when he moved away to Liverpool for university, in hopes that he would not need to survive on just instant noodles and 1 quid beers.

Thanks to Aunt Jean and that precious recipe book, my BF learned valuable cooking skills which proved very handy whenever I messed up his dinners.

# – The Dairy Book of Home Cookery.

The Dairy Book of Home Cookery now belongs to me. It mostly consists of basic recipes for almost any food you can imagine. One recipe that caught my eye was “Syrup Bites”. Personally, I have never heard of it and even googling did not yield any result. What does it look like? How does it taste like?

# – Syrup Bites?

And because I had all the ingredients in hand, I decided to make 24 pieces of “Syrup Bites”. I’m so glad I did, because they are absolutely DELICIOUS!

Ingredients A

  • 100 grams of self raising flour
  • 75 grams of rolled oats
  • 25 grams of dessicated coconut

Ingredients B

  • 1 teaspoon of bicarbonate of soda
  • 1 tablespoon of milk

Ingredients C

  • 100 grams of caster sugar (I reduced it from the original 125 grams)
  • 100 grams of butter
  • 2 tablespoons of golden syrup (you can also use honey or treacle)

# – First of all, mix Ingredients A (oat, self raising flour and dessicated coconut) together in a bowl and set aside.

# – Then, mix Ingredients B (milk and bicarbonate of soda) together in a small bowl and stir until bicarbonate of soda dissolves. Set aside.

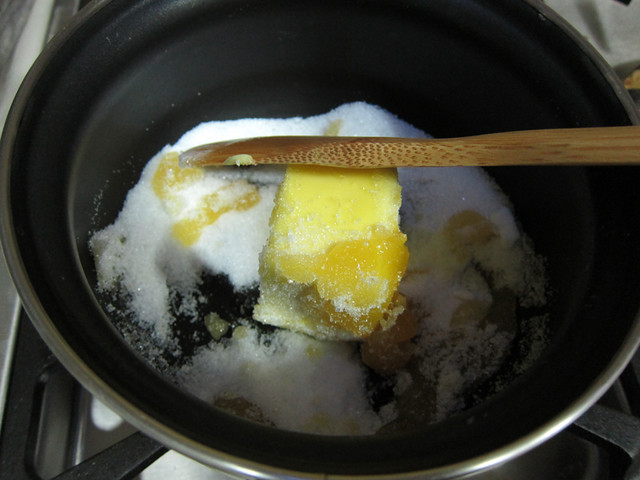
# – Next, heat up a pot and put all of Ingredients C (butter, sugar and golden syrup) into it. Keep stirring till everything’s melted.

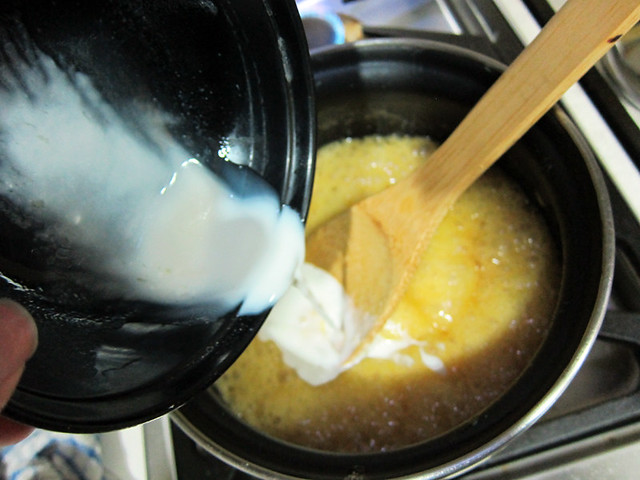
# – Pour ingredients B into the sugary, buttery mixture. Keep stirring.

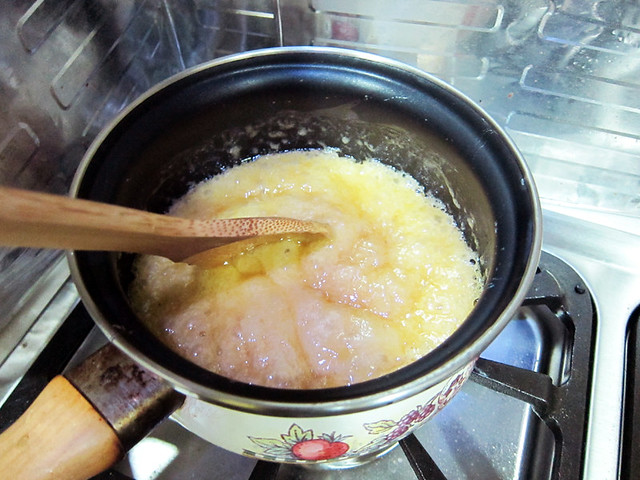
# – The mixture will expand quite a bit, don’t panic and just keep on stirring. Remove from heat.

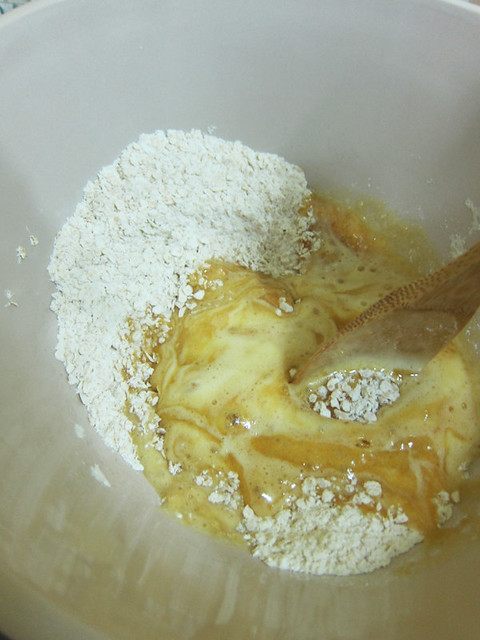
# – Now pour the concoction into Ingredients A.

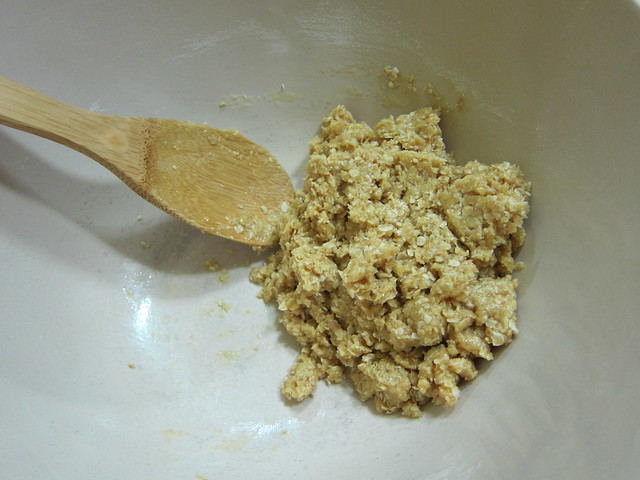
# – Keep stirring until everything is mixed up like this. Leave to cool for 30 minutes or until quite firm.

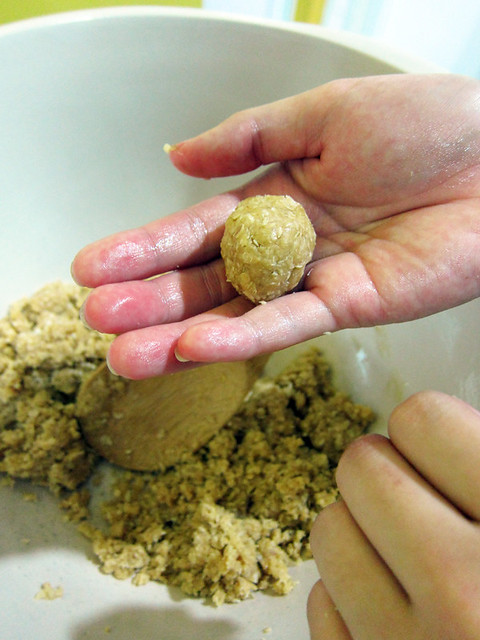
# – Roll into 24 round pieces. To be honest, it was actually quite difficult to roll, you’d likely find yourself compressing it within your palm till it forms a ball.

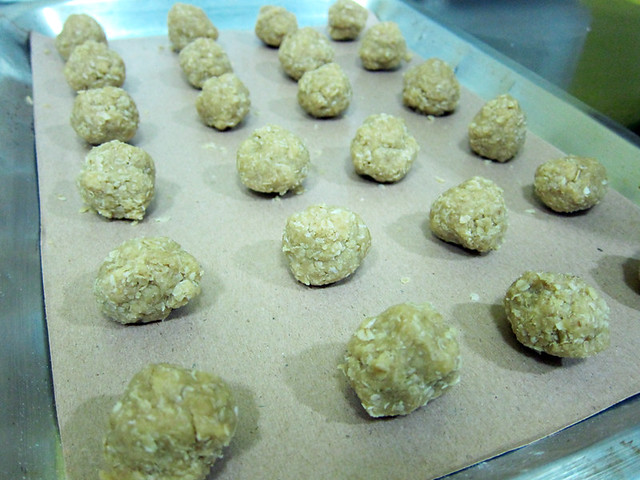
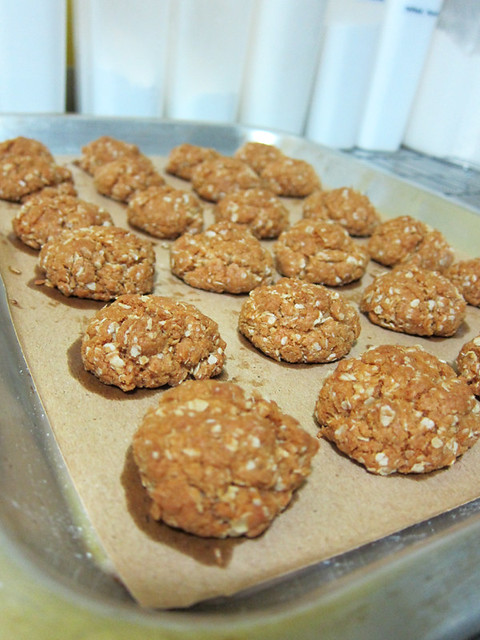
# – Lay them out on a greased baking tray with parchment paper. Leave some space between each ball for expansion.

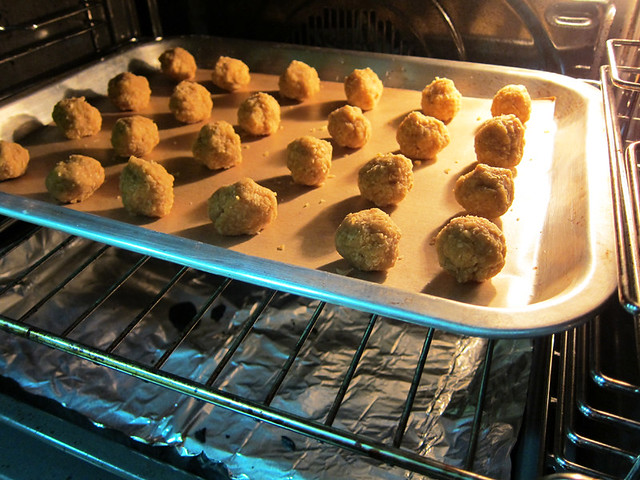
# – Stick it in a preheated oven at 180 degrees celcius for 15minutes.

# – 15 minutes later, golden brown, oat-ey goodness!

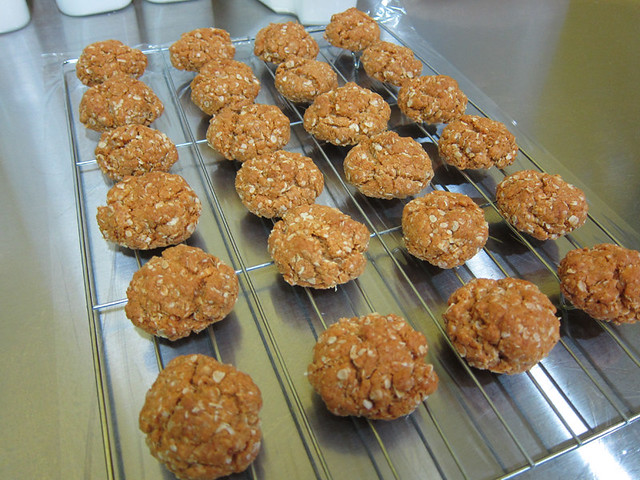
# – They will feel rather soft right out of the oven, but leave them on a wire rack to cool completely and they shall firm up entirely.

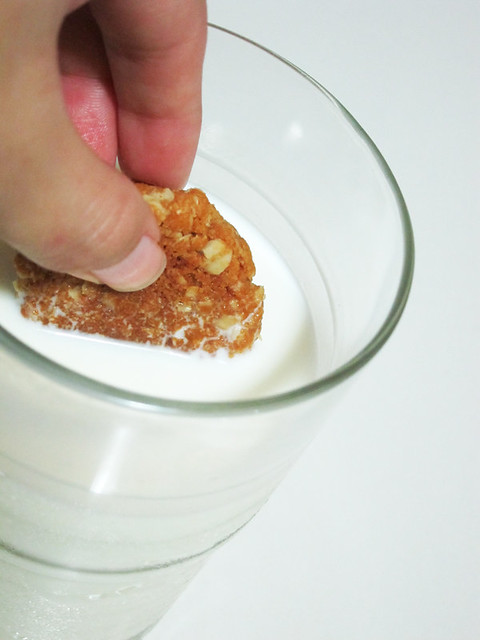
# – Perfect with creamy cold milk.

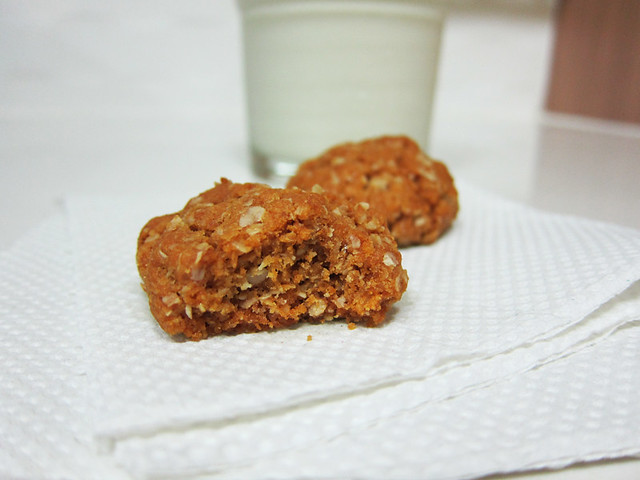
# – So this is how “Syrup Bites” look like.

After some research, I realised that Syrup Bites is actually very similar to ANZAC biscuits, which were created during World War 1 for soldiers’ rations. As it doesn’t have eggs, they keep really long as long as there’s no moisture.

On it’s own, it’s very crunchy without being dry and the buttery coconut-ty sweet golden syrup taste is simply to die for! When dipped in cold milk however, it softens up slightly and become a whole new level of delicious.

And because it’s got so much oats, I’d like to think that it’s healthy, almost ;)

How to quickly cube mangoes without making a mess.

Other than apples, we could go through dozens of mangoes in a month, simply because we LOVE the fruit. We eat it on its own mostly, but we also love it served with meringues and cream (okay, yogurt when the scale is bouncing off a bit further from the zero).

But you must agree with me that cutting mangoes is one of the most tedious task in the world. Normally I just armed myself with a paring knife, then leisurely slice the flesh off and eat it off the knife. This is not recommended because (A) you might slice your own tongue off, and (B) it is awfully inelegant.

So yeah, there are times when you need to cube mangoes. Such as when you need to eat them with meringues & cream, and only with cubed mangoes that you get to scoop up the perfect ratio of mangoes:cream:meringues.

Here’s a tutorial, courtesy of my BF who painstakingly took these pictures of himself cubing mangoes so that I could post them up on my blog, for you to read. Did I mention, he was cubing mangoes while I lied collapsed in our sofa writhing in pain from the dreaded PMS, because he wanted to cheer me up with mangoes, meringues and cream? Yeah, I love him too.

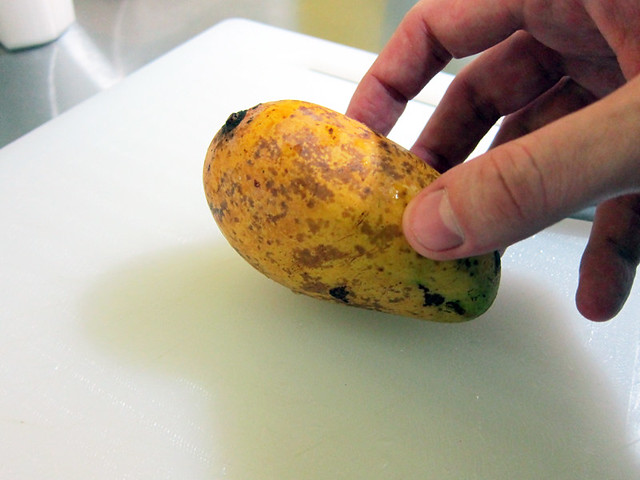
# – Hold the mango on a chopping board with the slimmest side down.

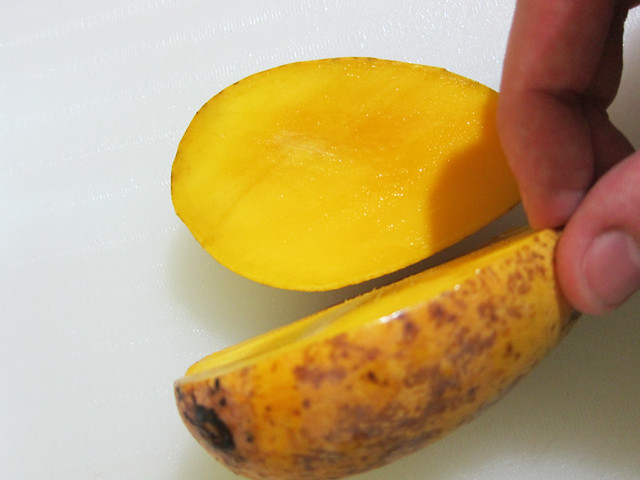
# – With the knife positioned about 0.5 cm from the eye, cut all the way down. You should miss the seed but not too much that you’d waste mango flesh. Do the same with the other side of the mango. By the way, the eye is that little bulbous ugly thingy on the top of the mango ;)

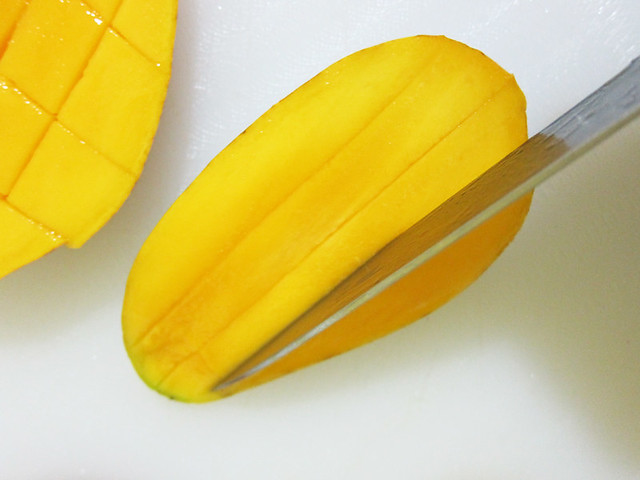
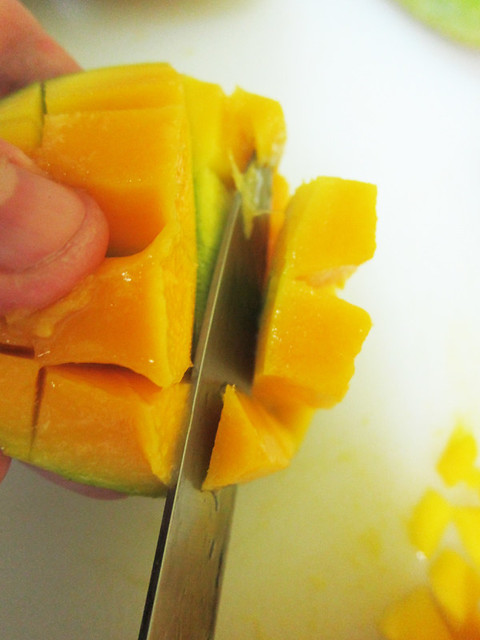
# – Now, score the mango flesh in a checkered pattern. Cut as close as possible to the skin without damaging the skin.

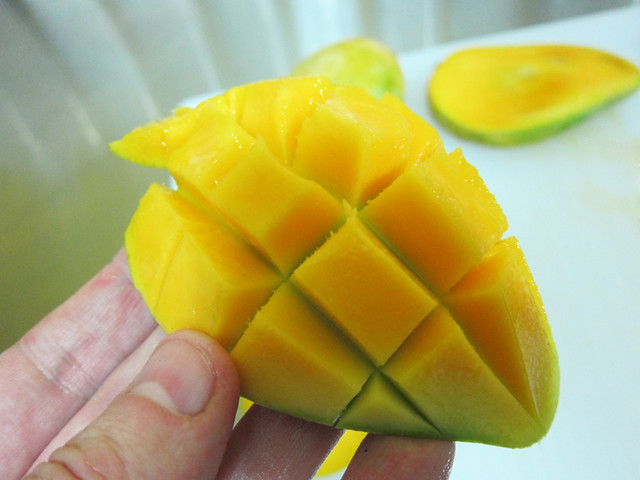
# – Now pop out the flesh like this by pushing the skin. Beautiful!

# – With a knife, gently lift the flesh off the skin.

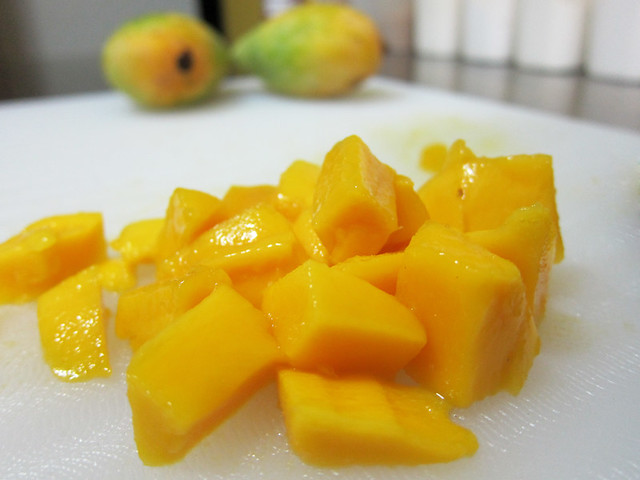
# – Voila! Cubed mangoes!

And that, is how you can fairly quickly cube mangoes without making a mess :)