Happy Valentine’s Day.

Yes it is commercialised. Yes, it’s over-rated. Yes, it shouldn’t be the only day to treat your partner nice. And yes, it’s perfect excuse to cook something you normally wouldn’t.

# – Bacon wrapped chicken thighs with grey oyster mushroom & herb stuffing, served with roasted potatoes and steamed peas.
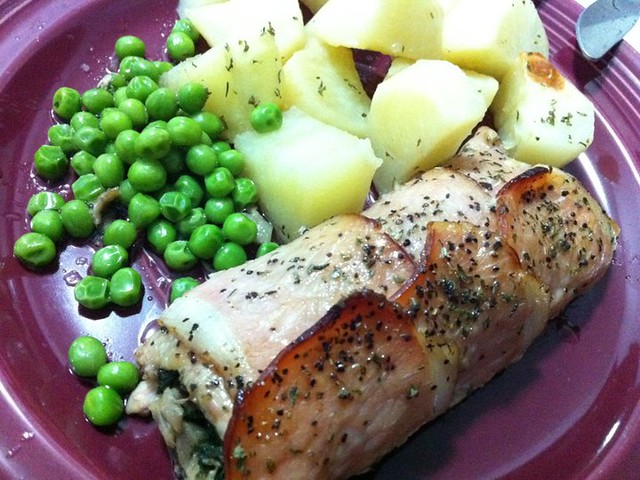
Inspired by the Hairy Bikers’ Patagonian Lamb, Gordon Ramsey’s Beef Wellington, and #bbqaddicts’ Rolling Pin, I embarked on a Valentine’s Day Dinner challenge armed with frozen chicken thighs, wilted grey oyster mushrooms, half-dead sprigs of dill, loads of dried herbs and courage the size of planet Jupiter (for daring to mess with the man’s bacon ration).

The result? Perfectly browned bacons with slightly crisp fat, enveloping tender chicken thigh flavoured by chopped mushrooms and herbs. Self-praise is no praise, but man it’s delicious! I’d definitely stock up on more frozen meats, as long as you treat them right, they’ll treat you well right back :)

And oh, I deboned chicken thighs for the very first time with guidance from this very noisy but truly gem of a deboning tutorial…

Thanks, Chef Vy!

As for desserts…I made simple chocolate sugar cookies. Recipe called for creaming of butter and sugar but alas, I’ve yet to acquire an electrical mixer and so did it with my bare hands.

# – Cranking it.
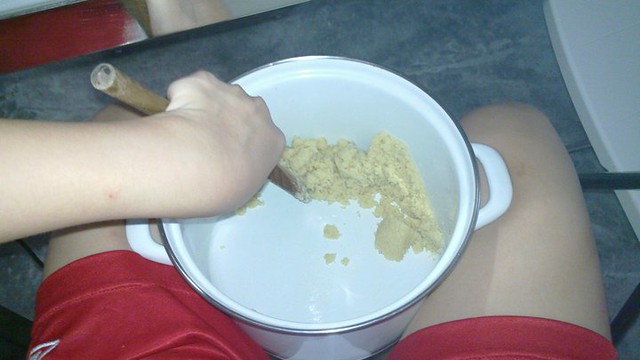
It was tough…and so I got the BF’s mom to help out. I know how the wrist brace makes the picture looks like it came out of a domestic abuse prevention pamphlet but no old ladies were harmed during the production of the chocolate sugar cookies. It was all consensual!!!!

# – Thank you Susan!

I hmmm over-baked the first batch, so I ended up with a batch of chocolate flavoured jaw breakers. Though I must say, once made contact with saliva and softened up, they were pretty delicious! /defensive mode on.

# – Of course must cut heart shapes la…

# – I can be romantic also, you know!

So there, Happy Valentine’s Day. Hope you’ve had a good one too ;)
Kim’s Mom’s vegetable curry with no curry.

I love this vegetable curry! The recipe was conceived by my Mom and when I asked her for it, I was so surprised by its simplicity.

There’s no fancy curry powder or spices involved and best of all, the ingredients needed are ridiculously cheap. You can make a massive pot and eat it from morning to supper :D

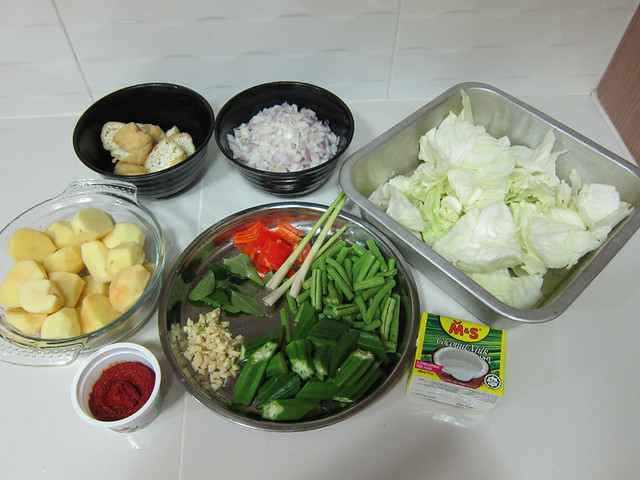
# – Cast of characters – A bowl of peeled and chopped potatoes, a bowl of diced onions, some fried tofu (if you like them), chopped ladies fingers, chopped long beans, chopped cabbage, chopped garlic, 2 or 3 stalks of lemongrass, half a handful of curry leaves, 1 cut red chilli with seeds removed, a small carton of coconut milk and most importantly….chilli paste (chili boh/cili giling)! Oh! And eggs and 1 chicken cube (not pictured).
null

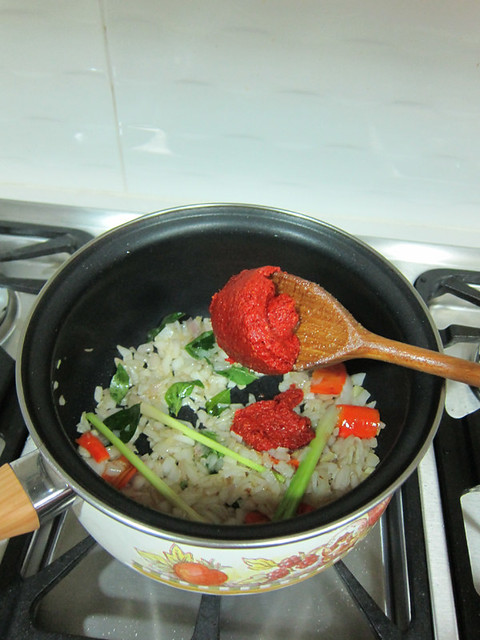
# – Heat some oil in a big pot and fry up the onions, garlic, curry leaves, lemongrass, chillies and chilli paste till fragrant. If you’re not very good at eating spicy food, don’t get too heavy handed..you can always add more chili paste later for kick, but you can’t reduce it.

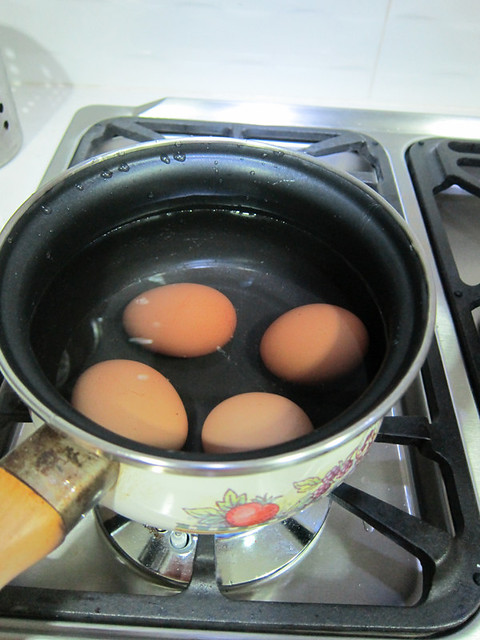
# – In the meantime, boil up some eggs. You’d need them hard boiled.

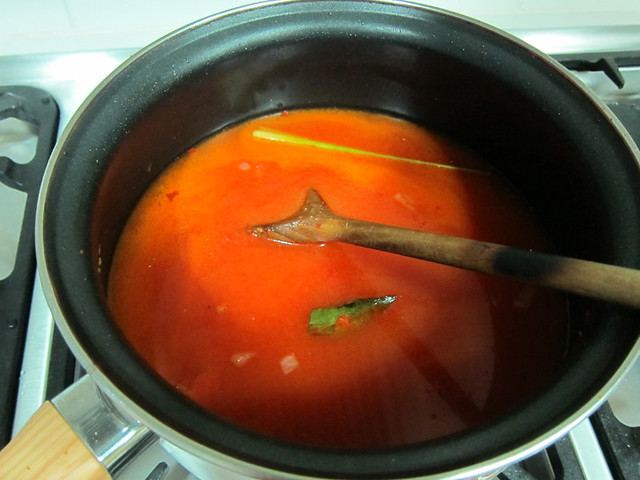
# – Add water to the pot till slightly more than half of bowl.

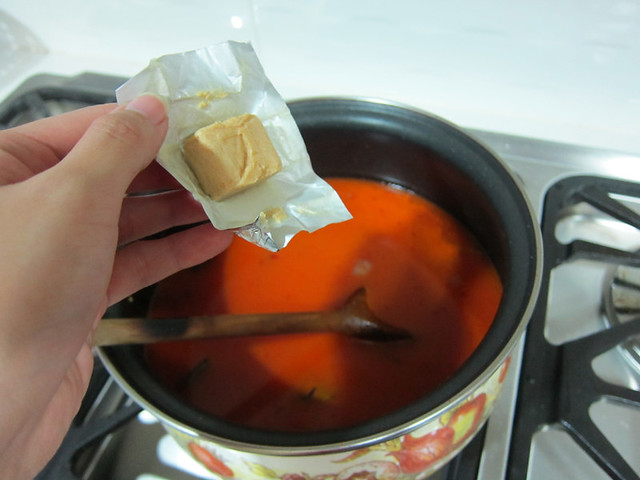
# – Now add the chicken cube into the chilli mixture and stir till completely dissolved.

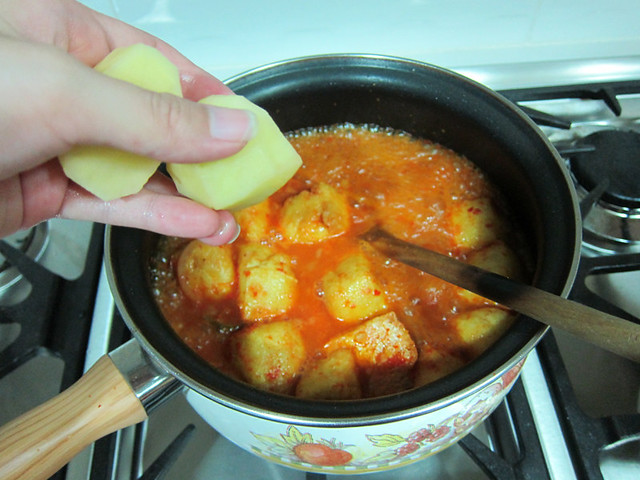
# – Throw in fried tofu and potatoes.

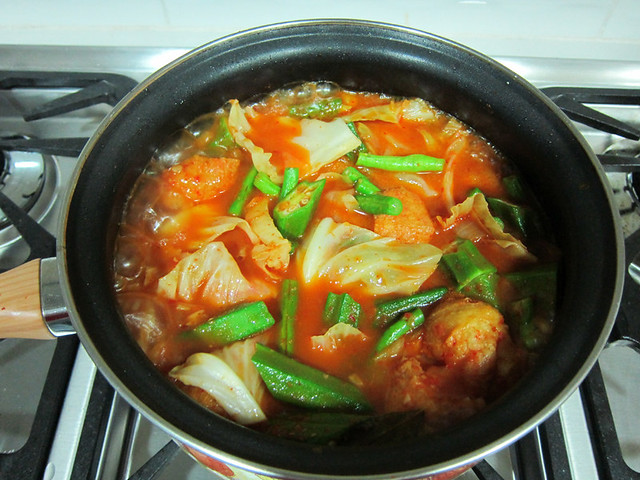
# – Then add in all the vegetables – cabbage, ladies fingers & long beans. You can add other vegetables that you like too though preferably they are good for stewing/long period of cooking. Now boil till the cabbage are wilted and have absorbed all the taste.

Generally, just use your feeling with this dish. If it looked a bit dry, add water + salt. If it has too much water…boil longer till it reduces. Remember to taste along while it’s cooking, if too spicy or salty, add more water. If not spicy enough or too bland, add more chili paste!

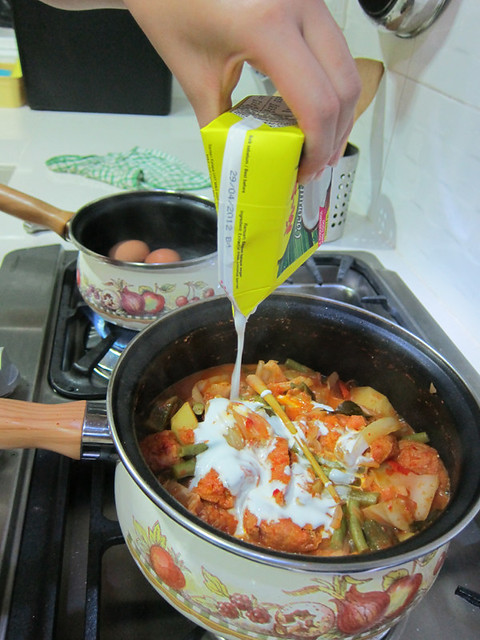
# – After boiling for a while and about 3 minutes before serving, pour in the coconut milk and mix.

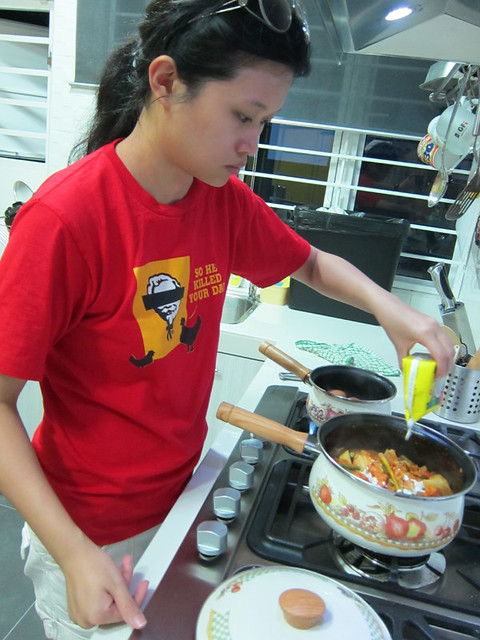
# – Wah, so serious! I should probably dress nicer from now on when I cook :P

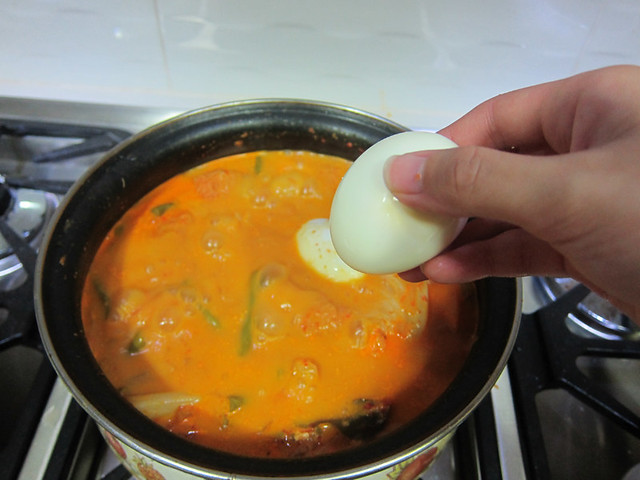
# – Chuck in the hard boiled eggs now. Please, please peel them first.

# – Hmmmmmmmm.

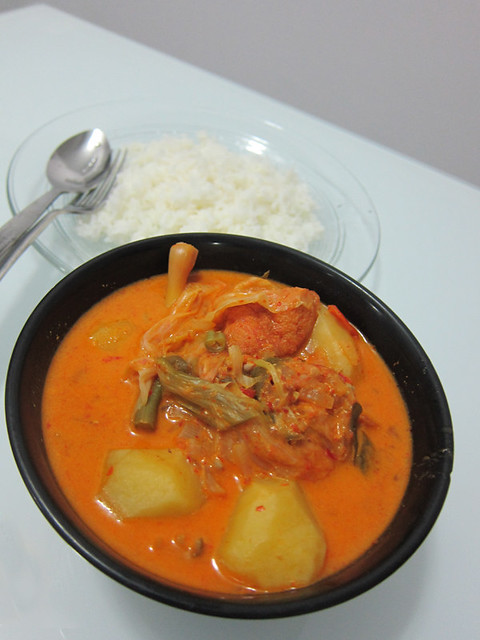
# – Serve with rice.

With piping hot rice, it makes for a delicious and satisfying meal especially on a cold, rainy evening. But I can’t resist eating it on its own also :P

Happy cooking!

Kimberly’s Kickass Chicken Liver Pate.

We had a potluck at Suan‘s house on Christmas Eve last year. I flirted with the idea of roasting a duck for the potluck but backed out later because I’m a wuss. In the end, I decided to roast a 2kg chicken and….make chicken liver pate. Will blog about the roast chicken later, for today I’m just going to blog about the chicken liver pate.

First of all, let me tell you the story on how I got my chicken livers. As I don’t have much experience marketing at an actual wet market (I know I got to learn :P) I requested help from my Mom. I knew it costs almost nothing for chicken livers so I casually told her to grab me RM2 worth. How many livers can RM2 get you, right?

Errr apparently RM2 worth of chicken livers can feed about 30 people. I don’t know whether it’s a standard thing or my mom’s regular supplier was just being generous but yeah, in the end I threw away about 70% of all the livers mom had gotten me. Wasteful yeah but I had no idea what to do with them and I just couldn’t bear with the idea of storing stinky, smelly, gloopy livers in my brand new fridge :P

So anyway………….

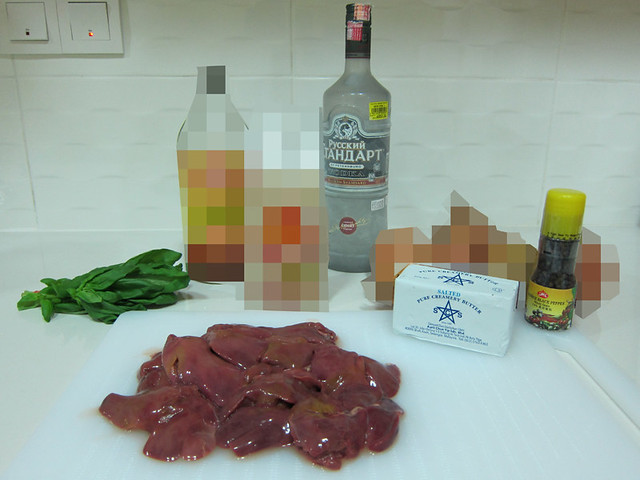
# – Here are the stuff that you’d need – A bottle of vodka, butter, basil leaves, 5-7 pieces of cleaned chicken livers and black pepper. Okay and salt too!

If you’re wondering what are those pixelated stuff, they are ingredients to make onion marmalade which goes very well with chicken liver pate but which I won’t be blogging about yet because I don’t have pictures of the cooking process FML :P

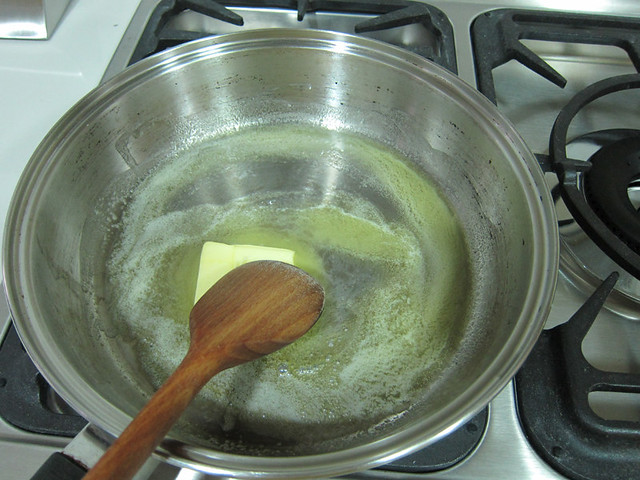
# – First, melt a chunk of butter. You can never have too much butter…

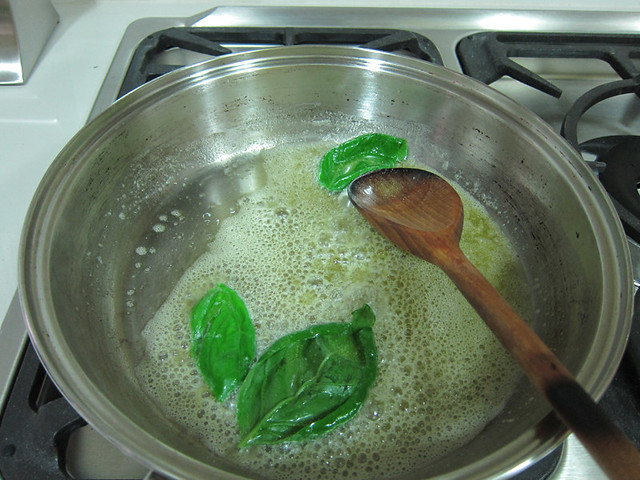
# – When it’s fully melted, throw in 3 or 4 pieces of basil leaves and cook till very slightly wilted.

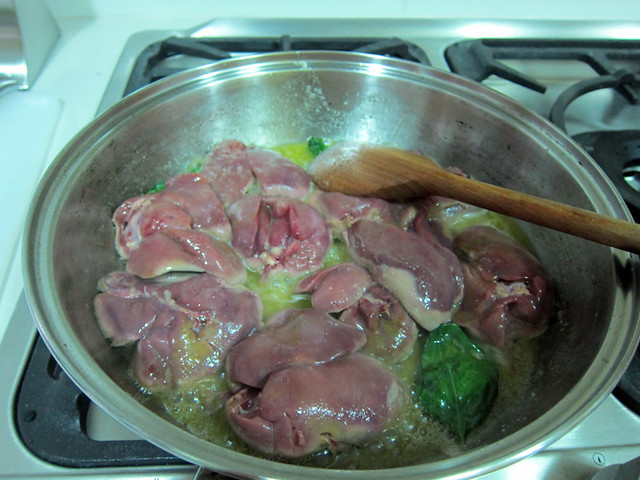
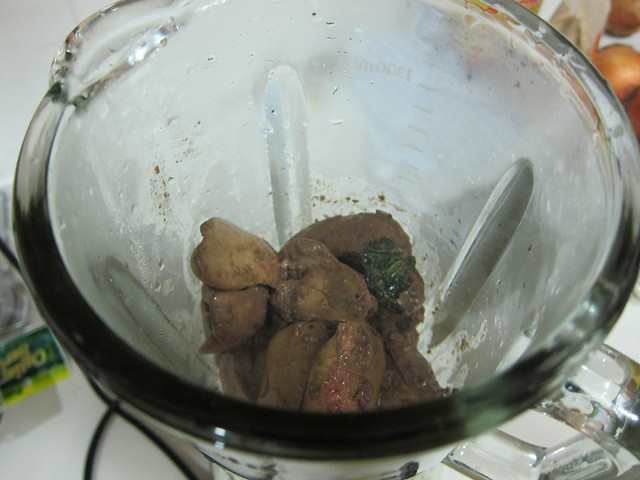
# – Next, throw in the chicken livers.

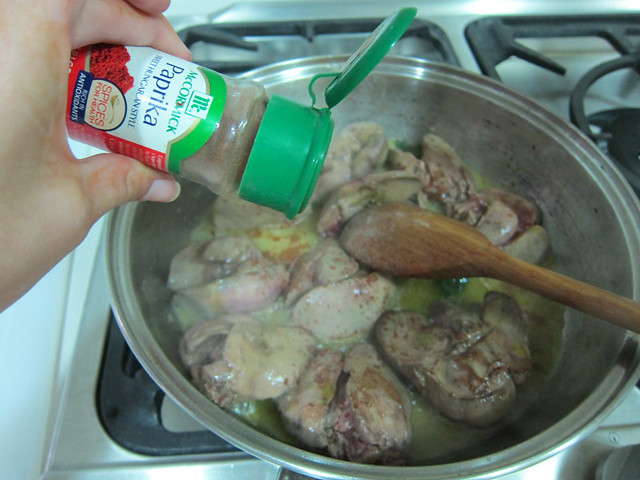
# – You can keep or omit this step but I sprinkled in some paprika for a mild kick. You can use chili powder or cayenne for that Asian wow factor.

WTF am I babbling about asian wow factor bla bla bla bla.

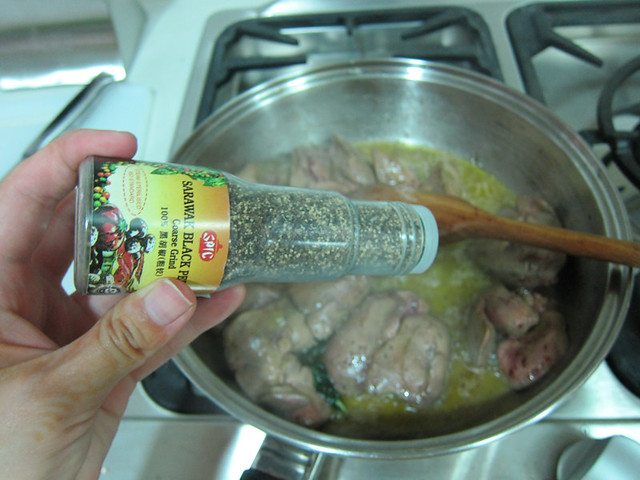
# – Next, a dash of black pepper. Remember to put a dash of salt too!

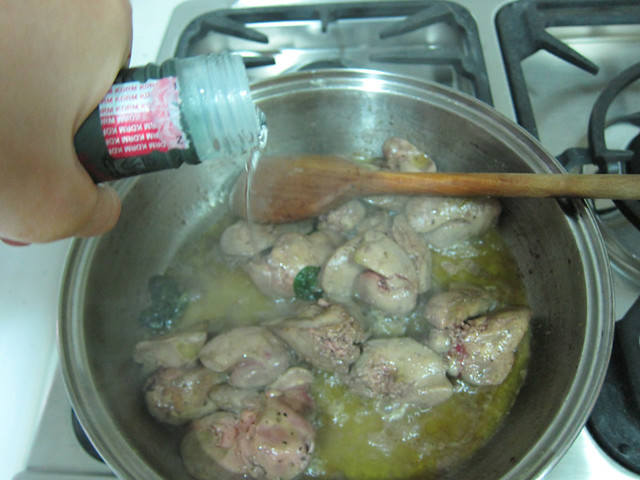
# – And lastly, the all important step of pouring vodka in. At this point please give your common sense a workout and pour enough to make sure when the livers are blended it’ll become a paste and not soup….

From now on you can probably take the saucepan off the stove but if you don’t like your lives undercooked, then by all means cook them up longer.

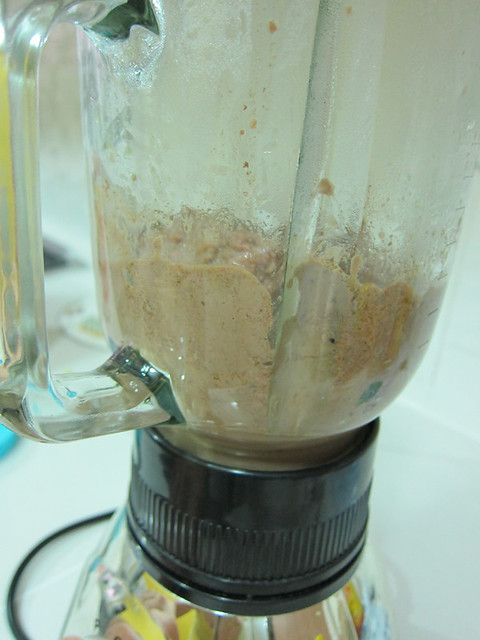
# – You may leave them to cool for a while before throwing them into the blender too but since I’m lazy and sloppy, I blended them almost immediately :P Pour entire content of saucepan into blender ya.

# – Blend, blend, blend. Blend into a creamy texture. Make sure no chunks are left behind. If it looked too dry, pour in more vodka hehe.

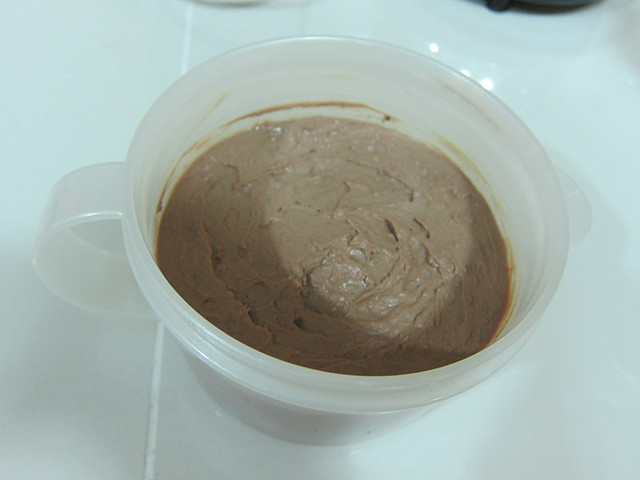
# – Pour chicken liver paste into a container. Smoothen the top, clean the sides of the containers bla bla bla.

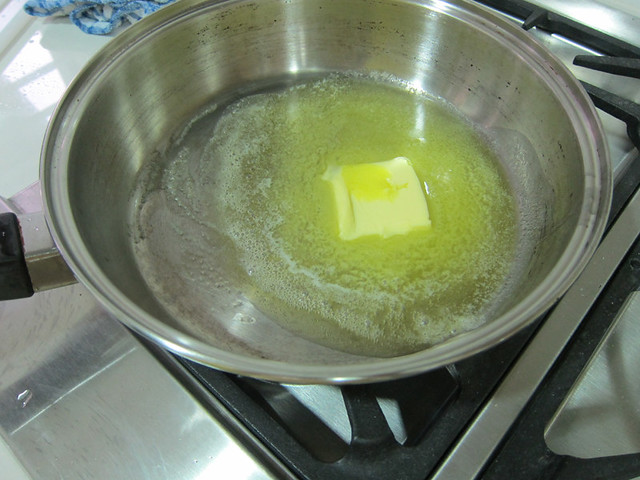
# – Now….melt a chunk of butter again.

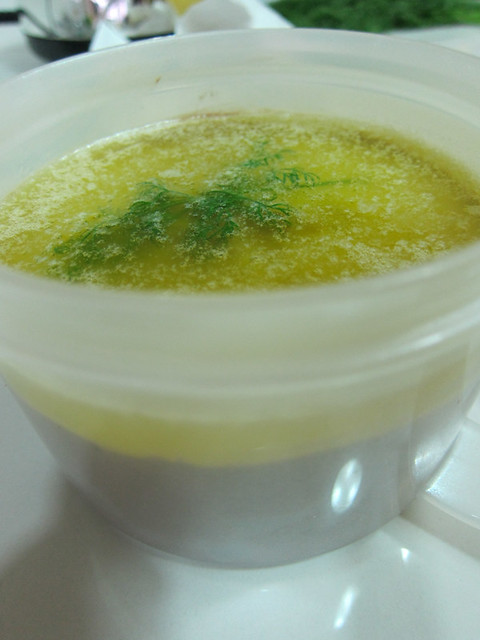
# – Pour the melted butter on top of the liver paste. And put a sprig of dill for a classy look wahahaha.

Stick into fridge for about 6 hours minimum or till butter hardens.

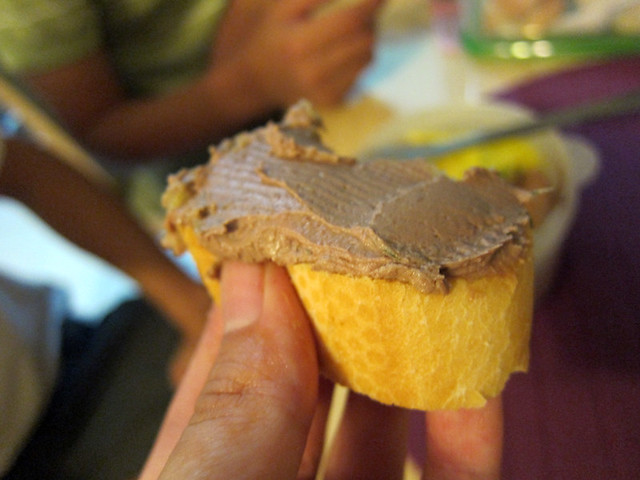
# – Slather on baguette or (vegetable crisps for slow carb version). Eat. Swoon.

If you’ve got port wine to go with, even better!