No fuss pineapple jam recipe

So some of my readers probably know that my family and I have embarked on a permanent lifestyle change.

Other than the social media detox and etc that I mentioned earlier, we have also  removed grains, refined sugar and dairy from our diet. If you want to learn more about our diet (it’s called WildFit) check out my husband’s posts.

That means no rice, no wheat, no milk, no cheese, no candy bars, no a lot of many things.

It isn’t easy and we still find ourselves succumbing to these evil, delicious inflammatory food such as cheeses, cookies, crisps, ramen (happened today in fact urgh), briyani and laksa every now and then but we take solace in that our main everyday meals are 99% of the time – sugar, grain and dairy free. We also drink 2 x 400ml glasses of vegetable green smoothies (minimum 5 types of veges + chia seeds + virgin coconut oil) daily to stock up on micronutrients.

Anyway, Chinese New Year is fast approaching and of course, I had gotten a bit sad that I can’t bake and indulge on my signature chocolate chip cookies and pineapple tarts. Out of desperation, I decided to google for AIP friendly pineapple tart recipes.

AIP you ask? What’s that?

AIP stands for “auto-immune protocol” and it’s a special diet for people with autoimmune issues to get their immune system and gut back to health. Although we don’t have issues with our immune systems, I personally believe the AIP diet is possibly one of the healthiest diets out there. Needless to say, it also fits my no refined-sugar, no grain & no dairy rule.

I stumbled across this recipe and was really intrigued by its pineapple jam recipe. It uses oven with minimal stirring…..well, that sounds amazing!

Ain’t nobody got time standing over the stove stirring jam.

So I tried the recipe out. I used only two ingredients although the original recipe called for date paste (for extra sweetness) and a couple more spices but I don’t think it needs them. Anyway, it’s your call.

Ingredients:

2 ripe large pineapples

1 tablespoon of cinnamon powder

This recipe yields about 350gms of jam.

# – Firstly,  peel and core the pineapples. Google how to peel/cut pineapple if you are not sure how.

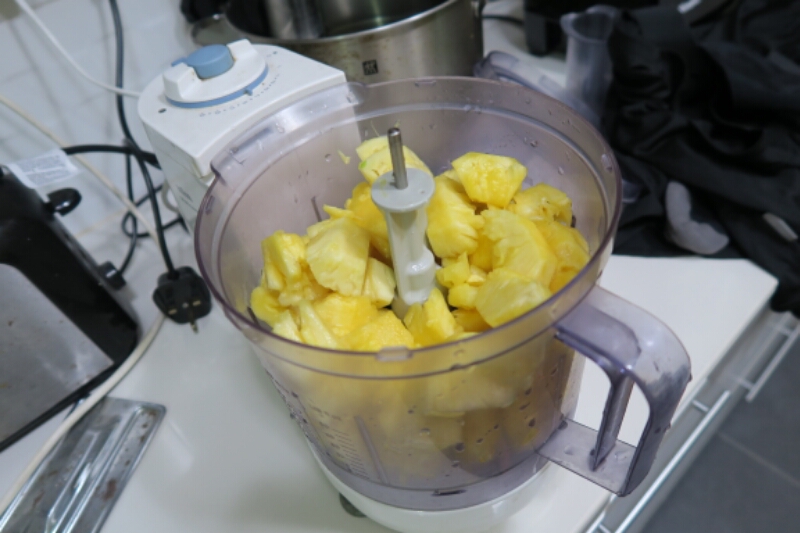
# – Then, cut the pineapples into cubes and throw them into your food processor/blender. Add the ground cinnamon too. Blitz till puree consistency.

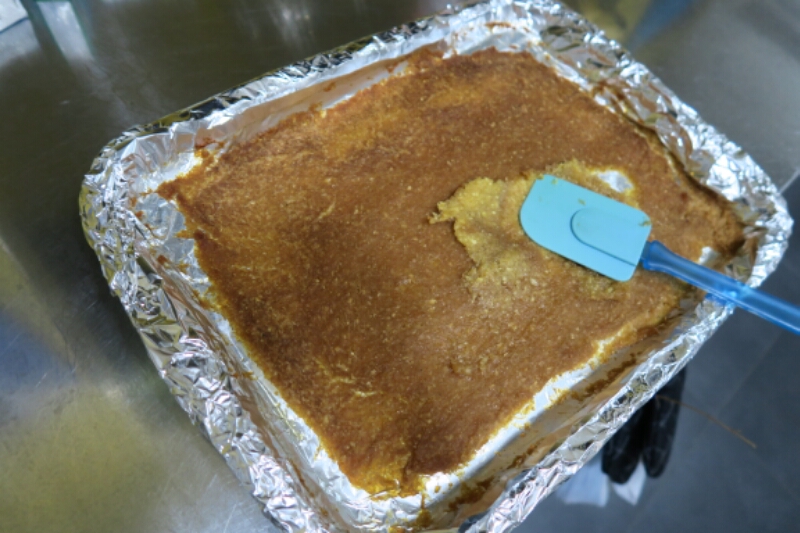
# – Now pour into a baking tray lined with aluminium foil. I lined my tray 3 times to prevent leakage. Then, put the tray in preheated oven of 80 degrees celcius. Stir once every hour for 4 hours with a rubber/silicon spatula. I advise against using a metal spoon cause it might puncture the aluminium foil.

# – Then, lower the temperature to 70 degrees celcius and leave it in the oven for and extra 8-12 hours. I did it at dinner time then went to bed and woke up next day to the aroma of pineapple jam. See how much liquid has evaporated after a total 12 hours.

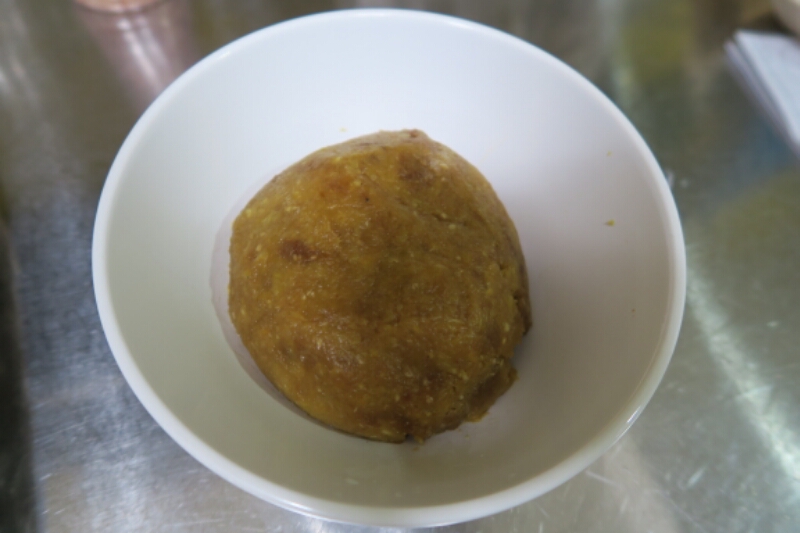
# – Scoop the jam into a bowl and let chill in the fridge. It will be even firmer and roll-able after chilling. Taste so yummy!!

There’s really no need to add more refined sugar to pineapple jam. The pineapples themselves are naturally sweet enough and even more so when concentrated.

Hope this recipe will help you who are looking for a fuss free yet healthy pineapple jam recipe.

Next post will be the recipe of the actual paleo and AIP friendly pineapple tarts (I hope). Stay tuned.

Introducing my hair stylist & quick onion gravy recipe for everything.

I have stopped getting my hair dyed in salons. Don’t believe in them anymore, maybe I don’t know how to be more assertive when it comes to my hair, I always feel damn pressured to take the colour they recommend and then end up not liking it.

That’s not the worst, worst is when I go back to get the roots retouched, always end up a different colour -____- And it’s the same salon by the same person!????

I’ve given up already. Don’t like spending hundreds and then feel like a dumbass with bad hair later.

Apparently salon dye won’t damage hair so much….please la, all same! I have come to the conclusion that one’s hair can only look nice temporarily with the right products unless you’re born with naturally nice hair.

So I’ve ditched professional dyes. At last, I no longer need to get all hopeful and stuff when these hair people tell me if I do this treatment and that treatment and use that brand of dye bla bla bla my hair will look better.

Ya, they will look better……for 1/2 a day. I’m sick of getting my heart broken gawddamnit!

Anyway have taken matters into my own hands…I’ve got a personal hair dyer now. He’s thorough, he’s professional and he’s white. White people touch anything also can be better mah!

# – Ladies & gentlemen, my new hair stylist.

Never have I been so pleased with my hair colour. Root touch-ups always match the ends because my colour is always available at pharmacies & retail stores nationwide and doesn’t just disappear because the stylist forgot what he or she used on me or they’ve brought in new brands. Best of all, it cost less than RM30.

# – By the way, the hair colour I use is Revlon Medium Blonde.

===========================================================

So you’ve seen my Toad in the Hole, now it’s time to learn how to make gravy to go with it.

I’m a little embarrassed to share this actually, because it’s a total cop-out where gravy is concerned but hey, sometimes you just need gravy quick.

By sometimes, I mean pie time, roast time, mash time and of course yorkshire pudding time. And many more.

The ingredients:

  • 2 onions, thinly sliced
  • 2 beef stock cubes
  • 500 ml of water
  • 3 tablespoons of corn flour
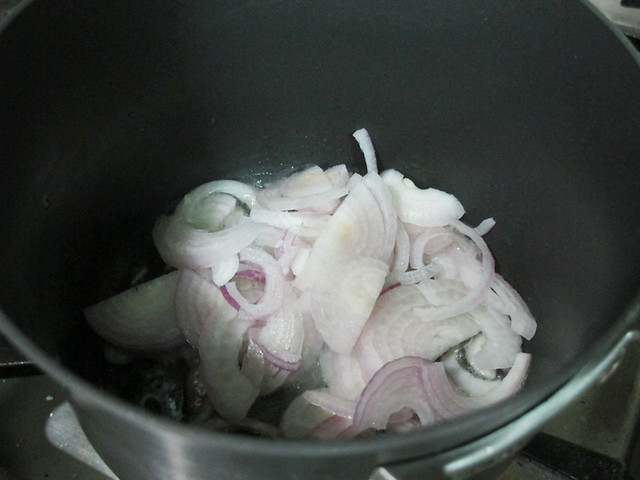
  • # – Saute onions with a bit of oil in a saucepan.

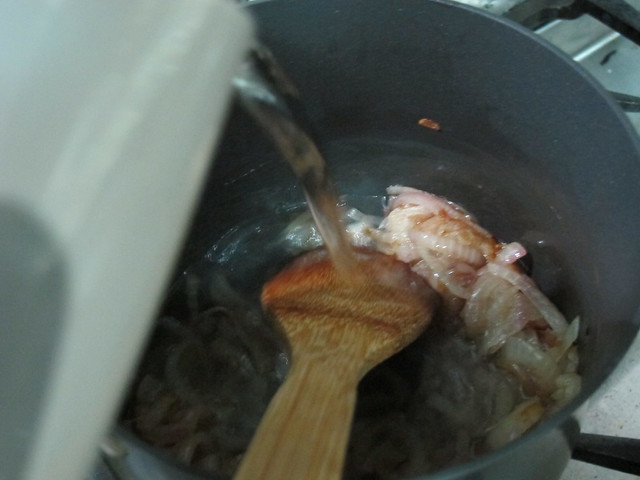
    # – When onions have started caramelising, pour the water in.

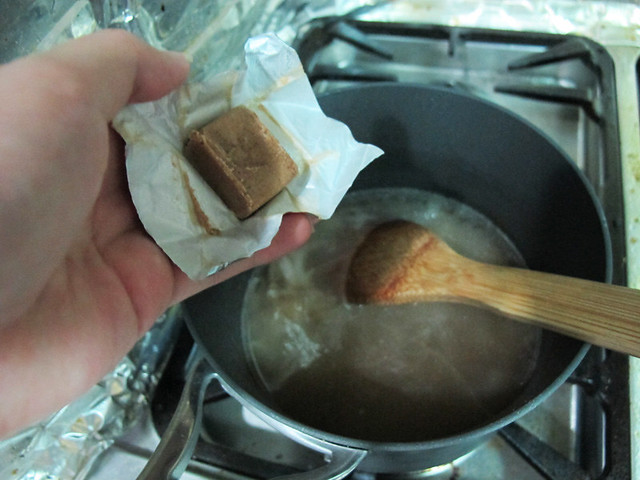
    # – Then crumble in two beef stock cubes. Stir until dissolved.

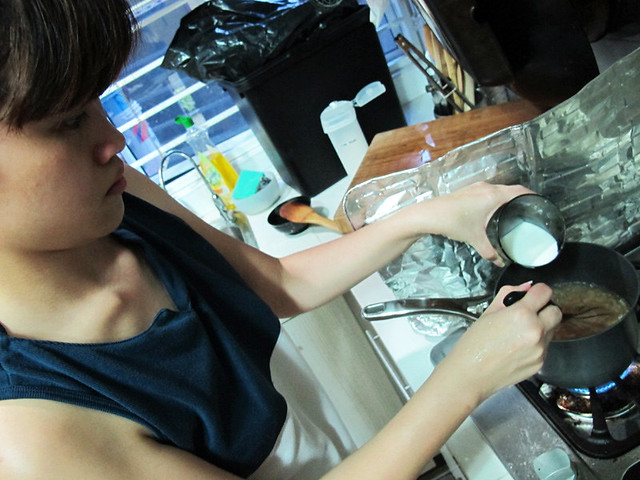
    # – Dissolve 3 tablespoons of corn flour with several spoons of water. Whisk the solution in until mixture becomes thicker.

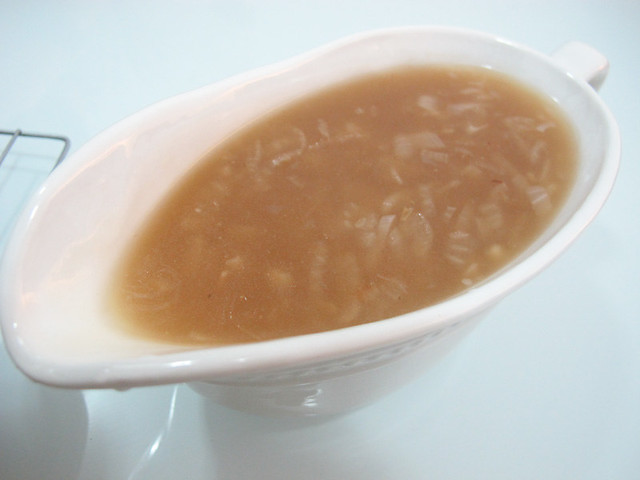
    # – Onion gravy, DONE! By the way, we got the gravy boat from a dodgy store called Yinma for only RM2.90. Score!

    You can make this with chicken stock cube and use it with roast chicken. Yums.

    How to make your own cheese or paneer.

    I’m really excited to share this because it’s so simple! This is actually an Indian recipe for making paneer, an almost tasteless crumbly white cheese, which, excitingly….can be flavoured however you like!

    I’ve always fantasised about making my own cheese because cheeses are so expensive here! The only cheap cheeses are cheese slices which probably are not even real cheese and they taste like plastic.

    There are only 2 ingredients that you need to make this basic cheese, milk and lemon juice! Excited yet?

    Utensils you need:

    • 1 tea towel or muslin cloth
    • 2 pots
    • Something heavy like a chopping board or stone mortar (to weight the cheese down)

    The ingredients:

    • 1 litre of fresh milk
    • 100 ml of lemon juice (or acid like white vinegar)

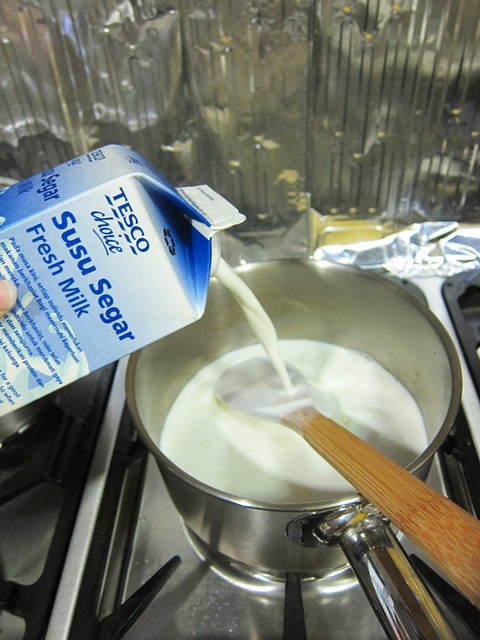
    # – First pour the milk into a pot and bring it to boil on medium heat. Stir sometimes.

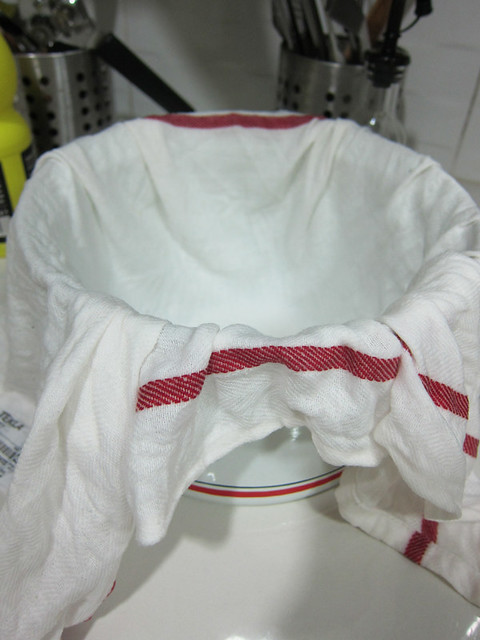
    # – While the milk boils, set the teatowel over the other pot, like this…

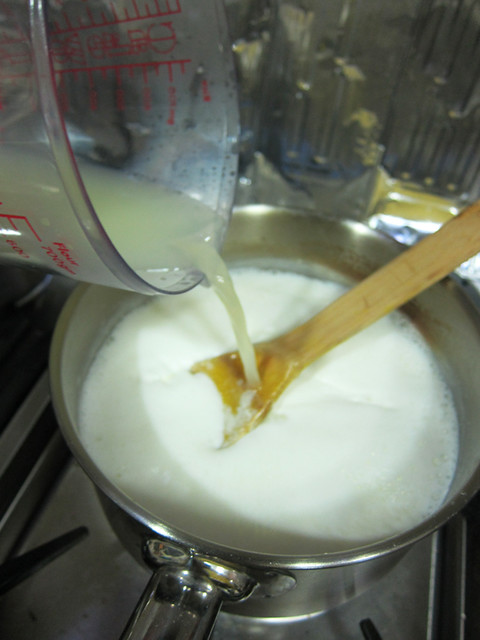
    # – When the milk starts bubbling, pour in the lemon juice bit by bit while stirring.

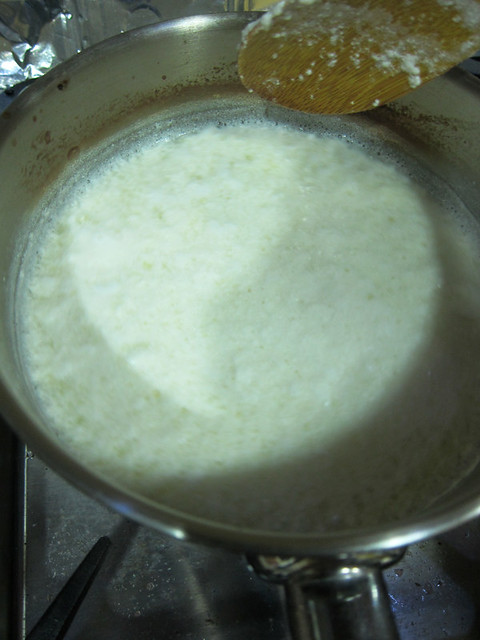
    # – As you stir, you will notice that the milk begins to curdle. Looks like bashed up tofu. Stir for another minute or two.

    # – Pour the content into the tea towel set up earlier to strain.

    # – When you lift the tea towel up, you can see what’s left behind is a clear yellowish liquid. This is called whey. Some people use it to boil rice or something but I just discarded it…

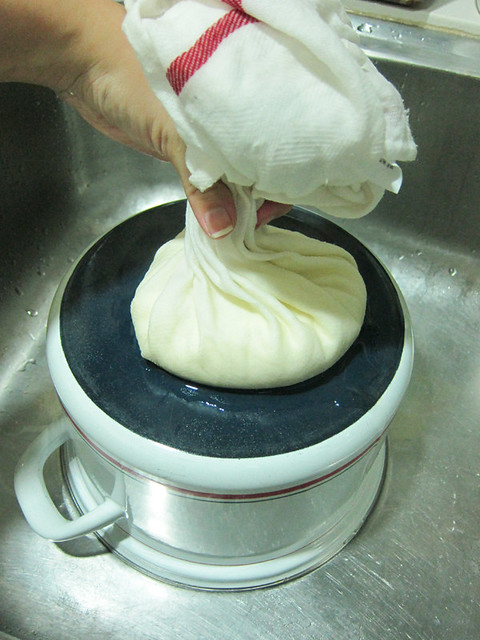
    # – Turn the pot upside down and place the drained curd (still in tea towel) on top.

    # – Weigh it down with something heavy for 2 hours. You can do this in the sink cause it’s wet. Check out my style…

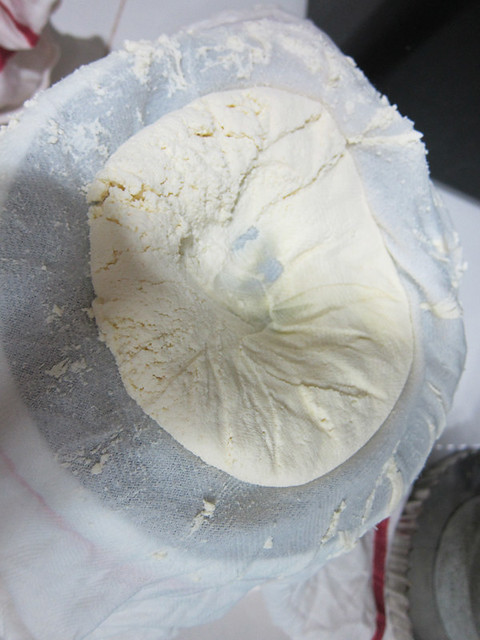
    # – After 2 hours, cheese. DONE!

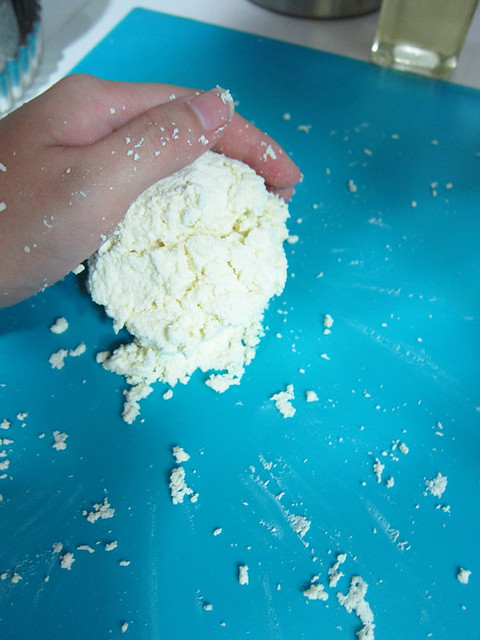
    # – You can use it straightaway but if you want a less crumbly cheese you could knead it a few minutes to soften the texture, which I did. If you want to flavour it, you should chuck in the flavourings at this point…parsley, garlic, dried fruits…make it happen!

    # – Wrap it up in clingwrap if you’re not going to use it immediately.

    # – Keeps for 5 days in the fridge.

    Told you it’s simple. It’s crazy simple!!!!