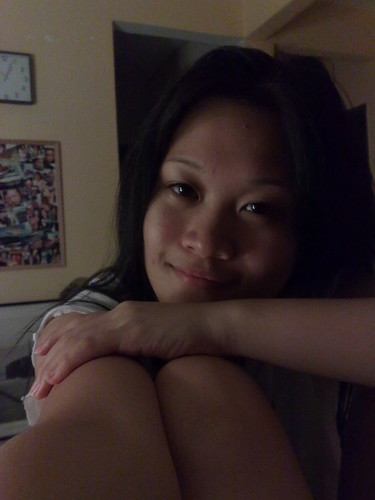
fantastic service at hairkunst, the curve

On Saturday, I put up an SOS on twitter.

SOS

And this is what Sabrina replied to me in matter of minutes. Thanks babe!

sabrina

I made the call to Hairkunst while still driving and managed to score an appointment with Jojo.

At The Curve, I called them again because I couldn’t find their premise. It’s because the shop is located with the offices. You have to take the lifts behind Sakae Sushi to 2nd floor. Nice decor, nice music and complimentary internet usage (with a laptop!!!).

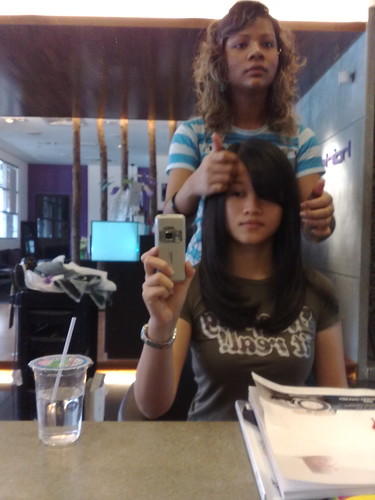
The service was outstanding. Jojo was a joy. She patiently listened to my hair predicament and then told me what she could do. She was never once patronising and best of all….none of those product pushing bullshit.

I told her I wanted a soft fringe and layered body to offset the kink where my straightened and natural hair meets. She gave me exactly what I wanted but better.

#1 – Before

#2 – Shampooing
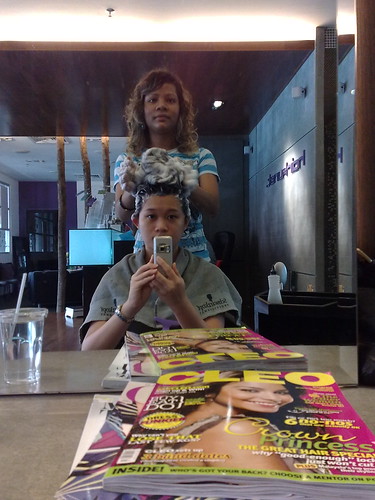
#3 – Nip Nip Nip
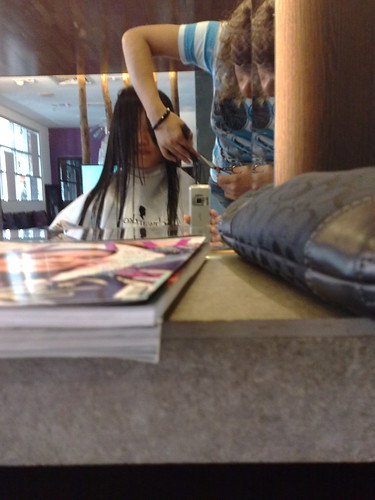
#4 – Final touches
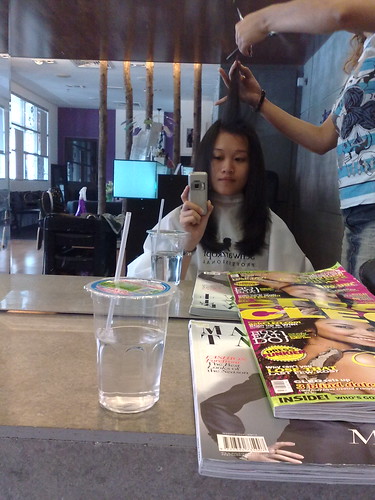
#5 – Result
#6 – Ms. Jojo of Hairkunst, The Curve
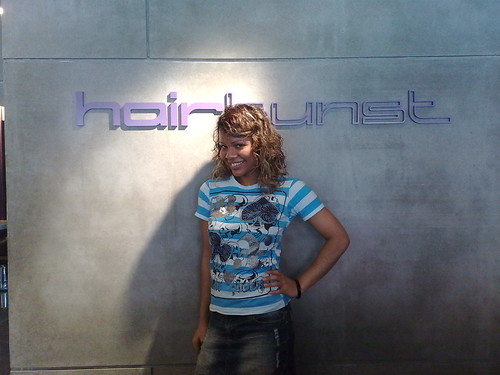
jojo

The price for my do? I had earlier withdrawn RM500 to make sure I had enough to pay for the cut and some impending products I may succumb to purchase.

I was shell-shocked to be charged the grand sum of RM55.

Hairkunst,
The Curve,
Lot 226, 2nd Floor
6, Jalan PJU7/3, Mutiara Damansara
47800 Petaling Jaya, Malaysia
Tel: 03-77105585
DIY nail art tutorial

love the weekends. finally some time to pamper myself. i got my lashes done yesterday, and this morning with charlie lying calmly at my feet, i even got a manicure done. i’m so productive :)

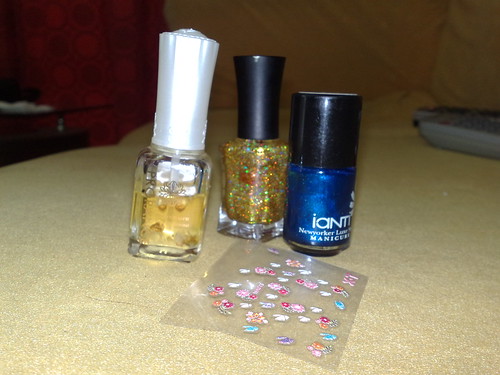
since i’m at it, i might as well post a tutorial on how i did it. you need a clear nail polish, a coloured nail polish (mine is blue), a glitter nail polish (mine is gold glitter) and nail design stickers! i’ve had the stickers for the longest time and totally forgot about them. glad i stumbled upon them while searching for my manicure kit.

#1 – what you need: clear polish, coloured polish, glittered polish and nail art stickers.
nail polish

of course, before any paint job, it’s good to shape your nails into the desired shape, buff em up and get rid of the cuticles. they will ultimately make your nails look much better. that said, i’m just too lazy :P

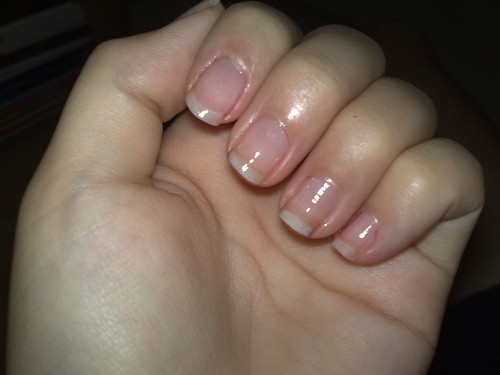
#2 – first, paint your nails with the clear polish.
clear polish

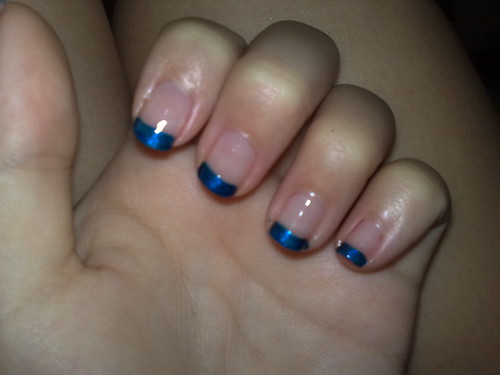
#3 – then, paint french tips over your nails with the blue polish.
blue polish

takes some practice to get every tip at similar width but you can cheat with the french tip stickers. might also get a little messy at this point, but be patient and wait till it’s all done and dry before you get rid of the excess nail polish.

#4 – now wait for your polish to completely dry before you handle the stickers. 45 minutes to 1 hour is the safest bet for cheap nail polish :D
stickers

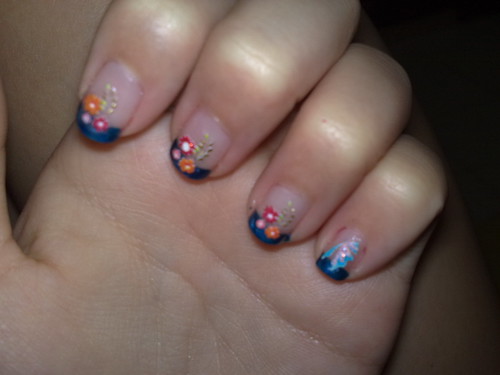
#5 – it’s better to use a tweezer to lift the stickers up cause you may chip your nail polish doing it with your finger nails. now stick them on your nails, like this.
stickers on nails.

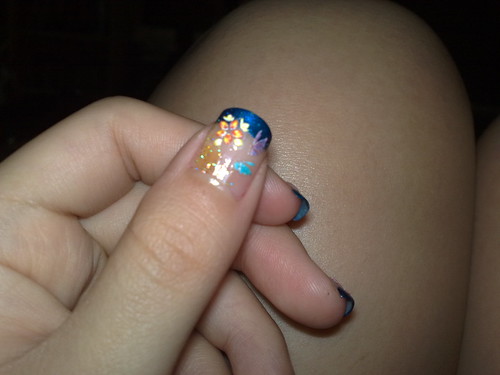
#6 – then, apply a little glitter polish over the empty area of your nail design, like this.
glitter.

lastly, finish it off with a good layer of clear polish to seal off your design.

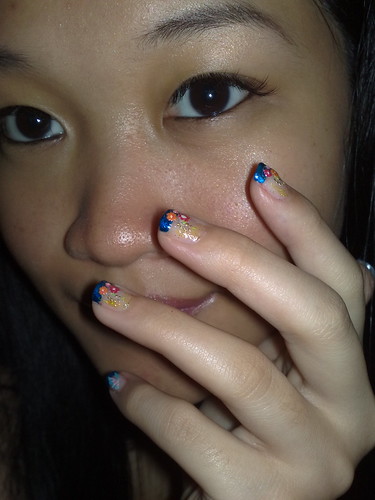
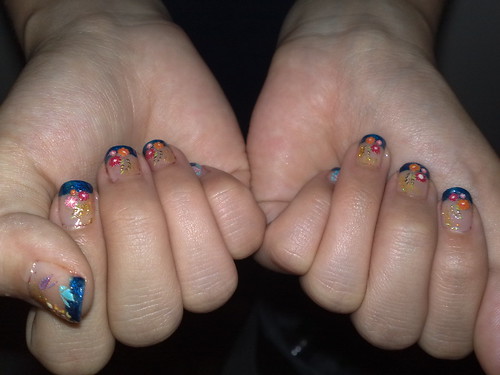
#7 – and voila, DIY nail art!
DIY nail art.

cost almost nothing. all you need is time and a wee bit of patience.

ladies, do you prefer your manicure DIY or done by a manicurist?

oh, and this picture is in response to ky’s comment. i is pr0 ok!

#8 – right & left hands
pr0

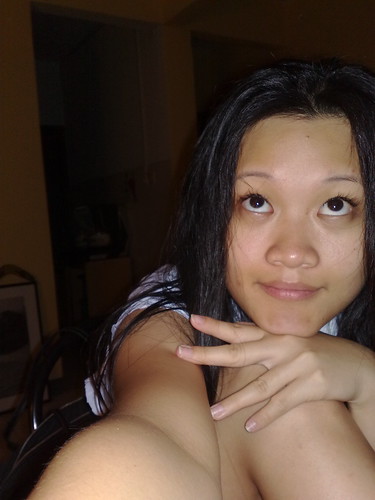
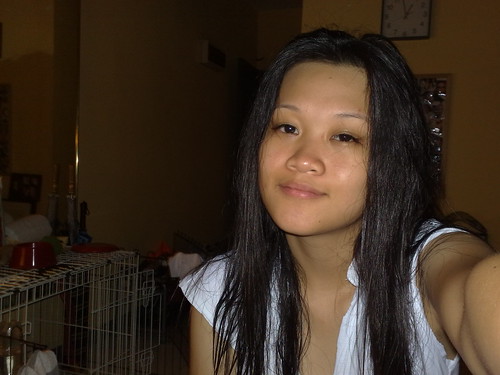
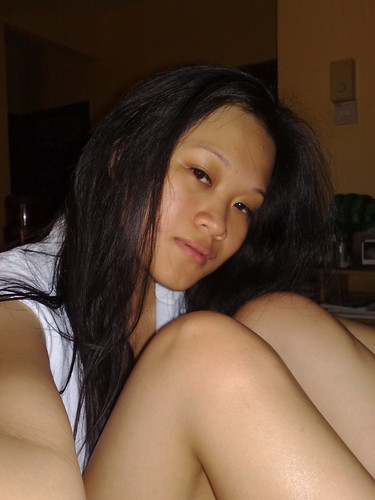
Me fluttering lashes

I finally got around to utilise my lash extension package after 6 months. 5 down, 7 more to go. After walking Charlie at Desa Park City and a nice shower, I got into a camhoring mood…hehe. Like FA said, better do it before it becomes sad and pathetic.

Look how long they are!

I got mine done at:

Pink Passion
37-1, Jalan PJU 1/3C,
Sunway Mas Commercial Center,
Petaling Jaya, Petaling Jaya
47301, Selangor
03-78057285