Totally random tutorial on skincare transference :P

Yeah this tutorial was conceived on a whim because my camera’s battery was low when I tried to transfer pictures to my computer. So this would have to do for now while I wait for the camera to charge :D

I’ve been using Rosken since I was in mid teens, thanks to the recommendation of my Mom who’s been a loyal fan for years. It’s by far the best and most effective moisturiser that I’ve ever used, keeping my skin soft even though I spend a lot of time in air-conditioned rooms. Rosken was truly a lifesaver when I was working as a flight stewardess, as my skin was prone to chapping due to long hours in a pressurised cabin, on top of the cold & dry climates of some countries. I also have a skin condition called atopic eczema, so I’m predisposed to getting dry skin but Rosken prevents my knees, elbows and shins from turning scaly. By the way, I recommend NOT to use it when you have eczema flare-ups!

Man this is starting to sound like an advertorial although it’s not, hehe.

Anyway, this is not a free plug for Rosken but namely a post on how to make it more user friendly. You see, in spite of its awesomesauceness, Rosken is traditionally sold in jars. I hate skincare in jars because it’s unhygienic. Think sticking fingers into the jar over and over again. Yeah, I guess you can use spatulas but that’s just too much effort. And my biggest peeve about using skincare in jars is when the product get stuck under my nails…it’s so gross -_-. I used to pour Rosken right out of its jar onto my skin and despite years of practice I still manage to overpour sometimes, staining bedsheets and whatever object my leg was propped over.

Rosken in jars.
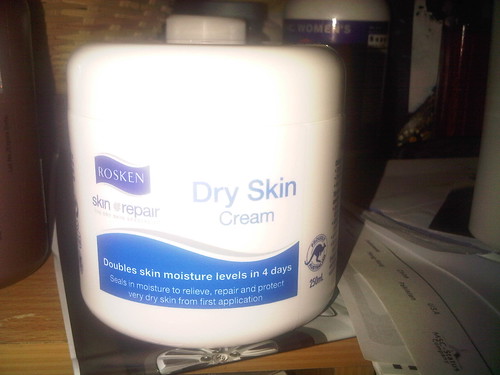
I’ve always thought that Rosken would be perfect if it had been sold in pump bottles but alas it never happened. They have this new bottle packaging which expels the product through a tiny hole – much better but also MUCH more expensive. So, in the end I’ve no choice but continue buying the traditional jars.

So, yes I’ve been entertaining the idea of transfering the product from the jar to a pump bottle but I could never figure out how to do it hygienically and without wastage. The product is thick and creamy so it doesn’t flow fluidly but rather in dollops, it.is.just.not.easy. I entertained the idea of using a funnel but it’ll probably clog the narrow passageway -_-

This picture is just a re-enacment. It doesn’t work!!!
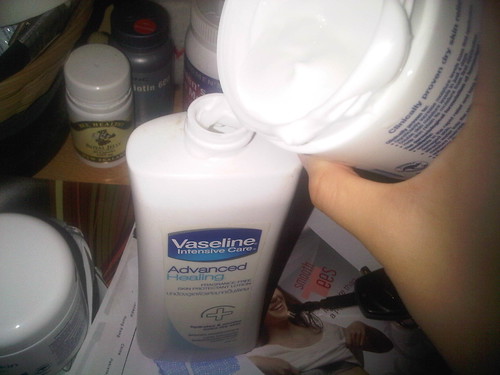
And then it happened, the idea struck me. Well, at this point you probably have figured it out too but since I’m not the sharpest knife in the drawer and neither are some people who read this blog (heh sorry!!) so please bear with me….

Aha!
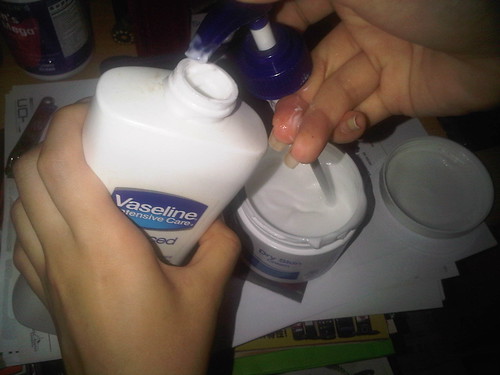
See what I mean? Just use the existing pump from the bottle to pump the product from the jar into the bottle. It took me less than 10 minutes to tranfer 250ml into the bottle and without any spillage. All you need is time and a strong thumb :)

p/s: You should get a brand new empty pump bottle (easily available at major pharmacies) but because I can, I just re-used the pump bottle of a different moisturiser brand (which I procured as a door gift at an event :P). I could have cleaned the bottle too but I didn’t because the “I can” principle applies yet again in this situation.
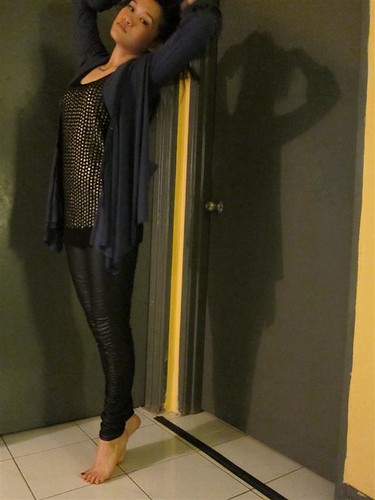
Completely pointless camho pictures.

This is me trying to channel some hobo rocker chick.

Shaking my head in disagreement cause my legs are sweating.

Trying to strike a pose while dancing to Enter the Sandman.

Tragically, I prefer the look of the shadow that this pose created than the actual pose itself.

This is supposed to look sensual with a tinge of innocence.

This is legless.

That’s just me looking like a washed out 26 year old desperately in need of make-up.

Why the term hobo rocker?

Hobo – big messy hair.

Rocker – Black plastic tights and studded top.

I am such a fashion genius!!!!

Sewing Project #2 – The Convertible Dress

My last sewing project gave me a semblance of confidence in handling the sewing machine. That said, I got to admit that I still major suck in this sewing business and probably will suck for the rest of my sewing history. Why?

1. I can’t sew in straight line
2. I CAN’T for the life of me, sew a hem -_- (this frustrates me greatly)
3. I still don’t have a tailor scissors so I’m using kitchen scissors. So the sides of my fabrics are all jagged (I’m trying to pass it off as fashion :P )

Anyway, I was scouring the internet for something reasonably easy that I could sew without losing any finger. I found this here.

First of all, I do not comprehend the instructions. Maybe the english too deep or something I just can’t understand even after a 6th read. So I decided to just study the pictures and diagrams and come up with something I think could work.

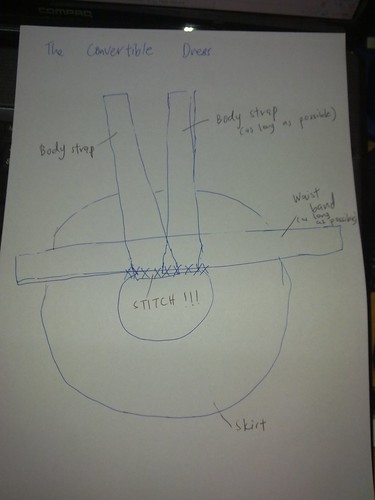
This is what I came up with:

My awesomesauce sewing “pattern”.

If you understand it, I applaud your genius.

So I begin cutting out the fabrics – all 3 different colours of them. Errr, because there’s not enough fabric, hahaha.

Took me about 3 hours to get to the finish product. To be honest, stitching was okay but the cutting was the most time consuming of all and it compelled me to get a proper scissors as soon as possible -_-.

There was no measurement whatsoever, I just kind of draped the fabrics around my body and gave them some extra length.

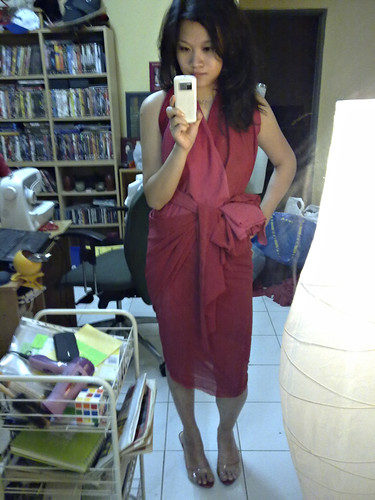
And here….my convertible dress:

Behold, the convertible/infinity dress.

Well, I got to say it’s not bad at all. I’m extremely happy with it. All it’s missing is proper hem to prevent the fabric from fraying/looking cheap but since I’d made a point to use extra fabric I could kind of tuck the fraying hem inside, he he he. I is a genius!

And now…the multiple ways of wearing the dress:

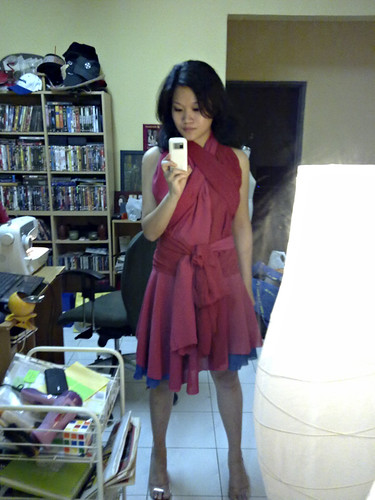
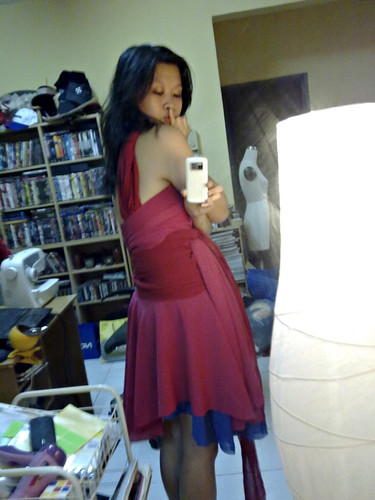
#1 – Halter Neck gather at the side.

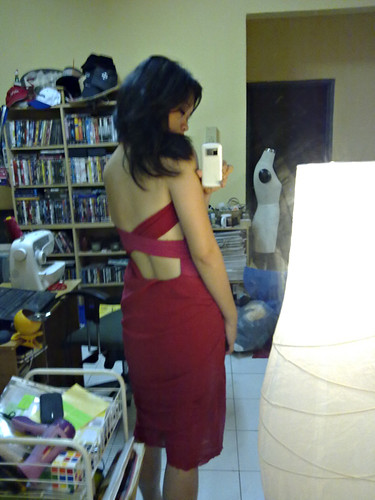
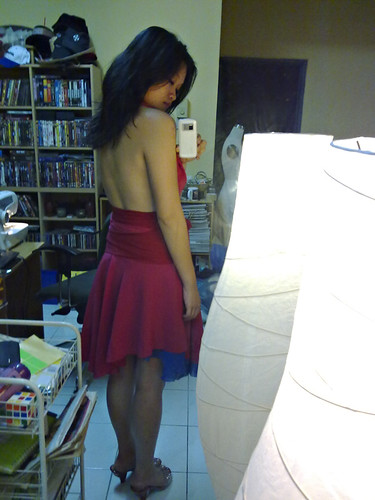
#1B – Check out the cross-back.

Notice the fraying bottom of the skirt (which double as a waist band) courtesy of the kitchen scissors. NEED. TO. LEARN. HOW. TO. SEW. HEM.

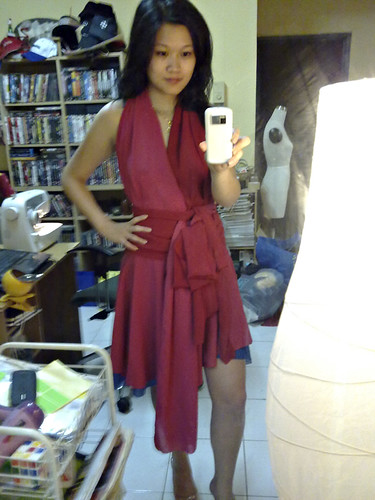
#2 – Halter Neck with criss cross front and gather in the middle.

#2B – The back is bare for this.

The skirt is shorter now because I’ve gathered the fabric around the waist and tie it up, so it can be a skirt and a waistband :)

#3 – Halter neck with gather on the side.

#3B – A different form of T-back.

So what I did was, instead of just tying the extra length of the straps around my waist, I first twist the straps together from my neck towards my waist and then tie a knot at the front. Now you know why I want so much extra length!

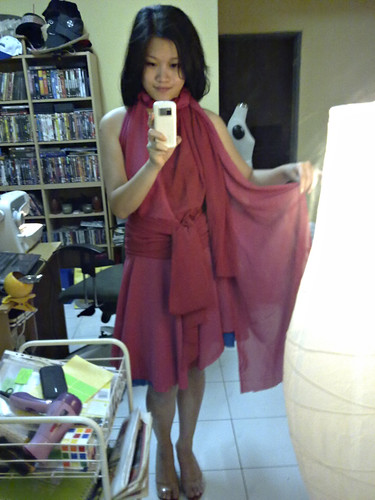
#4 – Neck warmer.

#4B – This style produces bareback just like #2B.

What I did is that instead of un-twirling the T-Back, I loop it around my neck and voila, something to warm the neck or to cover an adam apple :P

Eh, revealing too much skin?? Nevermind!

#5 – Asymmetrical sleeve.

#5B – Asymmetrical back.

Okay sometimes I want to be a little mysterious about my body also. So instead of showing off two shoulders, I show off only one lor :P. This can be achieved by wrapping the body with one strap and wrapping the other over the shoulder. Easy peasy!

And when it gets a little hot….I can always do this.

#6 – Asymmetrical shoulder.

#6B – Peekaboo.

This is even easier! Just get to the #5 look and then tuck the extra sleeve underneath the shoulder and it’s done.

And lastly, when I’m feeling sexayyyy, just cover up the bare minimum, like this :D

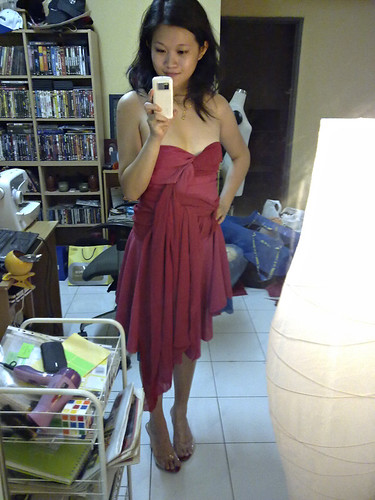
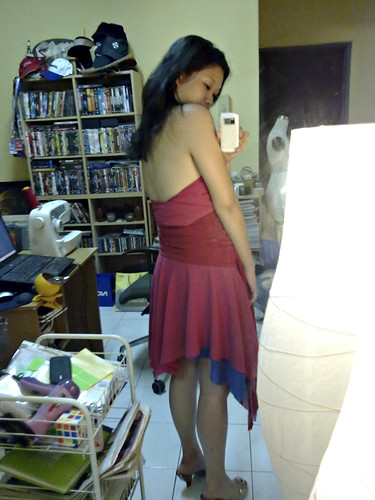
#7 – Strapless style.

#8 – More back.

I could think of a dozen more ways to wear this convertible dress but I’m too lazy to take photos hehehe.

And I love this prototype so much, but I seriously need to improve on my sewing skills. All the extra fabric are able to hide the flaws and spaghetti stitching but even if nobody noticed, deep in my heart I know I sucks :P

I will endeavour to improve!! Till my next sewing project, kthxbai.