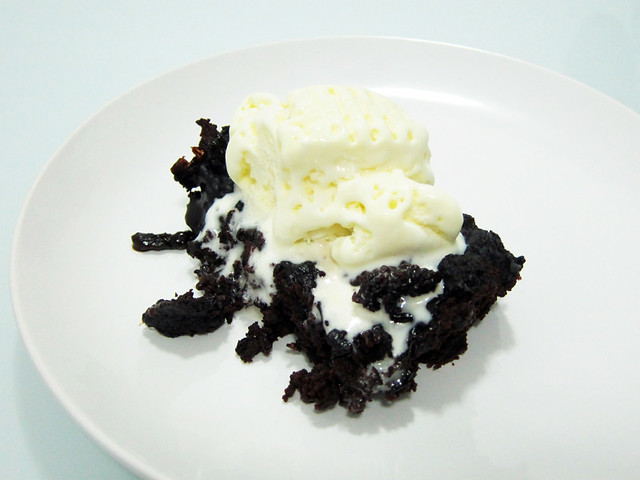
The brownie pudding cake recipe.

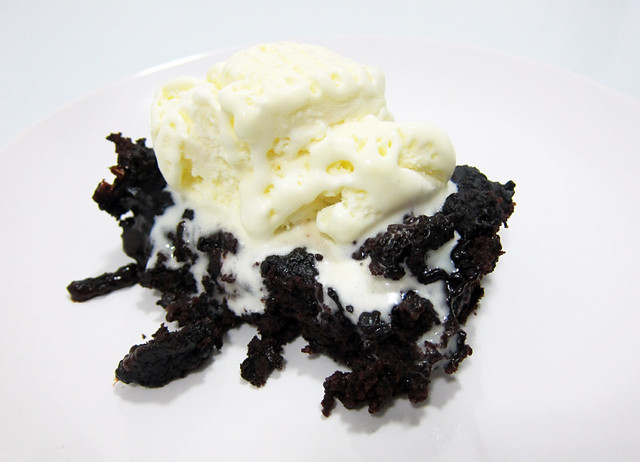
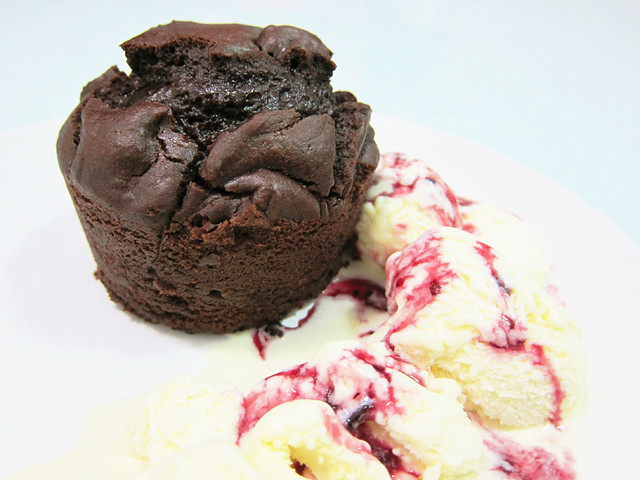
It’s called brownie pudding cake because it’s basically 2 desserts in one. How? During baking, it separates into brownie on top of a silky chocolate pudding.

# – The brownie pudding cake.

This took me about 5 minutes to prepare. I’m serious. 5 MINUTES! Just mix everything up and then stick it in the oven for 30 minutes.

Ingredients A:

  • 120 grams of flour
  • 60 grams of cocoa powder
  • 60 grams of granulated sugar
  • 2 teaspoon of baking powder
  • 1 teaspoon of salt

Ingredients B:

  • 100 ml of olive oil
  • 100 ml of milk
  • 1 teaspoon of vanilla essence

Ingredients C:

  • 60 grams of brown sugar
  • 20 grams of cocoa powder

Ingredient D:

  • 200 ml of boiling water

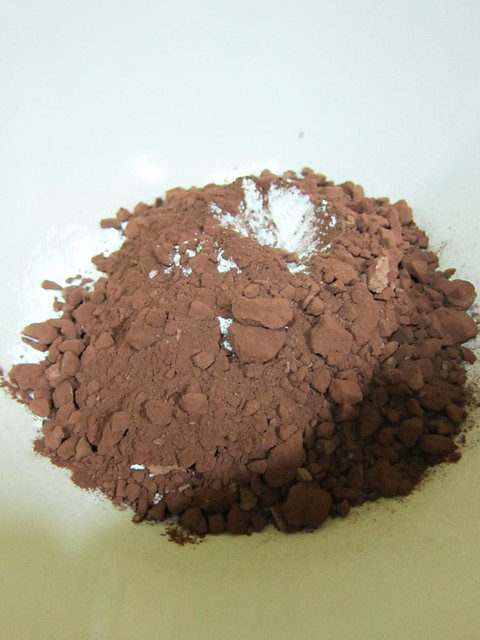
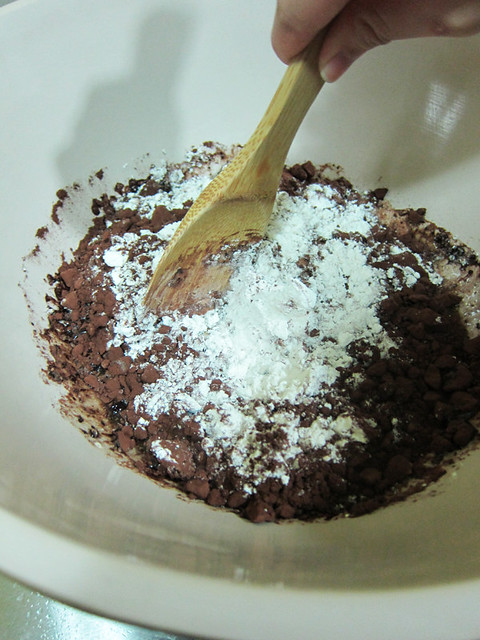
# – First, mix Ingredients A together in a mixing bowl.

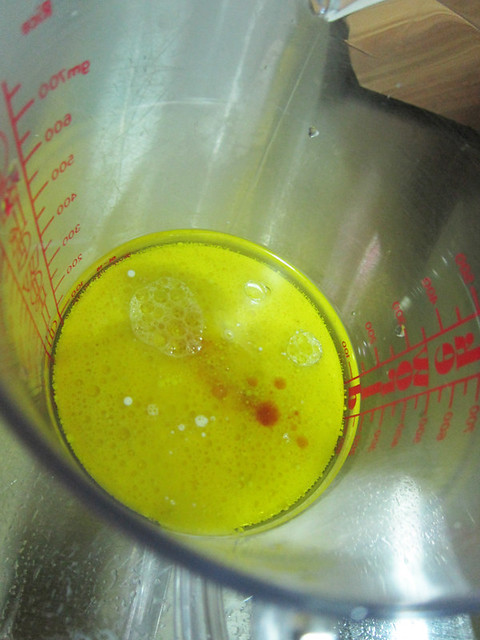
# – Next, mix together Ingredients B in a pitcher.

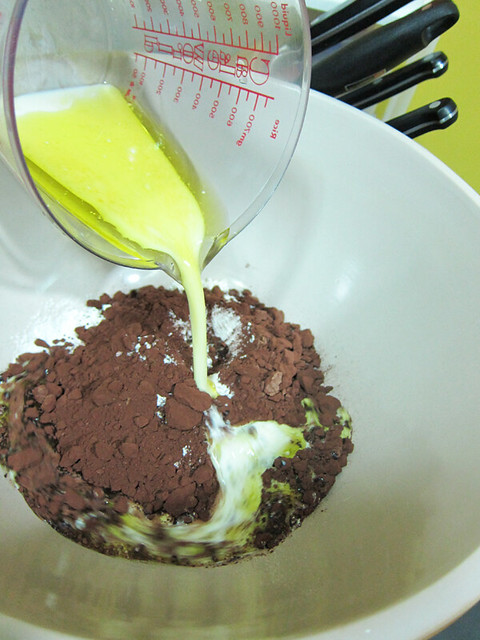
# – Next, pour Ingredients B into Ingredients A.

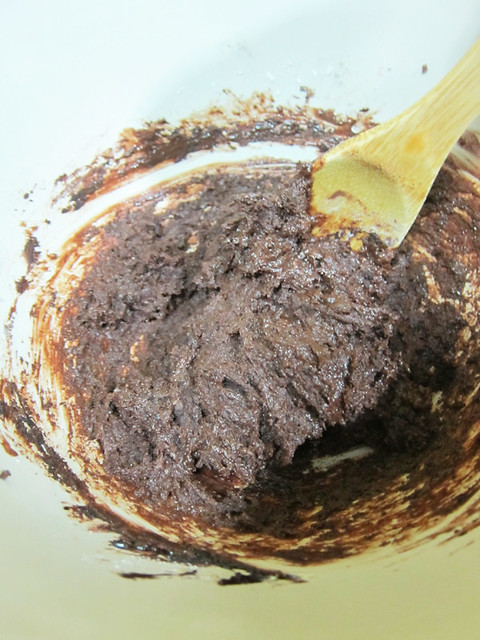
# – Mix it up till just combined with a wooden spoon.

# – Like this…

# – Pour the mixture into an 8″ cake tin. Combine Ingredients C and sprinkle it all over the top.

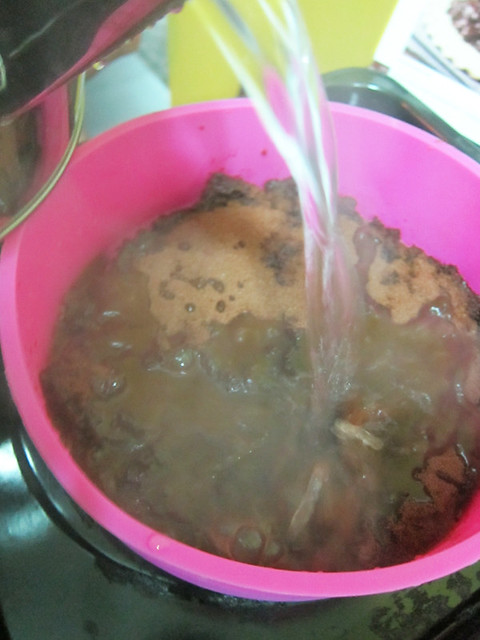
# – Then, pour the boiling hot water over.

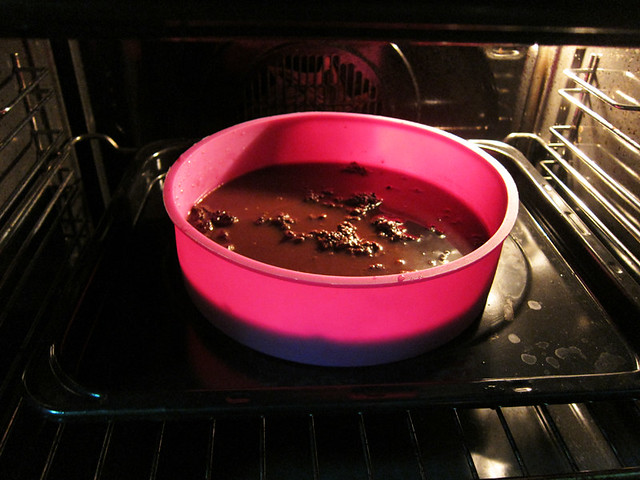
# – Stick it into a preheated oven at 180 degrees celcius for 30 minutes.

# – Serve immediately with a dollop of vanilla ice cream :)

Sticky, chocolatey and moist with it’s own sauce! It’s crazy how fast it took me to make this!

I whipped it up right after setting the dinner table, stuck it in the oven and had a pleasant dinner while it baked. Absolutely perfect if you’re pressed for time and don’t know what to make for dessert.

I admit, it’s not the most beautiful thing to look at…but hey, if your guests asked, just say you’re going for a rustic look :D

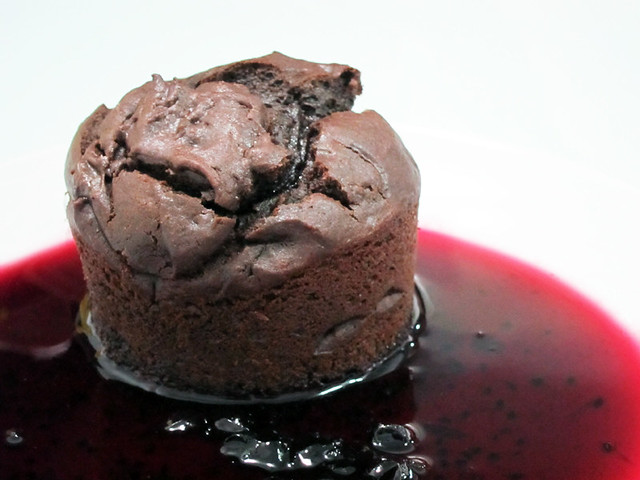
Individual sticky chocolate puddings.

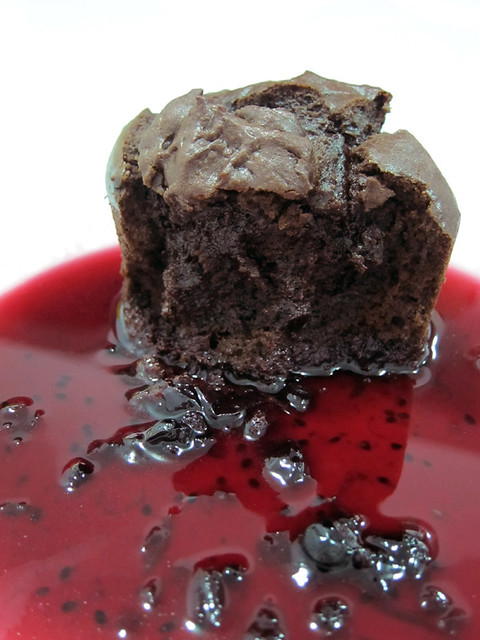
This is one of few desserts that I made which the boyfriend happily said he would pay good money for the same thing outside. I was a little worried at first because the exterior of the pudding looked a bit dry, but thankfully it was far from dry.

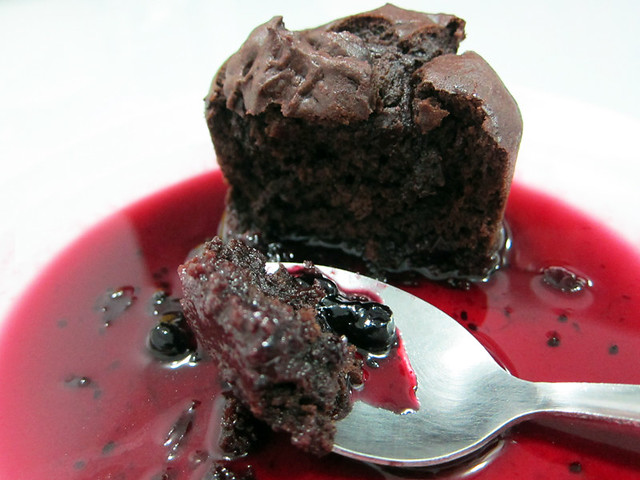
It had a crispy exterior with an inside that was a combination of both spongy and sticky, not unlike a very good brownie. Yeap, the individual sticky chocolate puddings were delicious! The boyfriend loved his with vanilla ice cream and a drizzling of blackcurrant coulis while I had mine just with coulis.

# – Individual sticky chocolate pudding.

This is a deliciously rich dessert, perfect for chocolate lovers :D

The ingredients:

  • 12 tablespoons of flour, sifted
  • 1 tablespoon of cocoa powder, sifted
  • 1 teaspoon of baking powder, sifted
  • 60 grams of butter
  • 60 grams of dark chocolate (I used 60% cocoa)
  • 4 tablespoons of granulated sugar
  • 2 eggs

To serve:

  • Any kind of berry coulis (which I cheated by melting blackcurrant jam with some water, hehe)
  • Vanilla ice cream

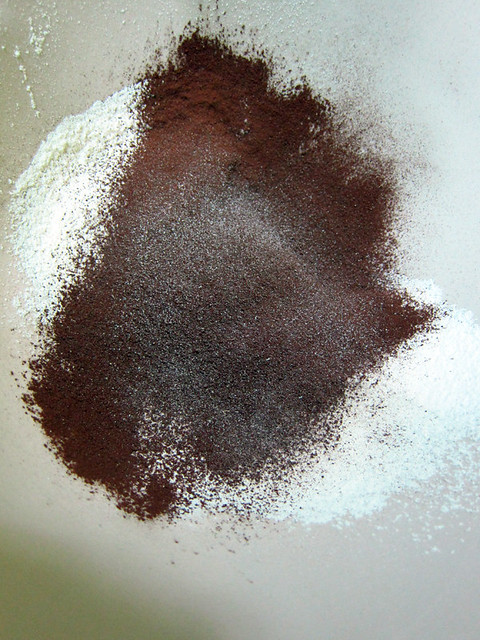
# – First of all, sift the flour, baking powder and cocoa powder into a mixing bowl and set aside.

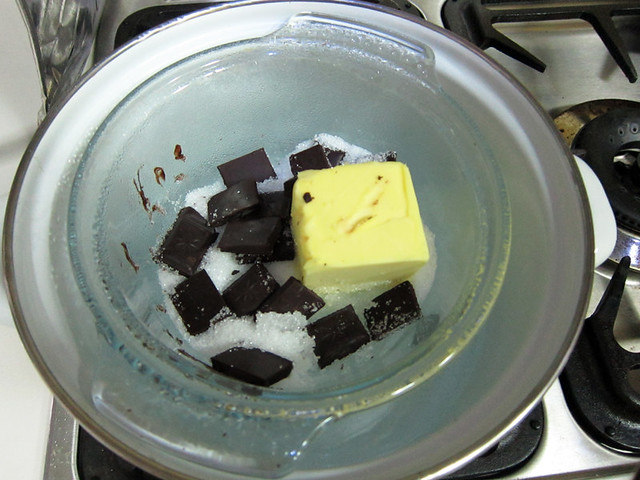
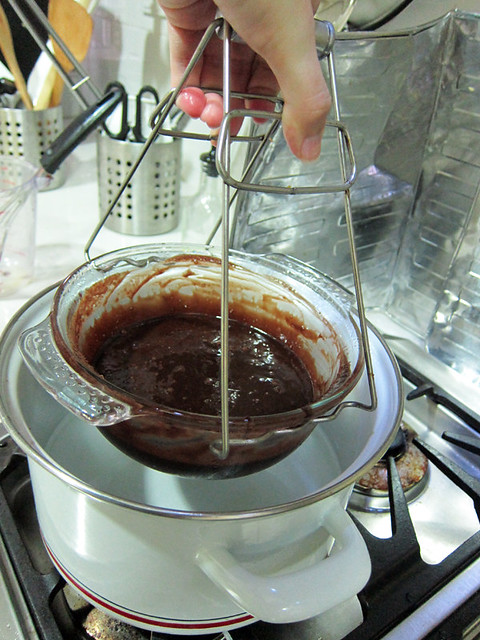
# – Now, set up a double boiler by boiling water in a pot and then suspend a larger bowl over it. Please don’t let the bottom of the bowl touch the water. My setup looks a little different as I happen to have a small bowl with ears that suspend perfectly over the pot.

# – Now dump in the dark chocolates, granulated sugar and butter into the bowl.

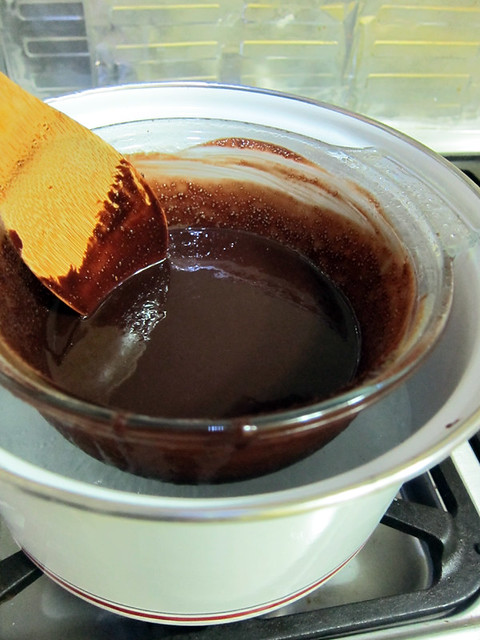
# – Stir till everything’s melted and combined.

Otherwise, you can pop the bowl of chocolates, sugar and butter into microwave at HIGH for 2 minutes then stir till everything’s combined ;)

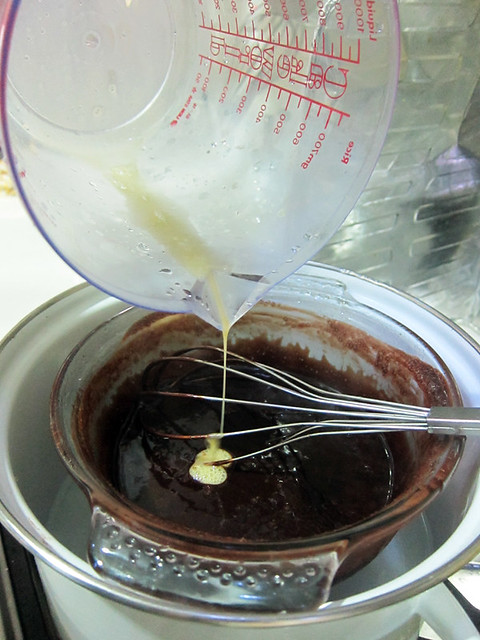
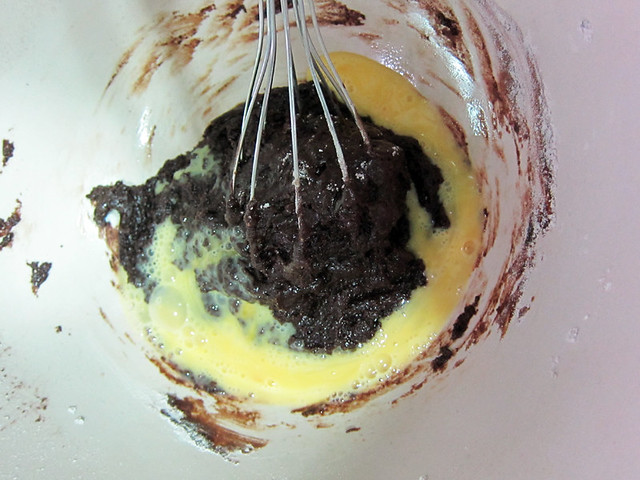
# – Beat one egg well and then pour it into the chocolate mixture while whisking it. You will notice that the mixture will start to thicken almost immediately. Turn off heat but keep whisking till you can no longer see traces of egg.

# – Now remove chocolate mixture from heat.

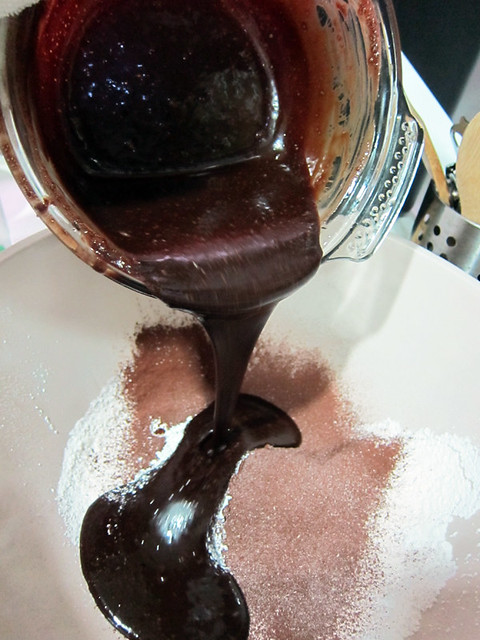
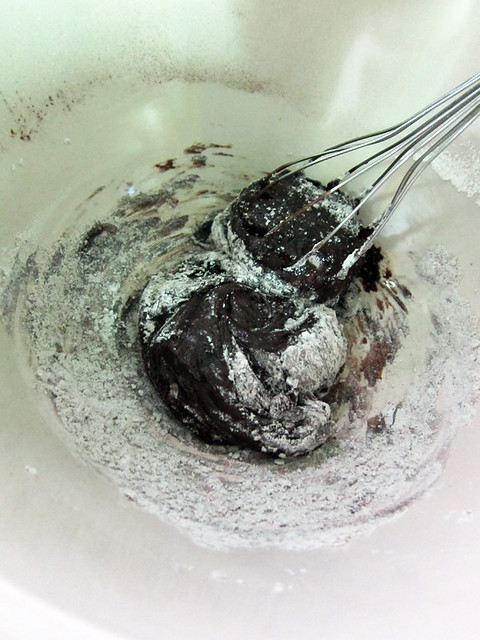
# – Pour it into the flour mixture.

# – Mix with a wooden spoon. I wouldn’t recommend using a whisk like I did here cause it’s sticky!

# – Beat the other egg and pour it into the mixture. Continue mixing…

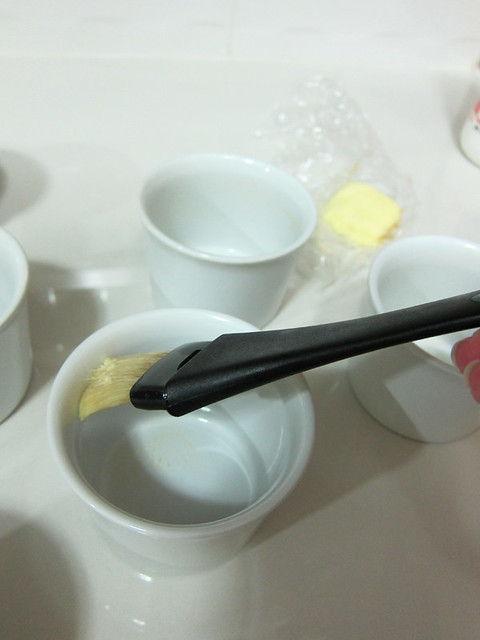
# – Now grease up 3 ramekins with butter. My ramekins can fit up to 200ml in volume each and is 3.5 inches in diameter, pretty standard stuff. You can also use deep muffin tin.

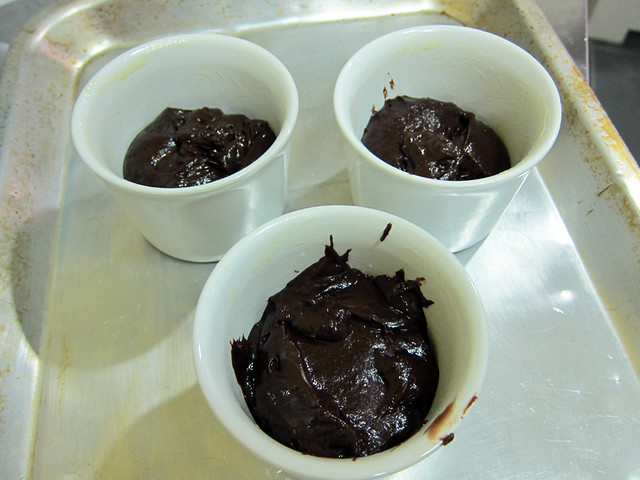
# – Spoon the mixture into all 3 ramekins. Yes, this recipe serves 3.

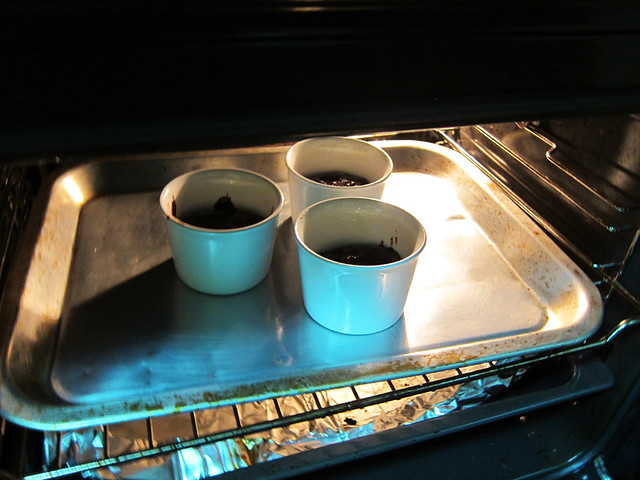
# – Stick it into a pre-heated oven at 190 degrees celcius for 13 minutes.

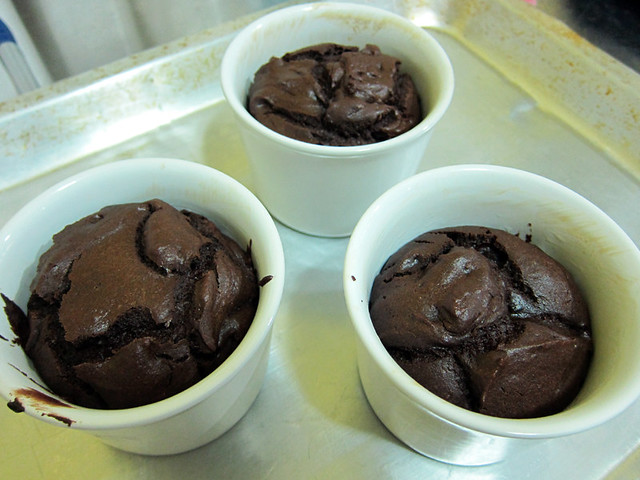
# – They’ve risen!

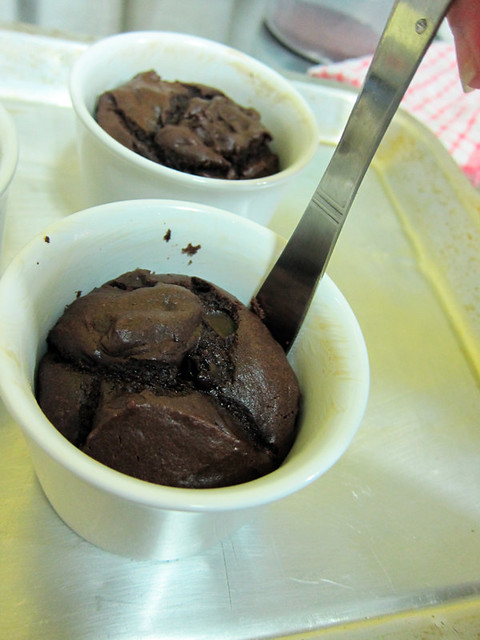
# – Run a knife around the pudding to loosen it from the ramekin. Then leave the puddings to cool.

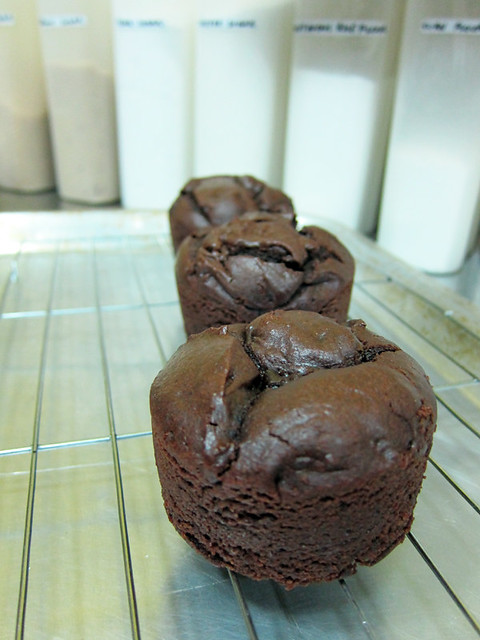
# – After they’re cool enough to handle with your hand, pop them out.

# – Serve with a berry coulis.

# – The tartness of the coulis goes really well with the rich, sticky chocolate pudding.

# – Or like my boyfriend, eat it with some good vanilla ice cream and a drizzle of coulis.

You don’t have to serve them immediately but try not to leave them out too long. You could set them aside for a while (but not in the fridge) and them warm it up in the microwave or a pre-heated oven for about a minute before serving.

As for the coulis, I just dissolved 2 tablespoons of blackcurrant jam with a few dashes of hot water. You can make coulis from scratch of course but I was well, lazy…..

Hope you like this recipe! :D

Chocolate buttermilk layer cake adapted from Donna Hay.

I found this recipe in a Donna Hay magazine. It’s their 50th issue birthday edition and the buttermilk chocolate layer cake is the cover cake. The last time I baked a cake was in 2005. That cake was not a looker but I was extremely proud of it, hahahahahaha.

# – The 50th issue birthday. The cake is just so gorgeous, isn’t it??? I just couldn’t stop thinking about it after seeing the picture.
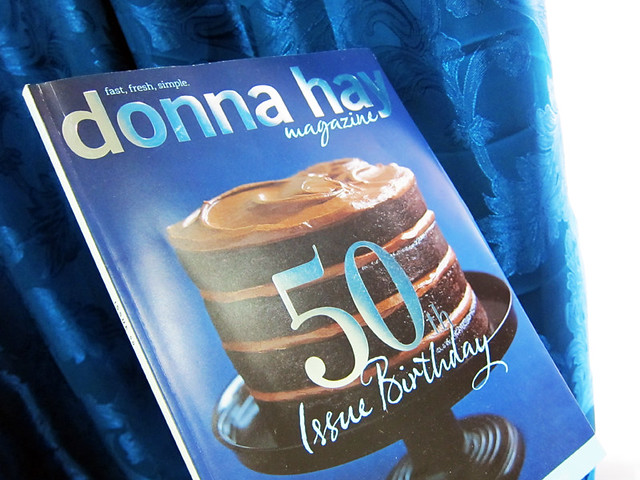
Alright, here’s something I’ve been pondering over. Does “50th issue birthday” mean the 50th issue or anniversary of the 50th issue which could be years ago? I’m not a follower of Donna Hay magazines so if anyone could clarify this would be much appreciated. I scored this particular issue from a knocked down bin…

Anyway, I love this cake, even when I didn’t stick 100% to the recipe. I replaced the original cream cheese chocolate frosting with a regular chocolate frosting but it was still amazingly delicious. I bet the cake would be even more fantastic with the original frosting but if you don’t have cream cheese in your pantry, don’t fret!

Here are the ingredients that you need…

For the cake

  • 250ml of water
  • 125gm of butter, chopped
  • 35g of unsweetened cocoa powder, sifted
  • 300gm of flour, sifted
  • 1 teaspooon of baking soda, sifted
  • 350gm of caster sugar (as opposed to the recipe that called for 440gm because I used regular frosting instead of the more savoury cream cheese one)
  • 2 eggs
  • 125ml of buttermilk (if you don’t have it, just add 1/2 tablespoon of vinegar/lime/lemon juice to 125ml of milk and let stand for 10 minutes)

For the frosting

  • 550ml of icing sugar (roughly 2 cooking cups and a bit more)
  • 6 tablespoon of unsweetened cocoa powder
  • 6 tablespoon of butter
  • 5 tablespoon of evaporated milk (I used whipping cream…which is way more naughty :P)

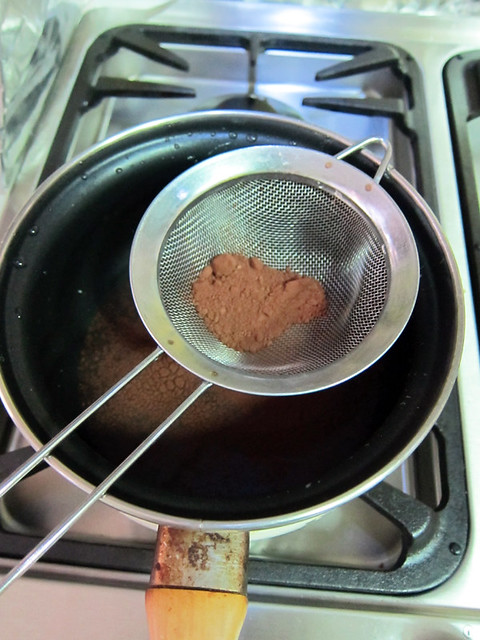
# – First, boil 250ml of water in a pot and sift 35gm of cocoa powder over it.
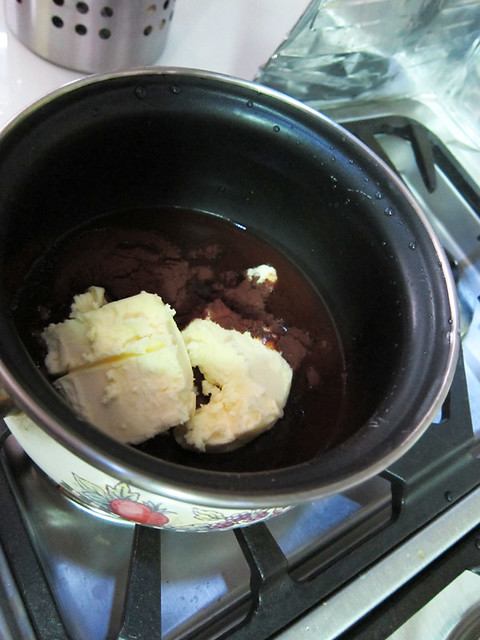
# – Then add the 125gm of chopped butter. Stir until butter is melted and set aside.
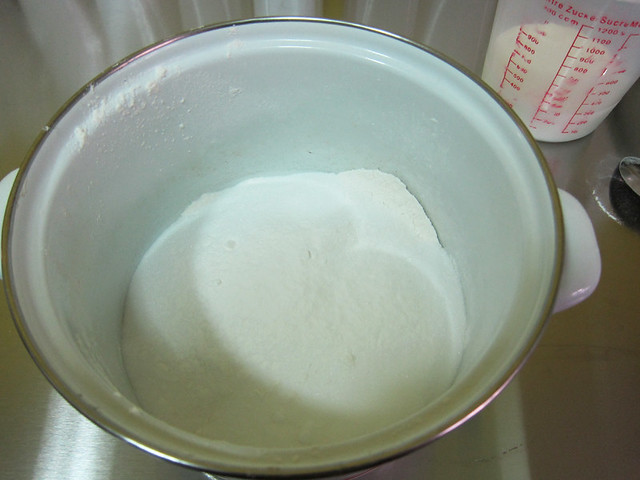
# – Prepare 300gm of flour, 1 teaspoon of baking soda & 350gm of caster sugar in a mixing bowl
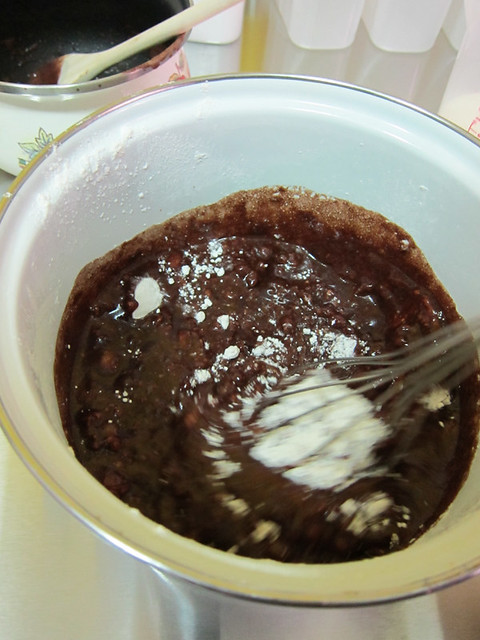
# – Now pour the cocoa mixture into the flour mixture and whisk till combined.
# – Add the 2 eggs.
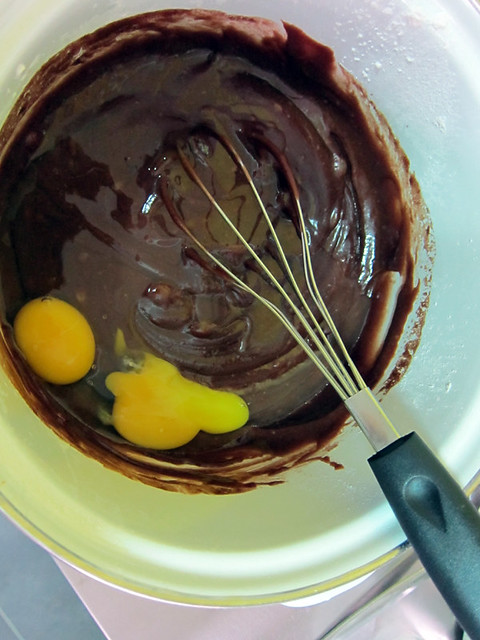
# – Then pour in 125ml of buttermilk. If you don’t have buttermilk, refer to recipe above on how to cheat ;)
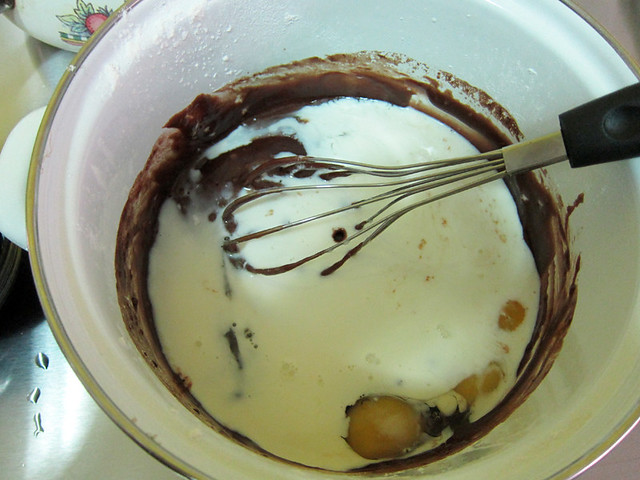
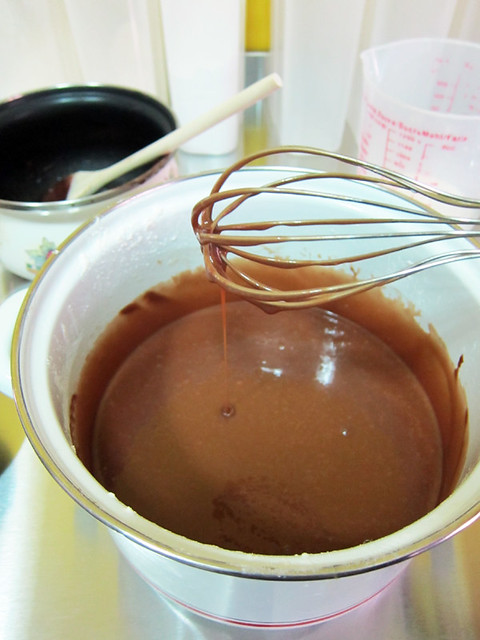
# – Whisk everything till combined.
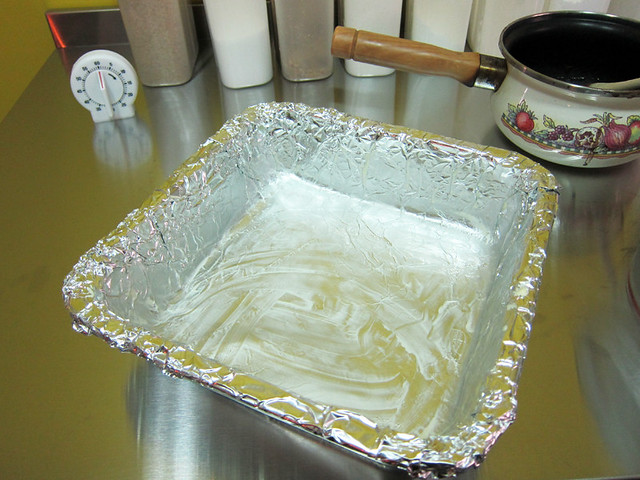
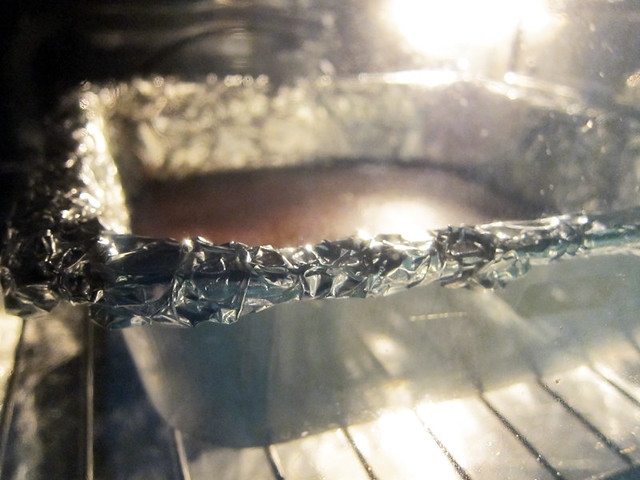
# – Lightly grease two 10″ x 10″ cake tins & lay them with parchment papers. But due to lack of resources and my innate rebellious streak on top of my despise for washing cake tins, I used aluminum foil and grease it with butter. Trust me, it works like a charm :D
# – Now divide the mixture into two & pour half into each cake tin. Then stick into preheated oven at 160 degrees celcius for 40-45 minutes.
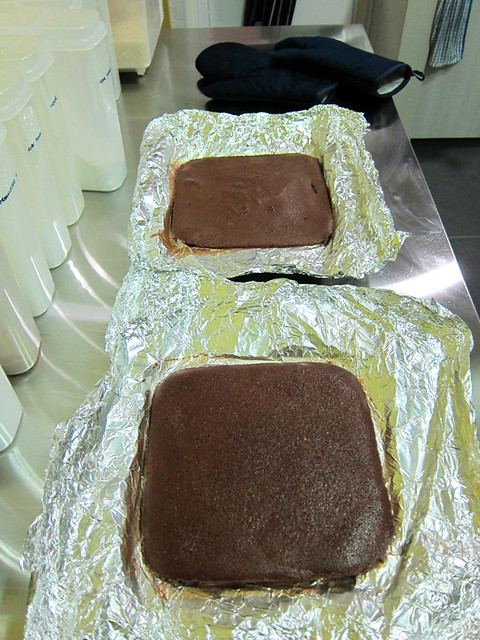
# – Let the cakes cool down completely, which takes a minimum of 1/2 hour to be absolutely safe. You do not want the frosting to melt upon contact with the cakes, ya.
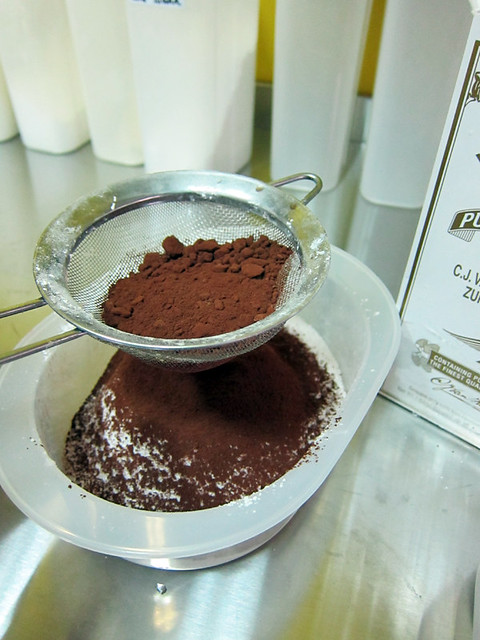
# – While the cakes are cooling down, lets begin to make the frosting. Sieve 550ml of icing sugar and 6 tablespoon of cocoa powder into a bowl and set aside.
null

# – Lay out 6 tablespoons of butter in a mixing bowl, the cocoa & icing sugar mixture you prepared earlier, 5 tablespoon of evaporated milk and a hand mixer.
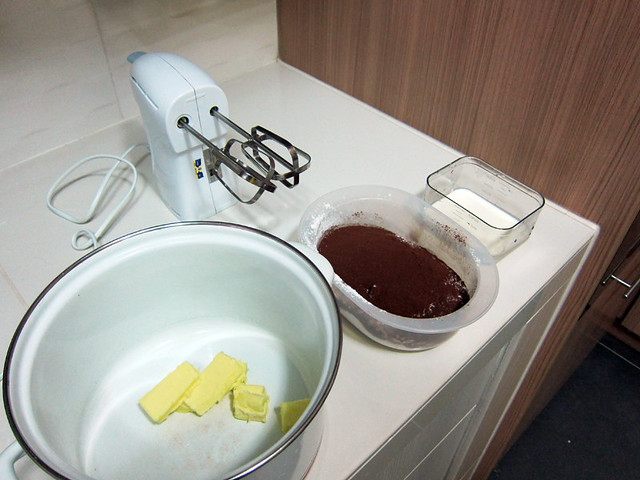
# – With the hand mixer, cream butter until smooth, then gradually beat in sugar mixture alternately with evaporated milk. Beat until light and fluffy. If necessary, adjust consistency with more milk or sugar till you get frosting!
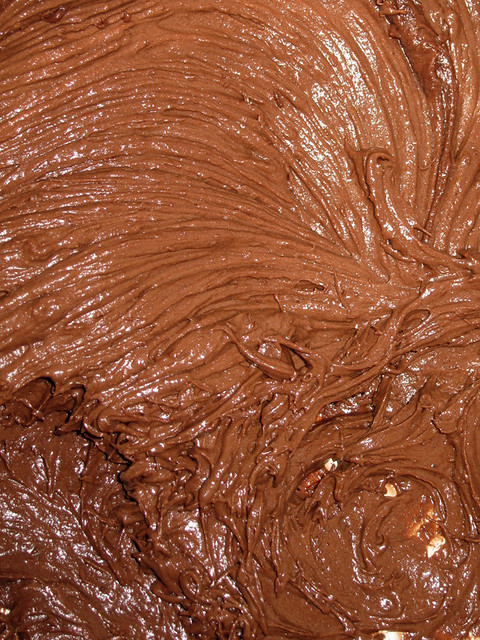
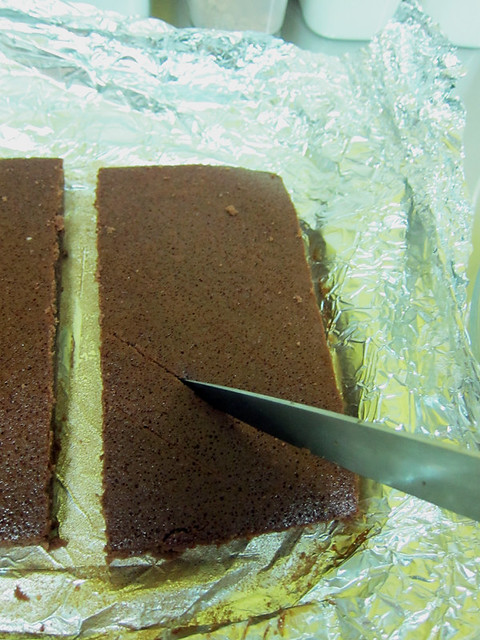
# – Set the frosting aside and now, cut each cake into half. And lightly score the top of the cakes without cutting all the way.
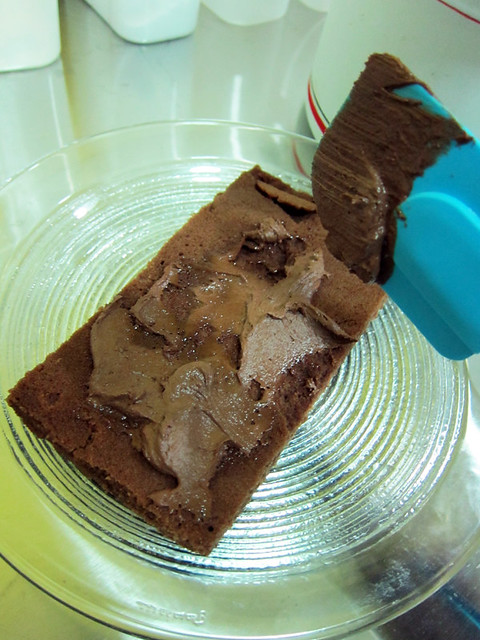
# – Lay one piece with the scored surface down and slather the frosting all over the top. Be generous with the frosting, you will thank me!
# – Lay another piece on top of the frosted cake. Again, with the scored surface down and frost that baby. Don’t worry if your cake broke or cracked.
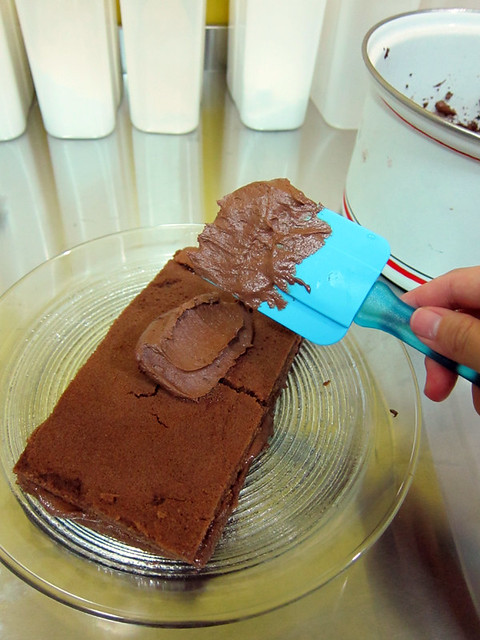
# – Repeat steps till you run out of cakes and you get this…
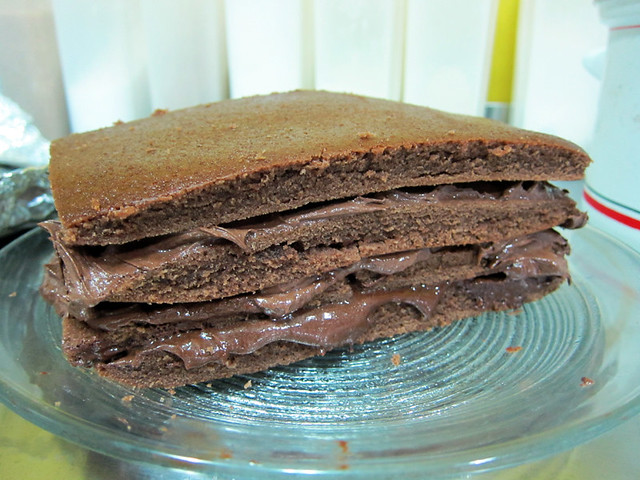
# – Now, frost the entire thing!!
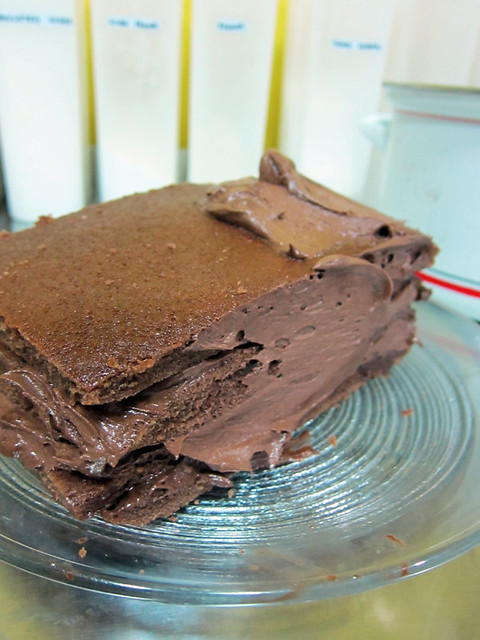
# – Eventually, you will end up with this….
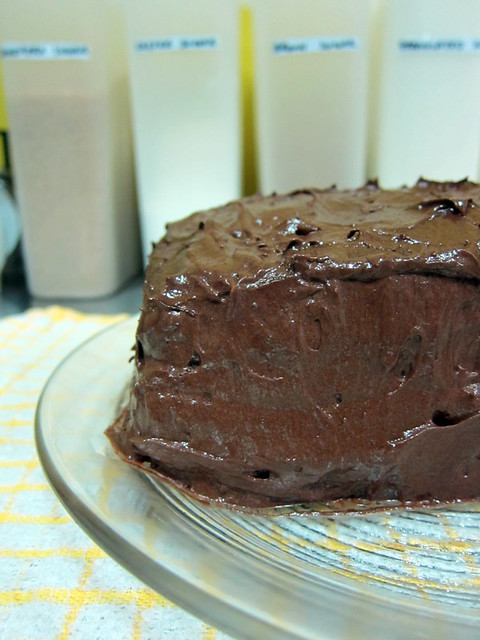
# – Oh, baby!
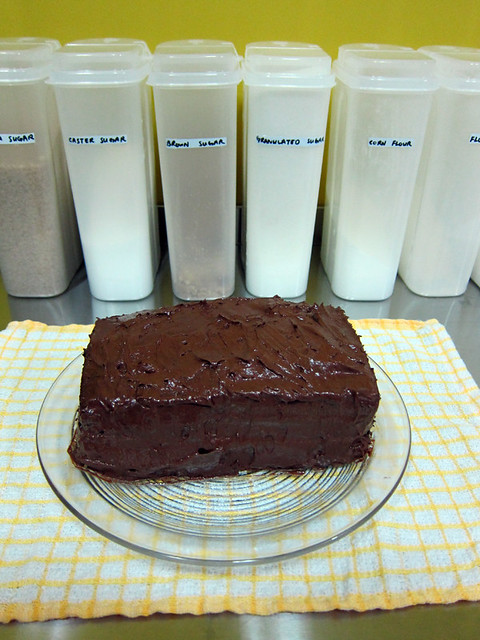
# – Oh, BABY!!!!
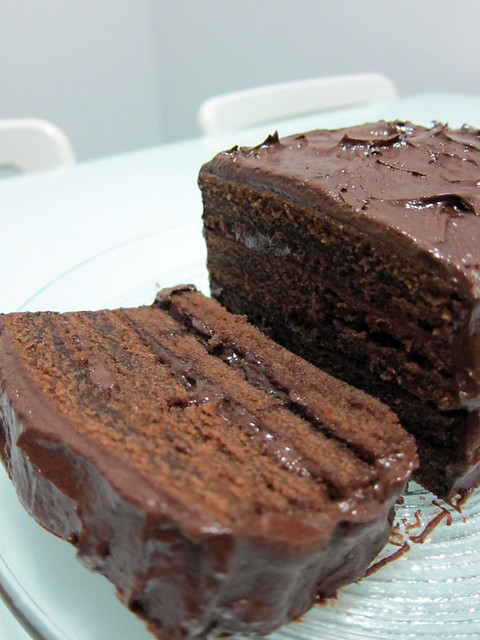
# – GIVE IT TO ME!!!!
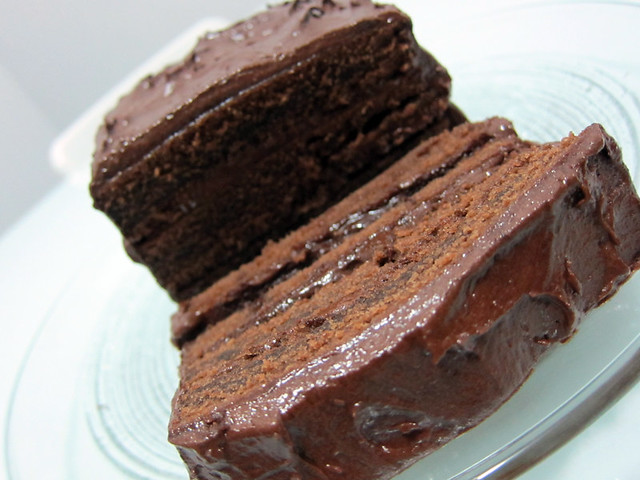
For a cake that only had cocoa powder in it, it was surprisingly chocolaty! Not to mention, moist, rich and absolutely delicious. If I hadn’t told my BF, he would have thought I had used expensive dark chocolate bars to make the cake. But nope, just reasonably priced Van Houten’s cocoa powder that you can get at almost any grocery shop ;)

And oh, it is also very nice chilled. My BF, being a sucker for warm dessert also heated it up in the oven, till the frosting melted into some sort of rich chocolate sauce and ate it with a dollop of vanilla ice cream. Fantastic!

Please, make it happen! Yes, you, you and you!