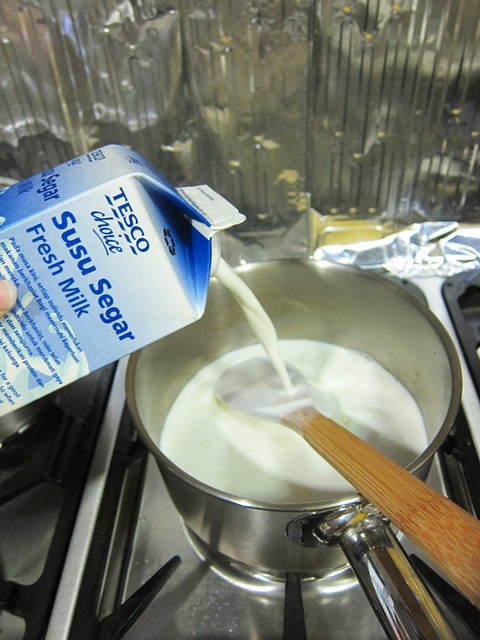
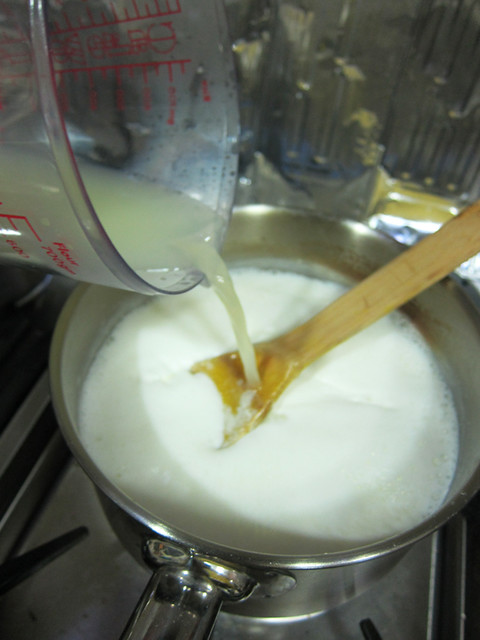
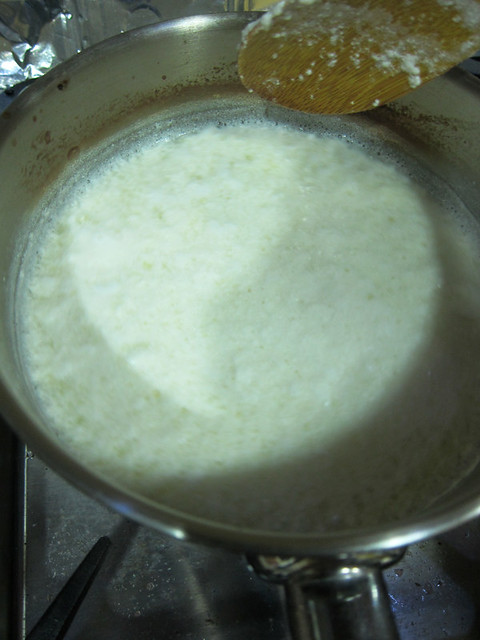
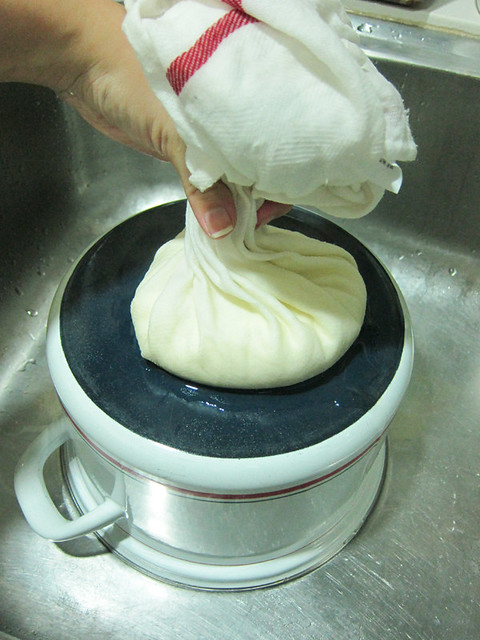
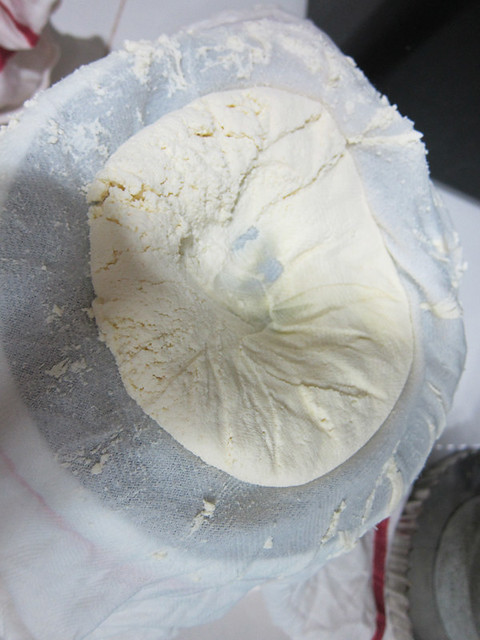
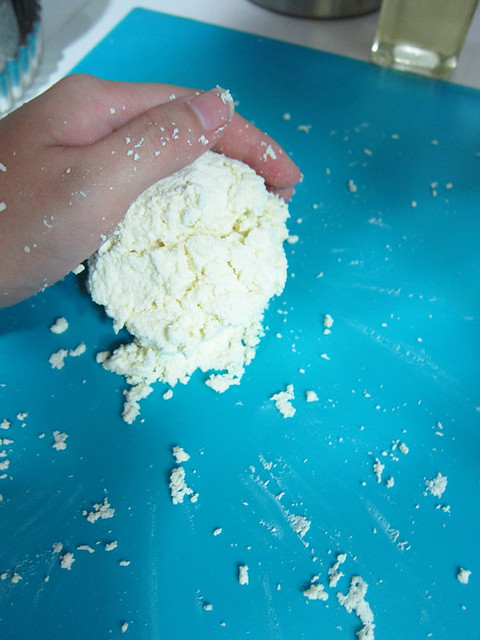
Remember when I made my own cheese/paneer? It was actually for this Indian dish called “Palak Paneer“.
Contrary to my earlier belief, it’s really not difficult to cook palak paneer. It’s probably easier to cook than a creamy western soup. A handheld blender would be most useful in the making of this dish, otherwise just stick to a good old blender or food processor.
# – Palak paneer.
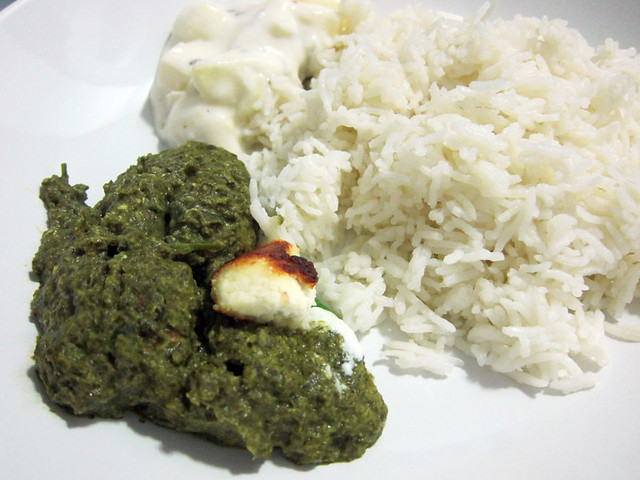
I didn’t realise how much the BF loves palak paneer until we were in Hyderabad, India, where EVERY meal must be accompanied by palak paneer. I don’t blame him though…it is a truly delicious dish.
Of course, it’s only a matter of time before he plonked a big bunch of spinach into our shopping trolley. The time has come…
The ingredients:
- 2 cloves of garlic, chopped
- 1 tablespoon of ginger, chopped
- 2 dried chillies, seeded
- 1/2 cup of onion, finely chopped
- 2 teaspoons of ground cumin
- 1 teaspoon of ground coriander
- 1 teaspoon of ground turmeric
- 3/4 cup of yogurt
- 500 grammes of fresh spinach, torn
- 4 sprigs fresh cilantro leaves
- 300 grams of homemade cheese or paneer (you can use cottage cheese)
- sea salt to taste
# – First, cut the paneer or homemade cheese into cubes and brown them in a pan.

# – When browned, set the cheese aside.

# – Now, stir fry the garlic, dried chillies, ginger and onions until fragrant (sorry I n00bed it and forgot the onion picture).

# – Add in the ground coriander, ground cumin and ground tumeric.
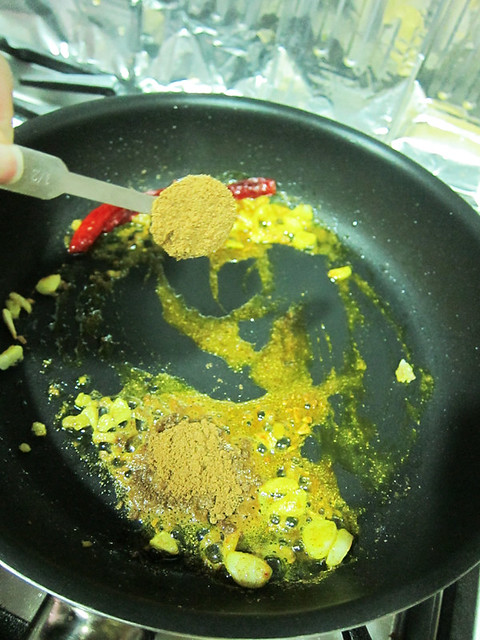
# – Followed by the yogurt. Stir to combine.
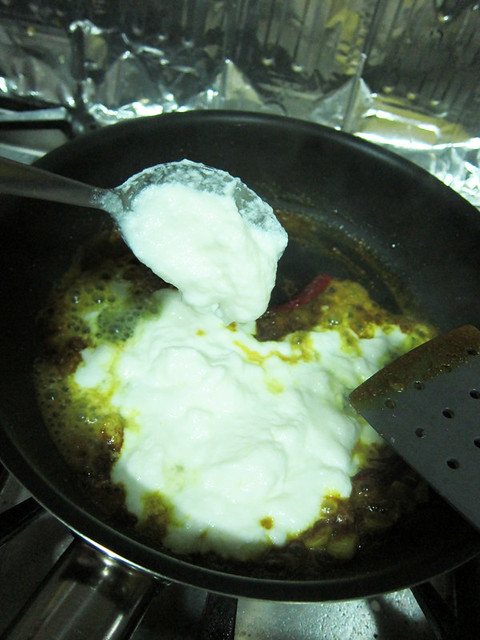
# – Now add in the spinach, a handful at a time. Cook till all spinach are wilted. If you like to make a really green palak paneer, don’t cook the spinach for too long as they will lose the vibrant green colour.

# – When spinach have wilted, chuck everything into a blender and blitz into a fine paste.
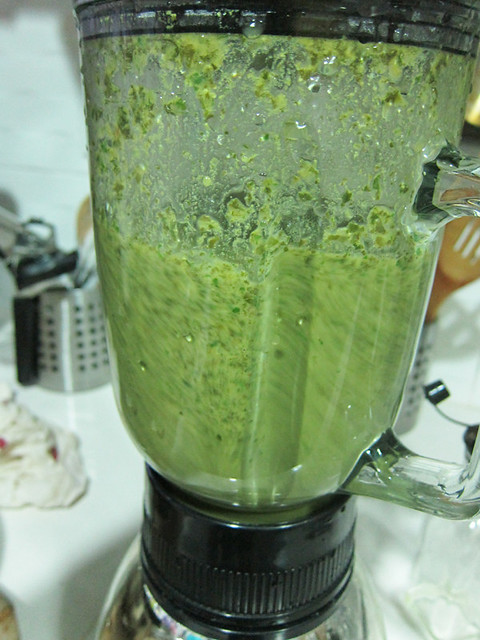
# – Pour the paste back into the pan and heat it up on the lowest flame.

# – Season with some salt.
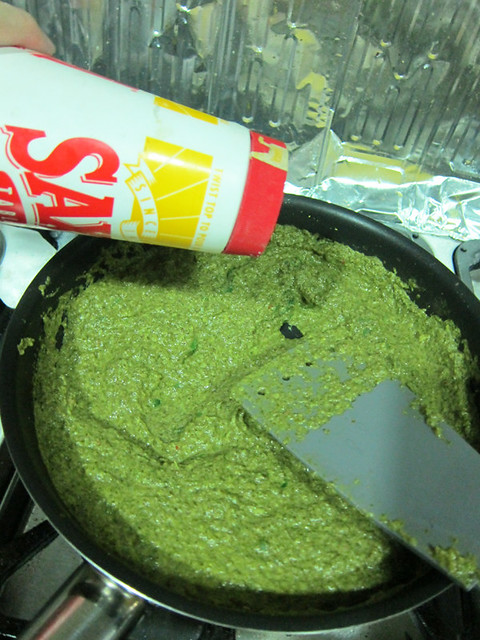
# – Then add all but a few browned cheese cubes into it. Simmer for another 10 minutes.

# – Pour into a plate and decorate with the remaining cheese and a few spoons of yogurt.

# – Palak Paneer, DONE!
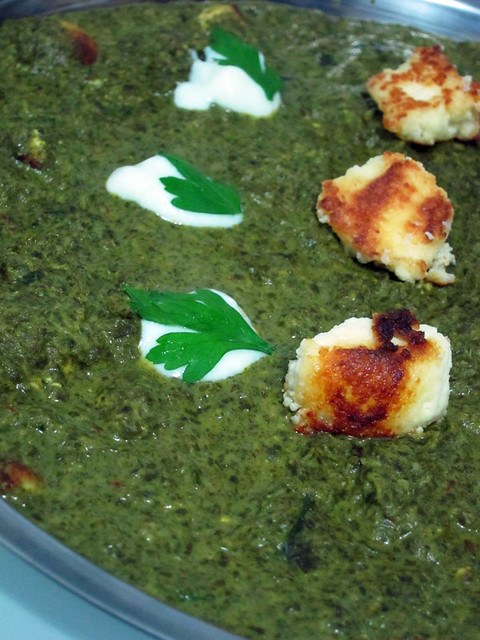
# – Serve with biryani rice and apple raita (chopped apples and indian spices mixed into yogurt)

It is creamy but not cloying, the spinach paste is perfect with the browned cheese.
Every palak paneer is unique to its cook so you just have to eat many versions to find your favourite (this is by no means a complaint). As for those of you who are hoping to cook it from scratch, just tweak the seasonings to your taste.
